
Introduction: Biodegradable Interactive Smart Hanging Luminaire

People frequently forget to check or miss their notifications, including some that are crucial or could even save their lives. They discover that they have been missing out on crucial information.
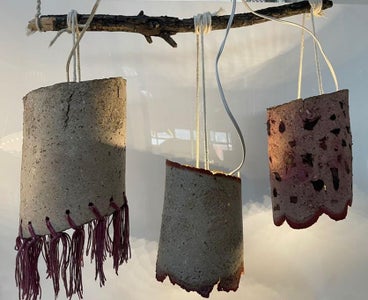
I created this biodegradable smart hanging luminaire which consists of three luminaires hung at different heights to address that issue; it will interact regarding missed notifications. The luminaire can be hung up and may be thrown away without harming the environment because it will decompose. It has multiple applications because it has two sensors: a temperature sensor that communicates with the AccuWeather app using its API, and an electrical sensor that communicates with it by interacting with the API of the linked-in service.
Functions:
1.) Ambient light- displays a warm white color.
2.) Display job notification- A vivid blue color is emitted by the luminaire.
3.) Forecast the weather- When it gets dark out, the luminaire turns on, and when the temperature drops below 26 degrees Celsius, a sensor activates a warm, muted yellow hue to warm up the space. The sensor activates a full red color illumination when it detects an oncoming storm warning.
Supplies
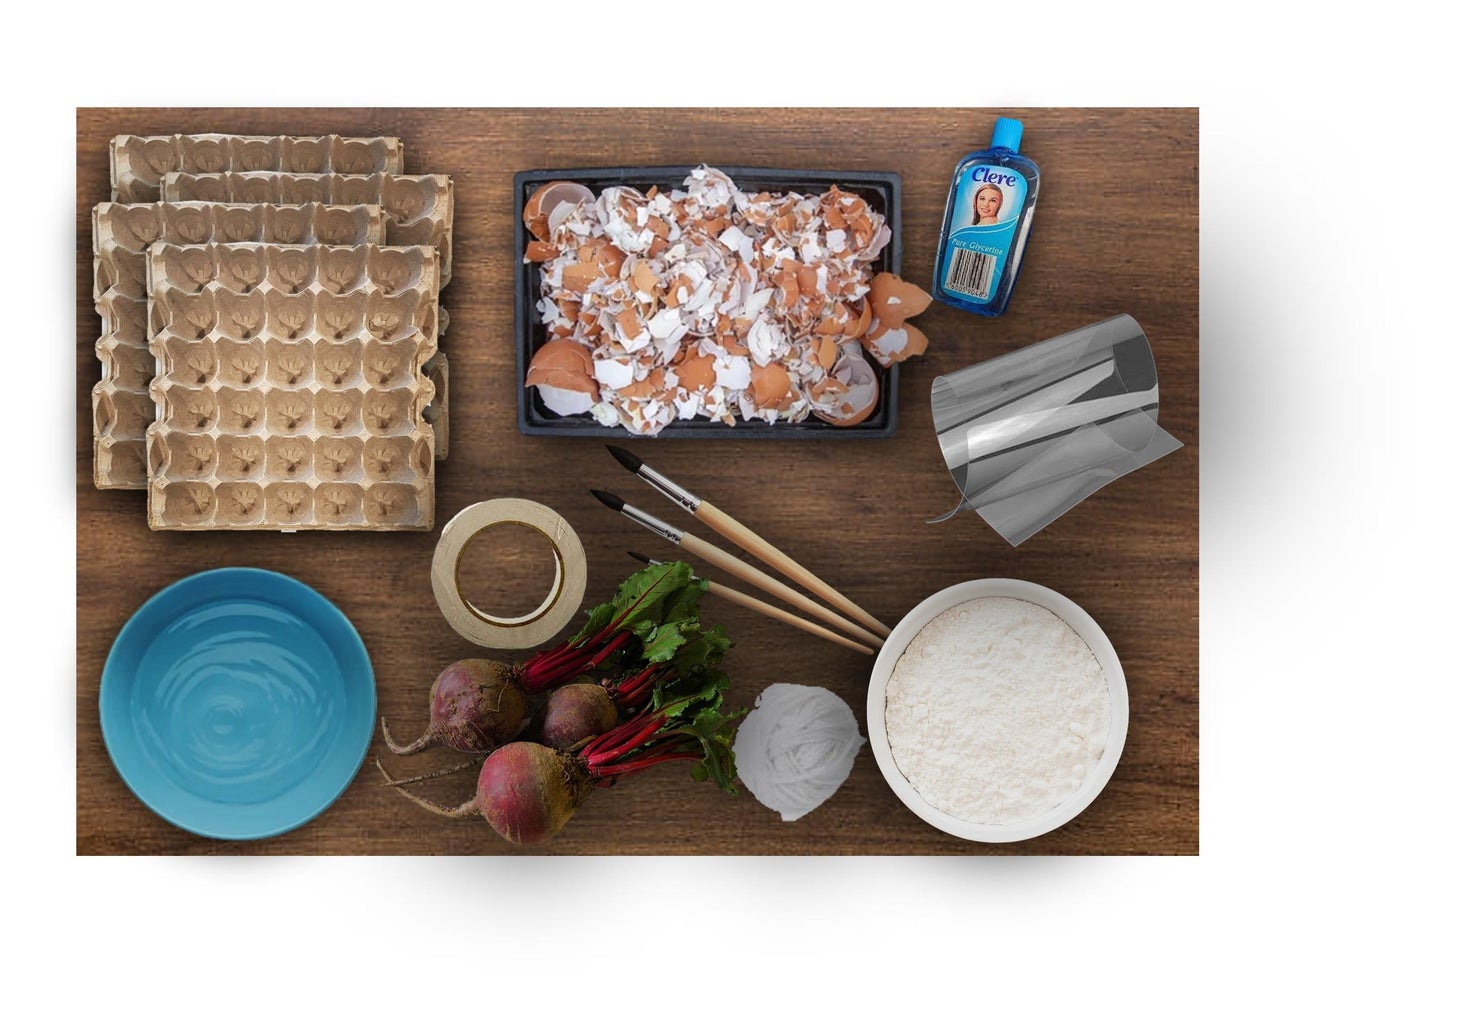
- Bowl of flour
- Bowl of water
- Egg cartons (10 boxes)
- Glycerine
- Eggshells (crushed)
- 3x Beetroots (serves as natural dye)
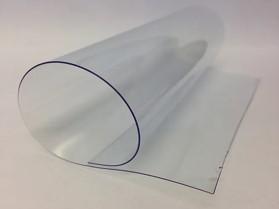
- Clear PET plastic (usage: for making moulds)
- White wool thread
- LED Strip lights
- White masking tape
- Cotton twine (for hanging the luminaire)
- groove temperature sensor
- groove electric sensor
Tools/Equipment:
- Rubber gloves ( To avoid having your hands stained by beets)
- Cooking pot
- Pair of scissors
- Stove
- Bucket (for combining the materials)
- Spoon
- Vernier caliper
Step 1: Prepare Eggshells and Egg Cartons

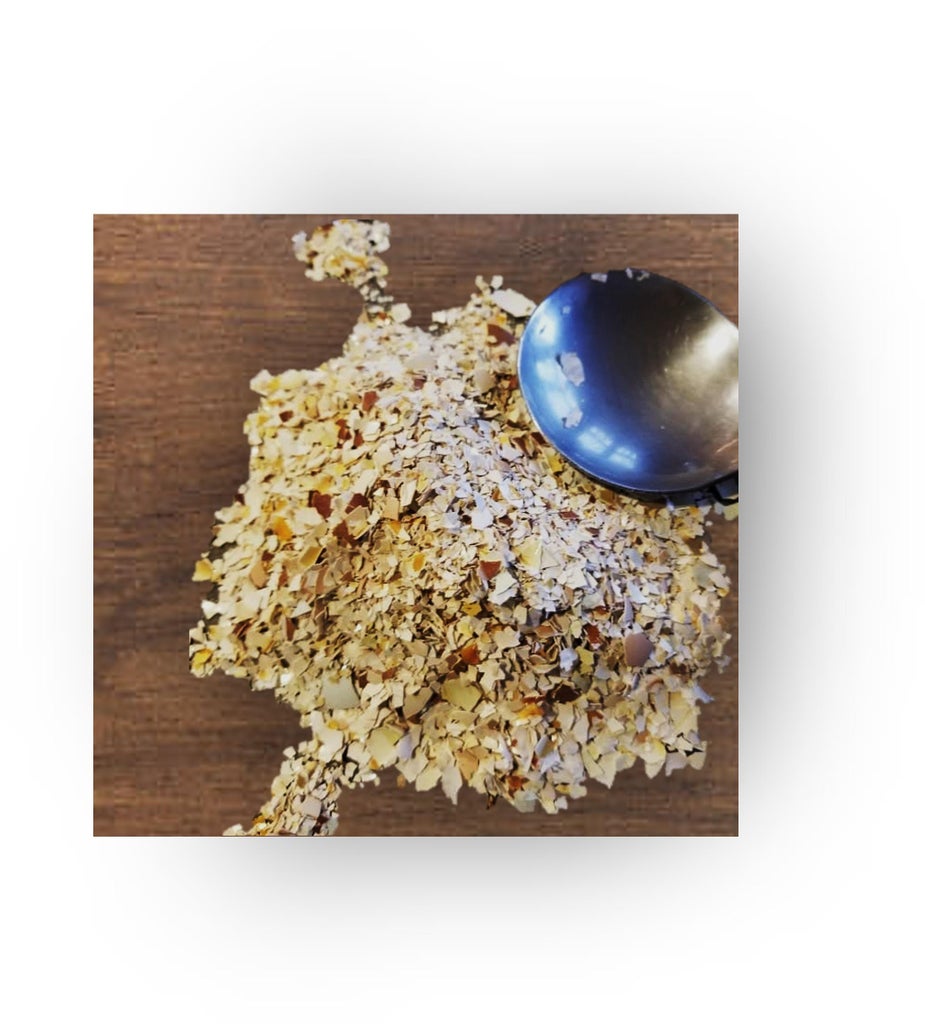
Preparing Eggshells:
- Obtain however many eggshells you require.
- The eggshells should be washed with water before being boiled for 15 minutes. I used a spoon to remove any white froth that is visible on the surface.
- I filled a tray with eggshells after straining the water.
- I then placed the eggshells in a 120 degrees oven for 20 minutes.
- After removing them from the oven, I used a spoon to crush the eggshells into a fine powder, however, any method can be used to crush them once they are totally dry.
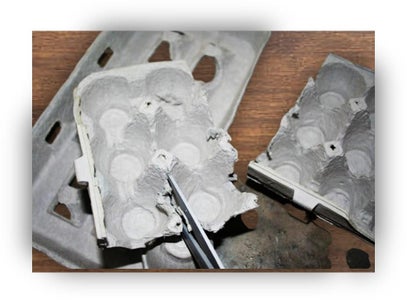
Preparing Egg cartons:
- I prepared the egg carton by first cutting it into small pieces.
- Then I used a blender to turn it into a fiber.
- The final product ought to have a texture similar to cotton.
- Then I added boiling water inside the bucket together with the fiber-like egg cartons, and then the combined mixture should be stored until it has cooled and is ready for later use.
Step 2: Making Moulds!
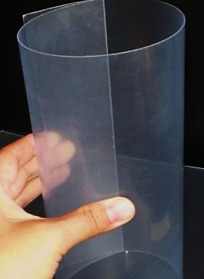
To begin, I cut the clear PET plastic to the necessary size.
- Height= 250 mm
- Length=300 mm
Fold the PET clear plastic in half after cutting. Next, measure a 45-degree angle from both the top and bottom corners using a protractor. After you have measured, use a marker to draw visible diagonal lines that will serve as a guide and a clear path for when you will be cutting. The diagonal lines at the top and bottom must be parallel.
Cut right along the drawn diagonal lines with a pair of scissors. Whichever you prefer, you can cut with a craft knife or a pair of scissors. When you have eliminated those portions, roll the PET plastic until the ends meet. I checked the diameter of the rolled plastic using a vernier caliper, although a ruler could also be used. The diameter should be 200 mm.
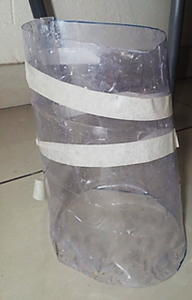
It ought to resemble an angled pipe when it is rolled. Take the white masking tape and wrap it around the plastic while still holding the ends of the plastic, ensure to keep the ends in touch and seal the plastic completely. The top and bottom of the mold will be open to allow for adequate airflow, allowing the material to dry out.
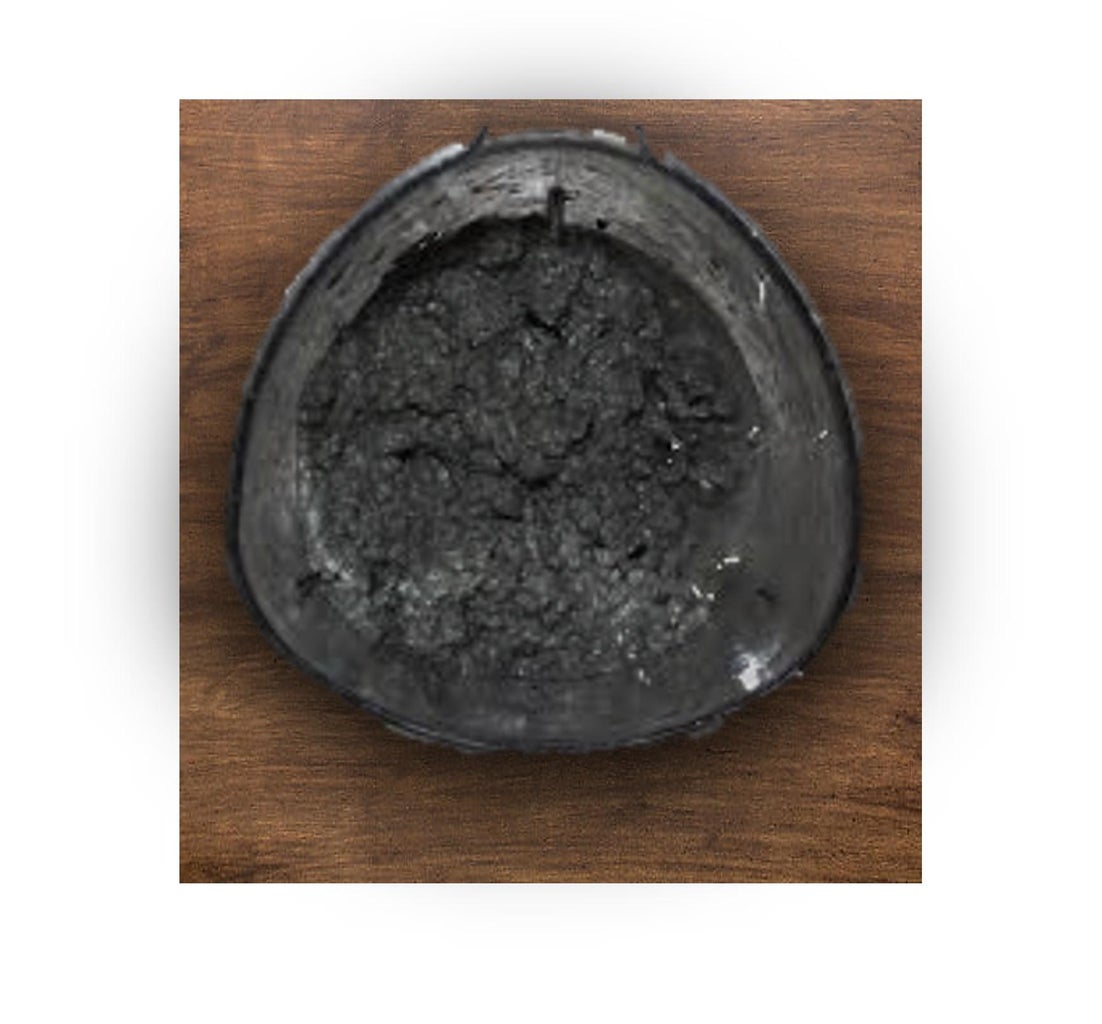
Step 3: Manufacturing the Bio-material
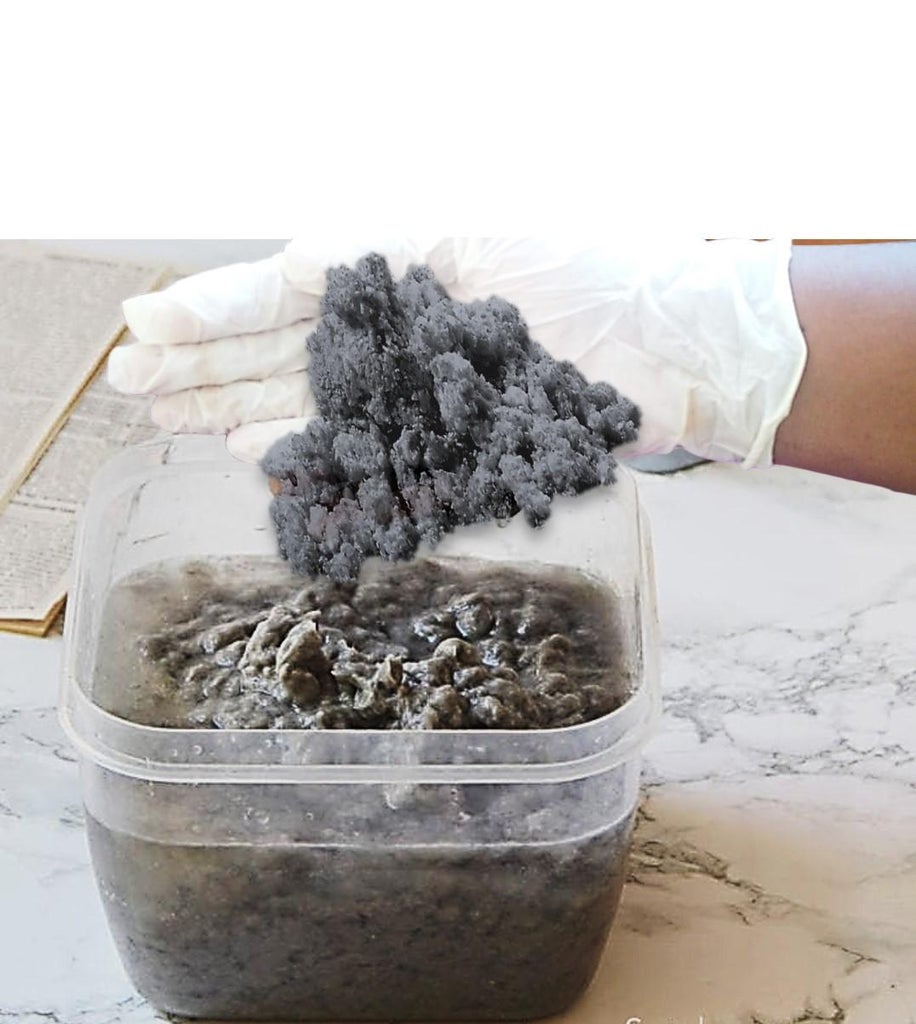
Wear rubber gloves, but if you want to touch the mixture with your hands, that's fine too because it doesn't contain anything that could hurt your hands. I wore them to prevent my hands from becoming soiled.
The egg-carton mixture should be placed in a bowl. Eliminate any extra water from the mixture. To filter the extra water, you can use anything. I squeezed extra water out of the egg-carton mixture with my palms.
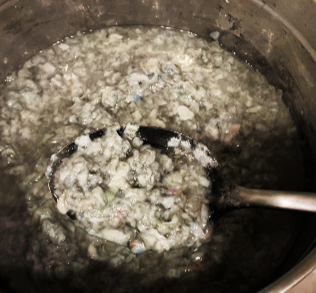
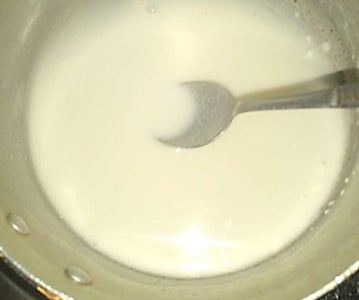
Add the flour, glycerin, vinegar, and water into a cooking pot and whisk to a homogeneous consistency. I added vinegar for the mixture to not smell awful.
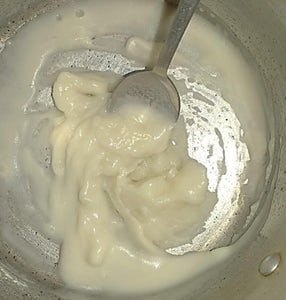
Wait for bubbles to begin to form after placing over medium heat. Until it becomes a paste, heat the cooking pot over medium heat. After removing from the heat, add the egg carton mixture.
To ensure that everything was thoroughly blended, I stirred the mixture with a spoon.
Before pouring it into the mold, allow it to cool for around 5 minutes to avoid burning or damaging the mold.
I've posted a list of the measurements needed to make the material below.
Attachments

Step 4: Moulding!
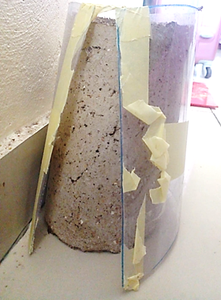
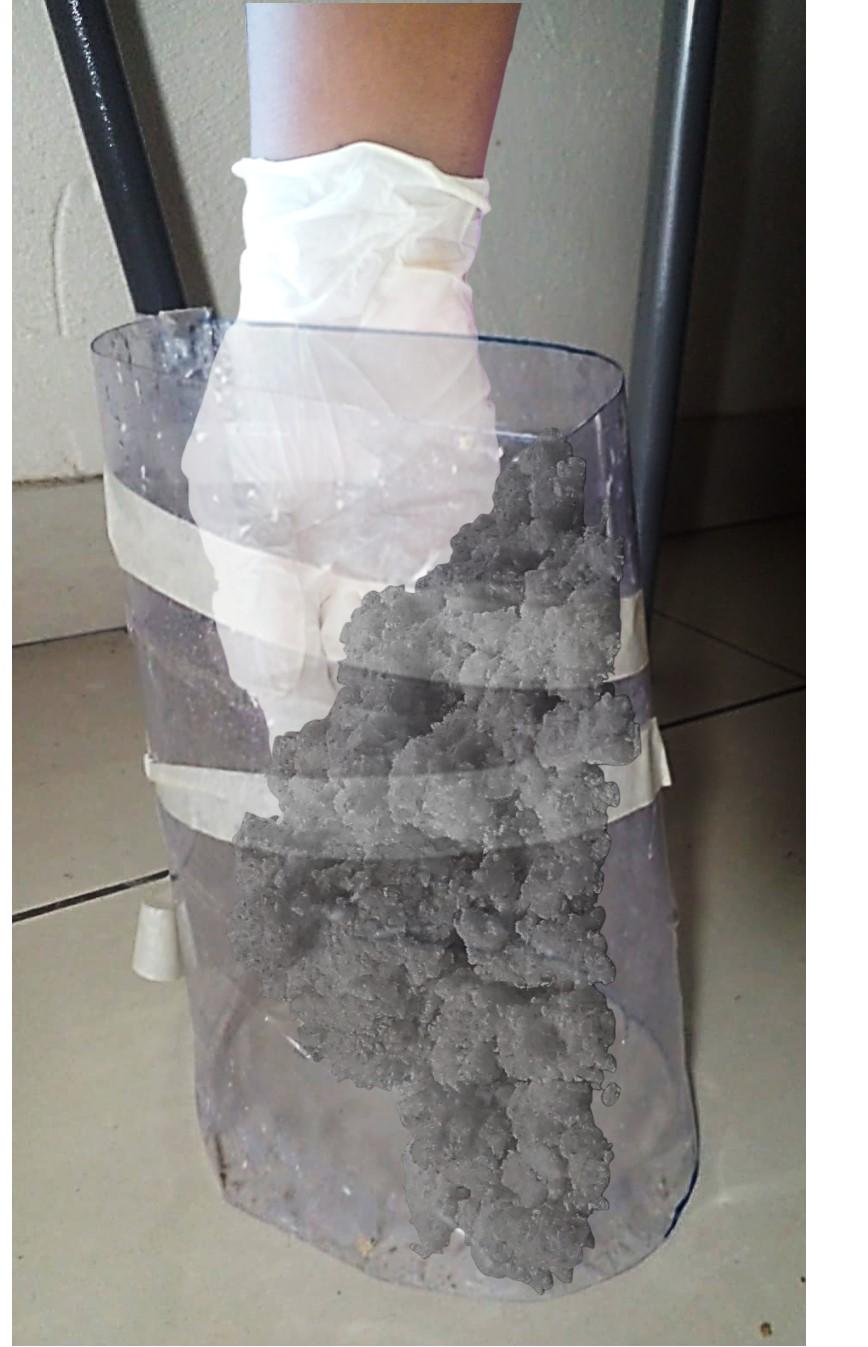
When the material has cooled, insert it into the mold using your hands rather than pouring it because the mould is open on top and bottom, and we want to create a hollow luminaire. It won't come off the mould because of how sticky the substance is.
Let it dry for a day once you are finished attaching the material.
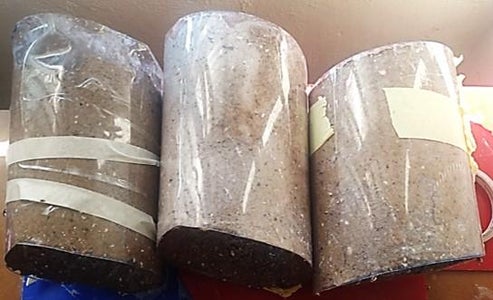
The same mould may be used to create all the luminaires, but I produced three molds instead to allow them to all dry at once and to save time.
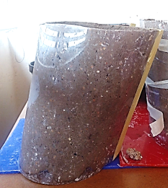
Once the material has set, remove it from the mould and dry it completely in the sun or a dehydrator.
Cut the tape covering the mold with a pair of scissors to release the set luminaire.
Step 5: Dyeing the Luminaire
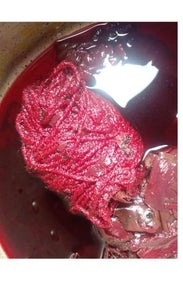

Put the beetroots and the white wool thread in a pot and add water to fill the pot halfway. begin by cooking beets for 30 minutes at a high temperature. The dye is prepared if the water has turned maroon. Take the pot off the heat and let it cool.
Wearing rubber gloves, remove the beets and the wool thread from the pot once it has cooled, and your natural dye is then ready. Set aside the naturally dyed wool to dry.
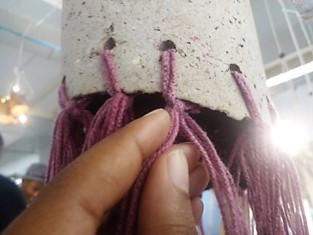
Luminaire 1: When the wool had dried, I took it and knotted it on the holes I had drilled after it has dried, but you can tie it however you like.
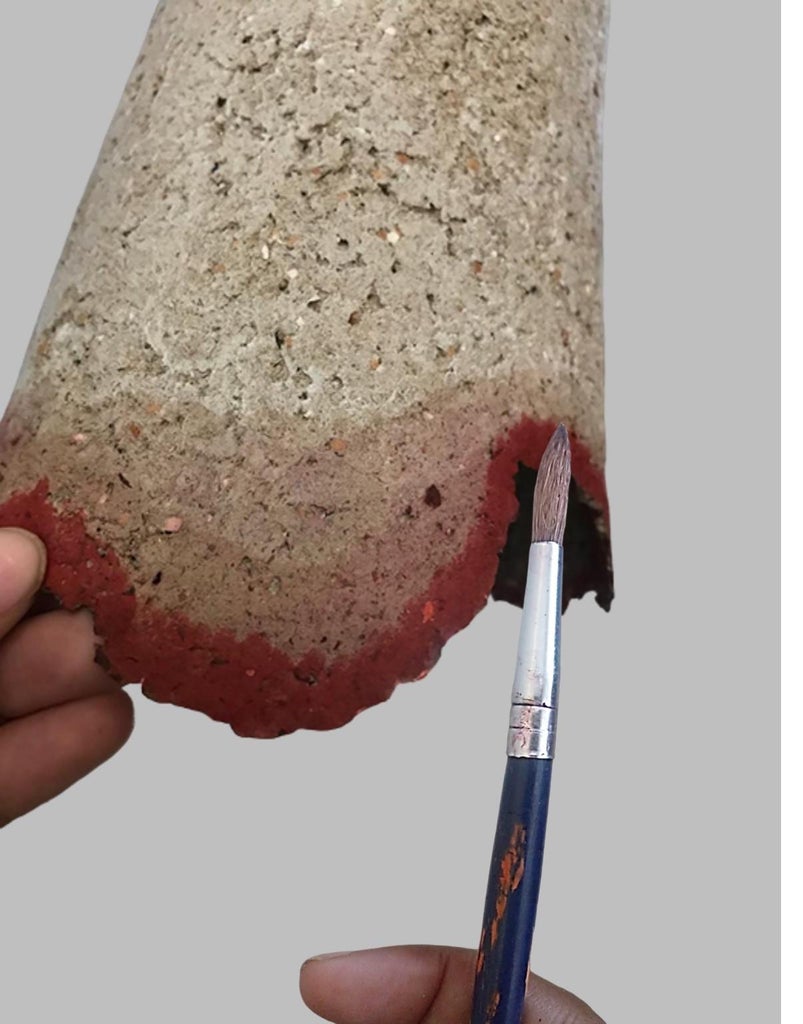
Luminaire 2: I painted the bottom, which has a cracked appearance, using a painting brush to make it more vivid. I started by diluting the dye water to create a lighter layer, and then I used beet peels to intensify the color at the top and bottom of the cracked look. Any brush size can be used.
Luminaire 3: I started by dyeing the luminaire's entire surface. I grabbed the wet beetroot peels and strewnly affixed them to the luminaire when it had dried. They will use the sugar-water from the beet peels to bond, so no glue is required.
Step 6: Completing the Luminaire
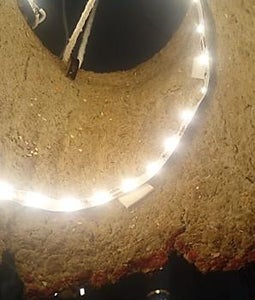
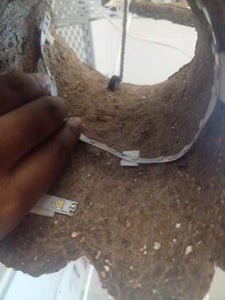

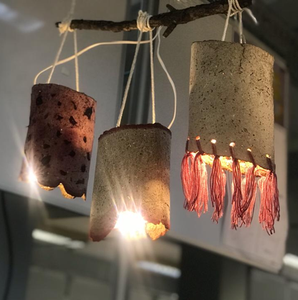
After the luminaires have had time to set, install the LED strip lights inside of them. Attach them in a spiral manner.
Step 7: Hang the Luminaires and Enjoy!

This is an entry in the
Big and Small Contest


Comments