
Introduction: Plant Miniature From Paper


Previously, I made the Houseplant Miniature from paper. This time I am going to show you how I made flower miniature from paper. The flowers that I made were Gerbera daisy, Zantedeschia or calla lily, and Venus fly trap (Dionaea muscipula). This project would be perfect for your miniature dollhouse, more than that, you can give it to your beloved "plant mom".
Let's rock!
Supplies
- Papers (various colors)
- Scissors
- Cutting pen
- Tweezers
- PVAc glue
- Paper hole puncher
- Cutting mat
Step 1: Gerbera Daisy


The Flower
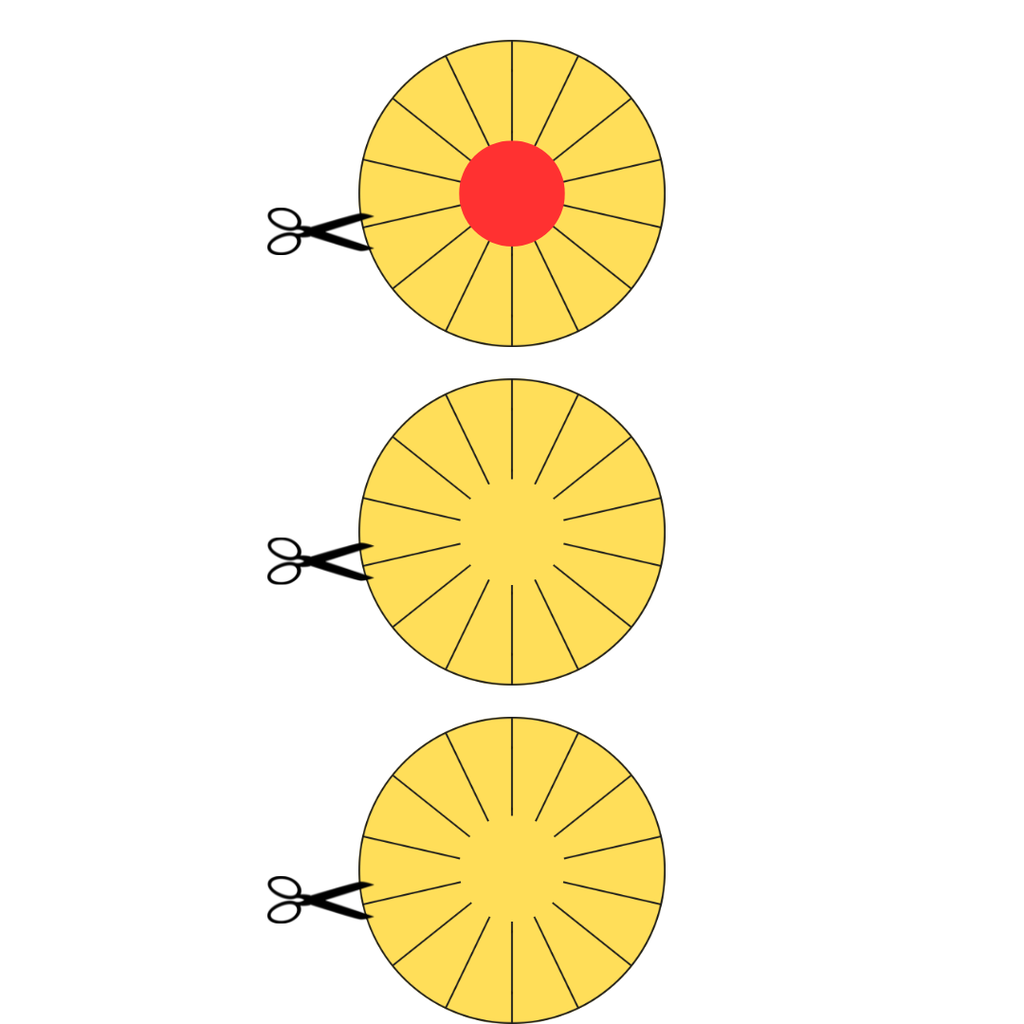
Firstly I made the stem using 0.3 cm width paper strip with 1.5 cm long, then I rolled the strip to make a stem. Then I made circles using a paper puncher. One flower needed three layers of circle. Cut a smaller circle (red paper) and glue it down to one of the bigger circles (yellow paper). I made cuts from the center to the edge of the circle to make fringe (using a cutting pen). I apllied a little glue on the center of each yellow circle and stucked all of them. Remember that the glue must not touch the fringe/cut line so that we can make the fringe looks like daisy's petals. After that bud the flower. Lastly glue the stem to the flower and arrange the flowers.
The pot
This time, I used the tight coil technique to make the pot. I used a 0.3 cm width and 44 cm long paper strip, then rolled it using my fingertip to make a tight coil. secure the coil at the end of the strip. I used my pinky finger to mold the tight coil to make a dome. Make sure the peak of the dome is flat so that the pot can stand. Secure the shape of the pot by adding some glue inside the pot. Spread the glue and wait till dry
Planting
After the pot and the plant were ready, I cut a 0.3 cm width paper strip and crumbled it and then glue it down inside the pot to help the plant stand inside the pot. After that I glued the flowers in the center of the pot.
Step 2: Calla Lily


The Flower
To make the yellow finger-like spadix of calla lily, I cut a triangle shape from yellow paper and then glue it and roll it around the tip of the stem (from previous step). After that I made the spathe by cutting a circle shape from paper (I used white and dark purple) using paper puncher, and then fold it like a crepes (I don't know how to explain it, but I give you the crepes fold example from google image). Cut a little bit at the top to make the spathe look a little bit pointed. After that glue the stem and spadix to the center of the spathe.
I also added some leaves by cutting 0.3 cm width paper strip about 1-1.5 cm long, cut the tip to make it a bit long pointed-leave like shape. Glue the leave to the stem.
The pot
I used this technique so many times to make a ring coil. I used a 1 cm width paper strip and also a Sakura Souffle pen to help me make the coil. I simply rolled my strip around my pen, adding a little glue to the beginning end to keep it still. Then roll the paper (I rolled up to 3 layers of paper so that the pot look thicker than the actual thickness of the paper). Glue to secure the paper when you reach the end of the strip. The ring is complete. Remove gently from the pen. I cut some thin strips from the white paper strip and then glue them down on the pot to add more detail. Cut a circle for the base of the pot
Planting
Glue the flowers and leaves inside the pot
Step 3: Venus Fly Trap


The Flower
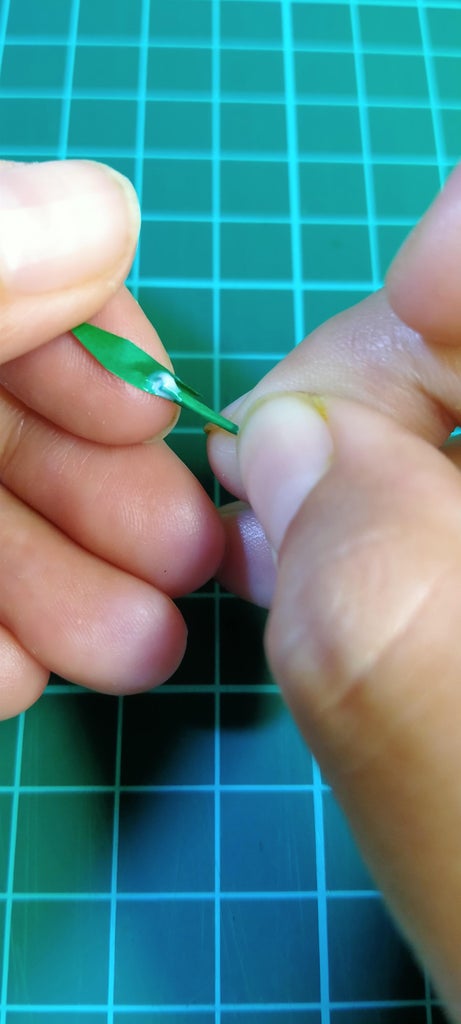
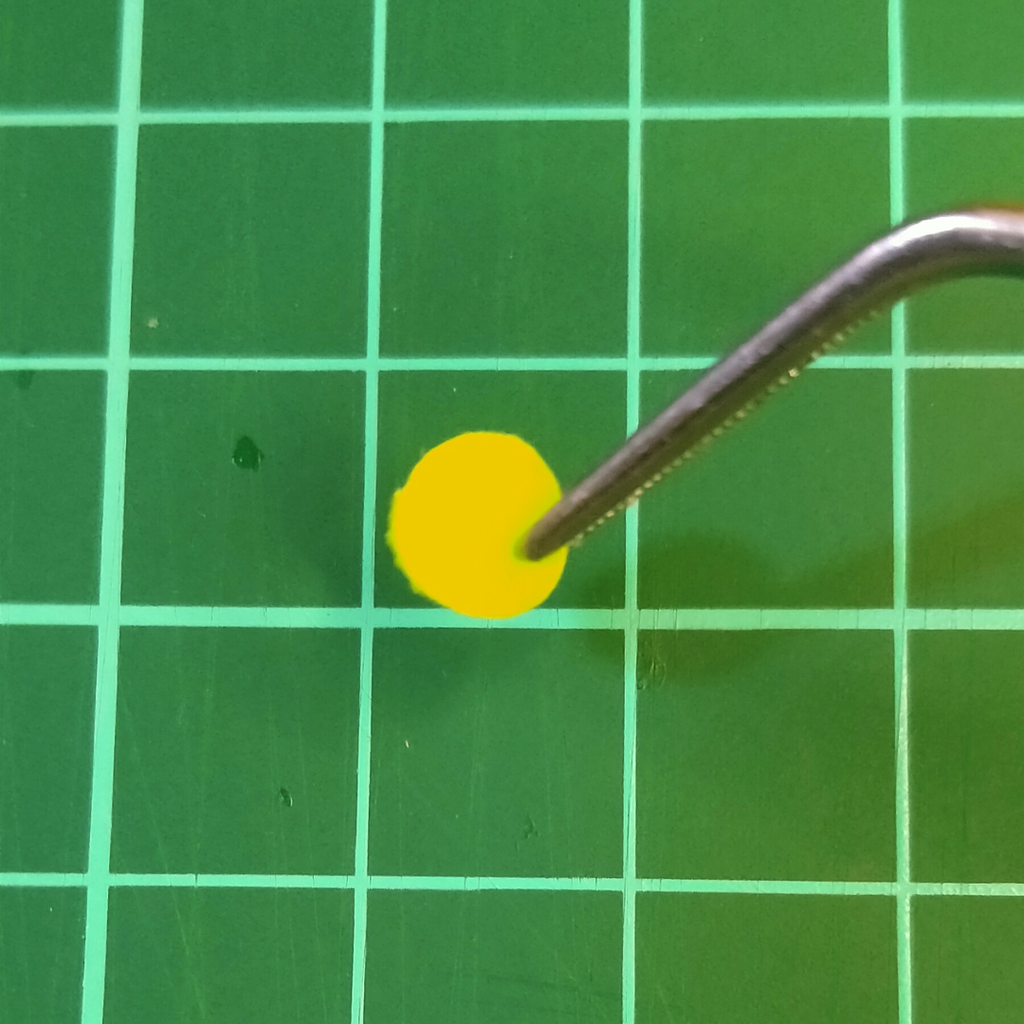
This one is my favorilte! I have seen venus fly trap very often, but only this second I found out that vanus fly trap can also bloom. First to make the lobe, cut a circle from a paper using hole puncher, then fold into two. Cut the edge of the lobe using cutting pen to make the teeth as you can see in the picture. Second, I made the petiole (stem) by cutting 0.3 cm width and 1 cm long paper strip, then I made a half cut (red strip line) as you can see in the picture. I rolled the longer part to make the petiole, and applied a little amount of glue on the shortest part and them glue it to the lobe.
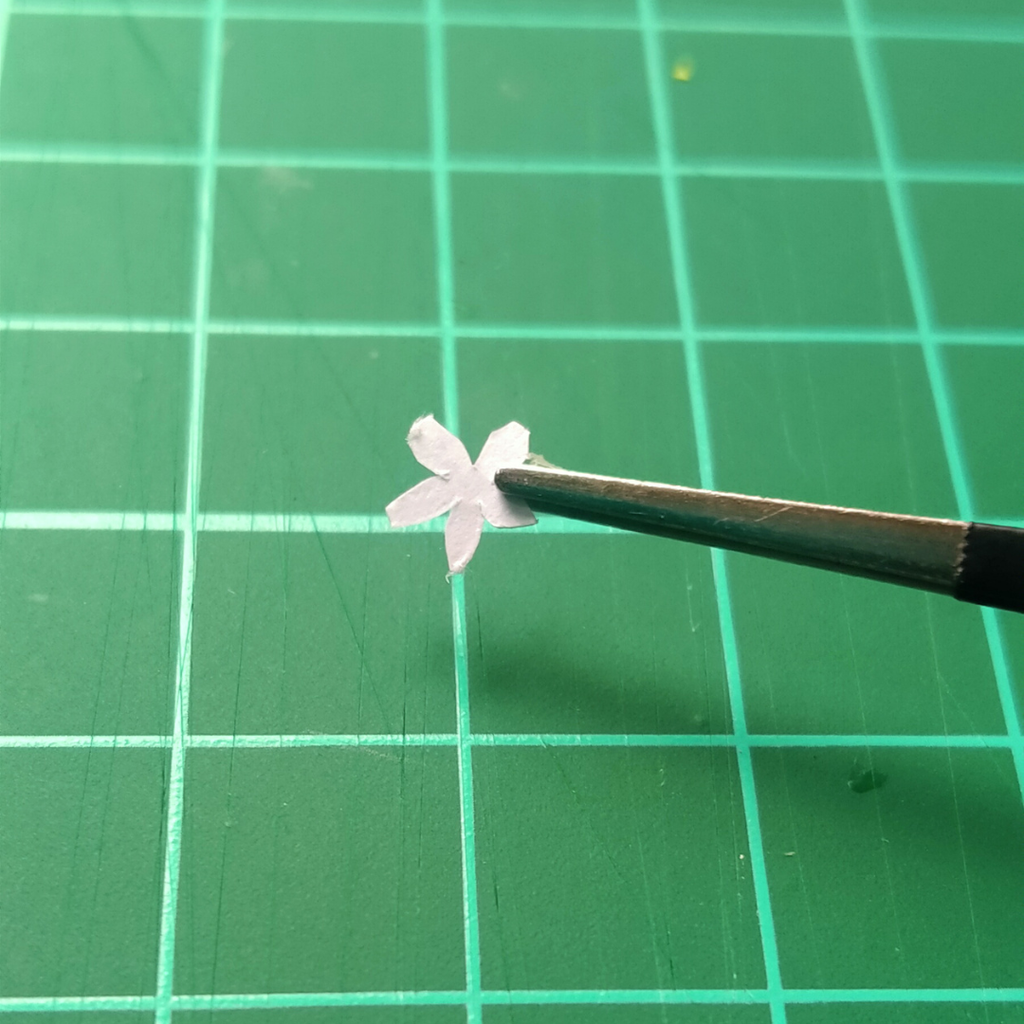
To make the pinkish part inside the lobe, I cut a circle from pink paper, I made sure that the size was smaller than the lobe. Then, glue it inside the lobe. After that, I made the flower that quite simple. I cut a circle using a hole puncher, then I cut it again to make 5 petal-shape using a cutting pen. I cut a smaller circle from green paper and glue it on the center of the petal. I used 0.3 cm width paper strip and then rolled it to make a stem for the flower.
The Pot
In this part I used the same technique as the previous one, that is the ring coil technique. I just added some accent to make it a little bit different. Also the height of the pot is quite shorter than the others, because I thought that short pot is suitable for plants like succulent and also this venus fly trap.
The Planting
Glue the flowers and leaves inside the pot. I you want to make it sturdier, you can add a rolled a 0.3 cm width paper strip around the lower part of the plant.
Step 4: Enjoy the Small World

Now that I made some miniature plants, I am driven to make more miniatures, like miniature greenhouse or some small furniture to create a miniature scene. I hope that you will find this instructable inspires you, and see you on the next instructable :)

Finalist in the
Big and Small Contest


3 Comments
1 hour ago
My hat is off to you!
1 day ago
This is so amazing! I love how much detail there is in them ☺️
5 days ago
How cute! :D