
Introduction: DIY A3 LightBox With Electronic Controllers


Looking for a creative and inexpensive way to make a lightbox?
Look no further than this DIY A3 Lightbox tutorial! In this video, I'll show you how to make your very own lightbox using simple materials you can find at your local craft store. Whether you're a photographer, artist, or crafter, this lightbox is perfect for illuminating your work and bringing your creativity to life.
Visit my Website - https://infinityworkshop.in/
Link to the Files - https://infinityworkshop.in/product/diy-a3-lightbox-files
In this tutorial, you'll learn how to construct the frame, install the lighting, and create a translucent surface for your lightbox. You'll also get tips and tricks for customizing your lightbox to suit your specific needs and preferences.
With this easy-to-follow tutorial, you'll be able to create a beautiful and functional lightbox in no time! So grab your materials and let's get started!
The goal of light tracing is to help artists and designers transfer and replicate images with high accuracy and precision. By using a light source to illuminate the image, artists can trace over the lines and shapes they see onto a new surface. This technique can be used for a variety of applications, including creating accurate technical drawings, transferring sketches to canvas for painting, or creating animations. The ultimate goal of light tracing is to create a faithful and detailed representation of the original image, while also allowing the artist to add their own personal style and interpretation.
Step 1: Things We Are Going to Need


For this project... We will need only some basic tools...
- 3d printer + PLA Filament / a paper printer (laser)
- Masking Tape
- Masonite Board (2mm)
- Clear / White Acrylic sheet (2mm)
- Craft Glue
- E8000 Glue
- Copper Wire
- 12 Volt 5050 SMD LED Strip
- Silver Vinyl Paper
- Paints
- Paintbrush
- Templates and files
- 12 Volt PWM Voltage Regulator
- 12 Volt Barrel female connector
- Soldering Iron
- Some random tools and items
- Crack Filler compound
- Sand Paper (220 & 400 grit)
- Drill Machine + Drill Bit
- 12 Volt 5 Amp Power Supply
- Some more random tools and materials
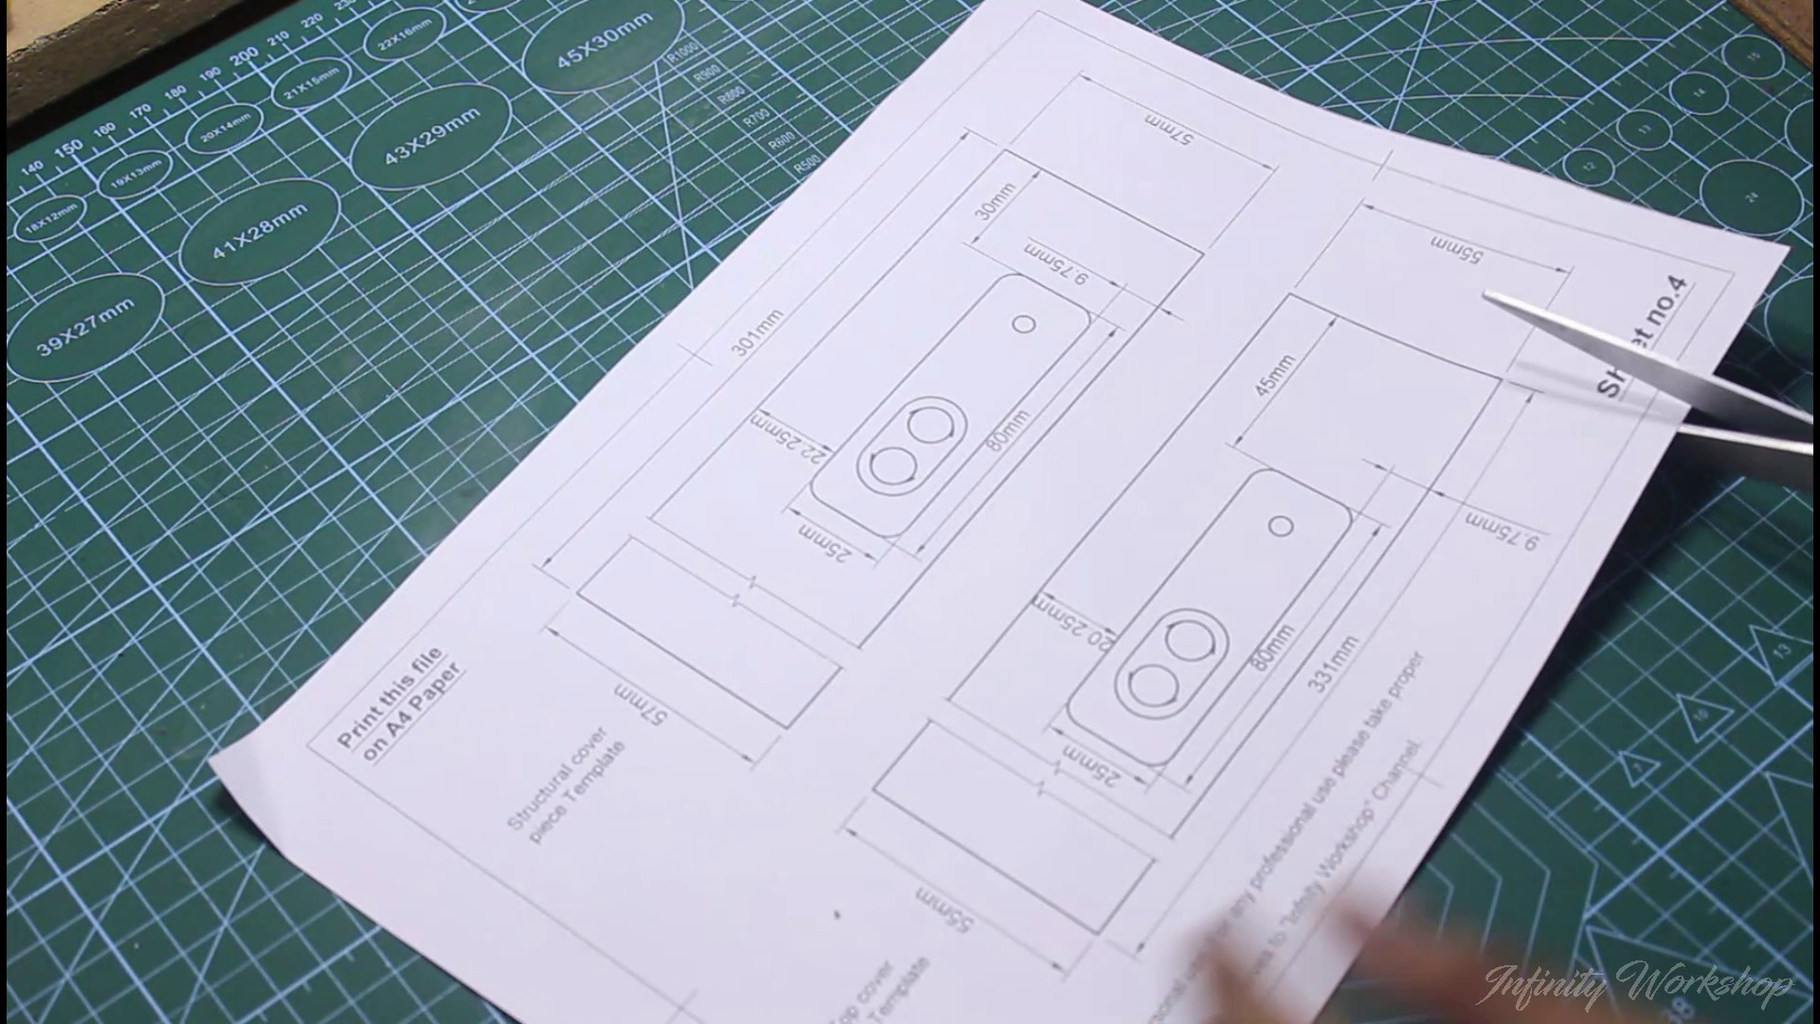
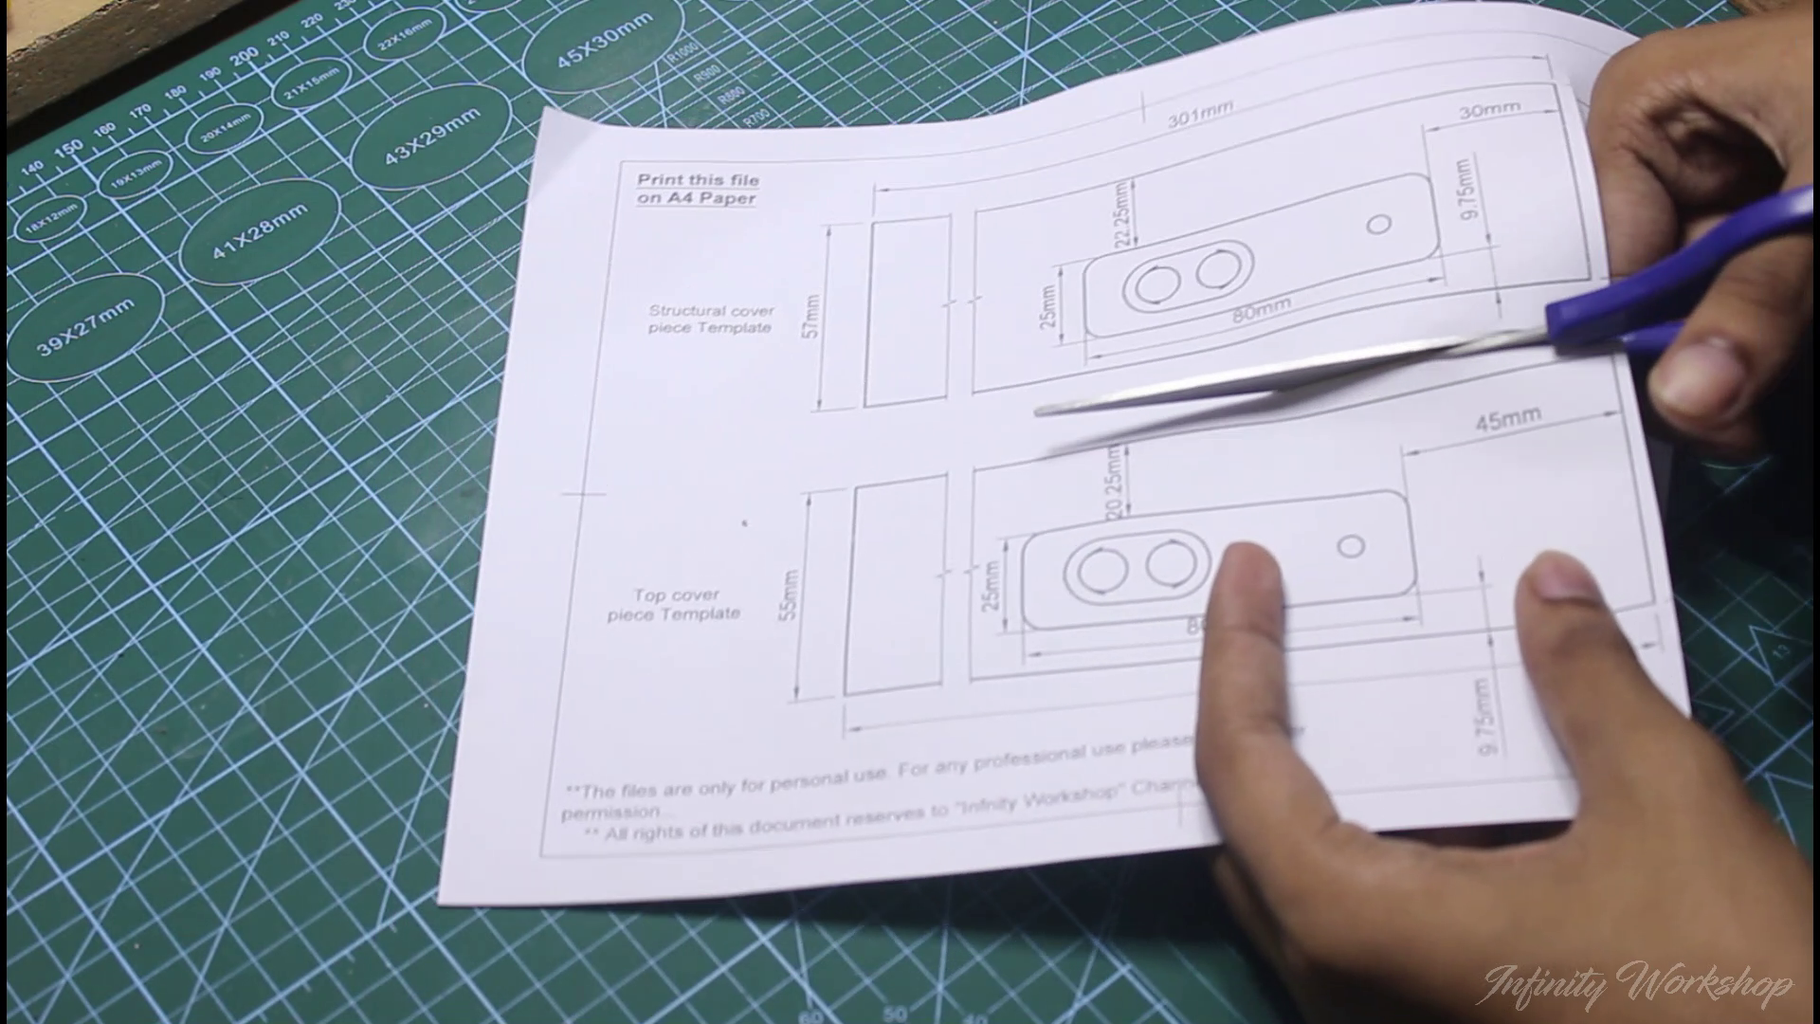
Step 2: Cut the Pieces Into Appropriate Size

If you're planning to make this project, it's crucial to have the right tools and techniques at hand.
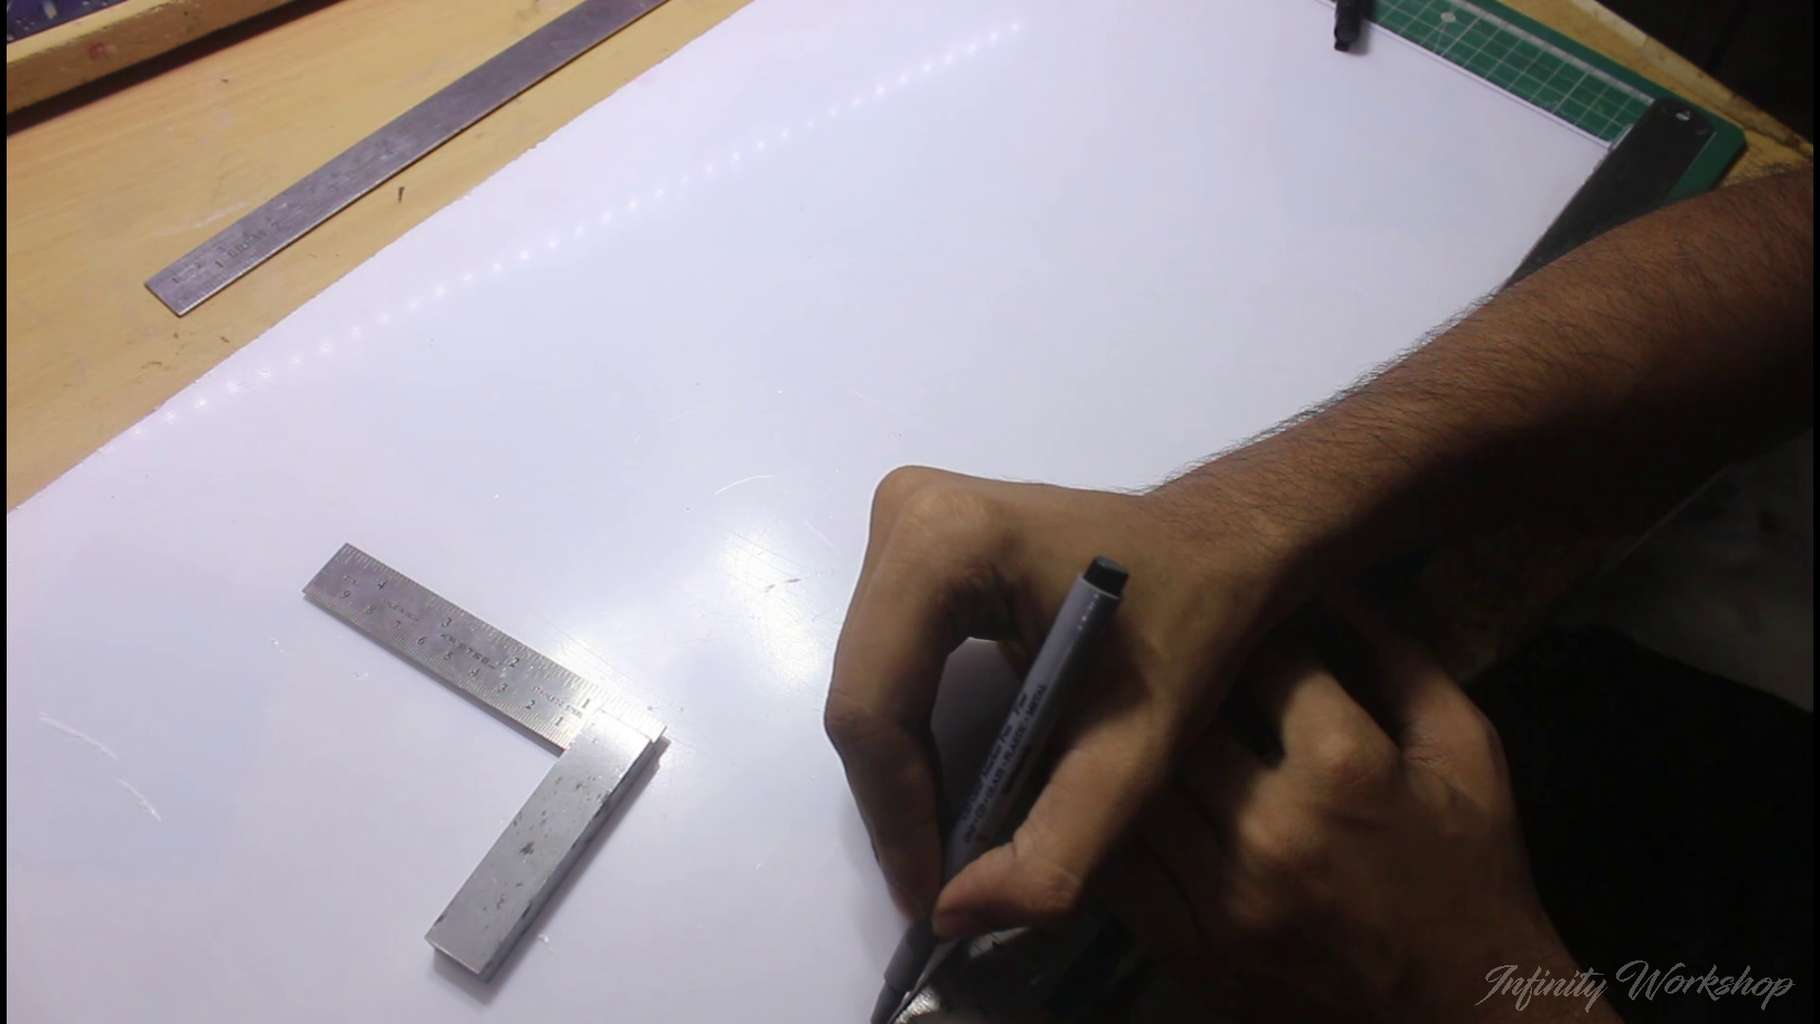
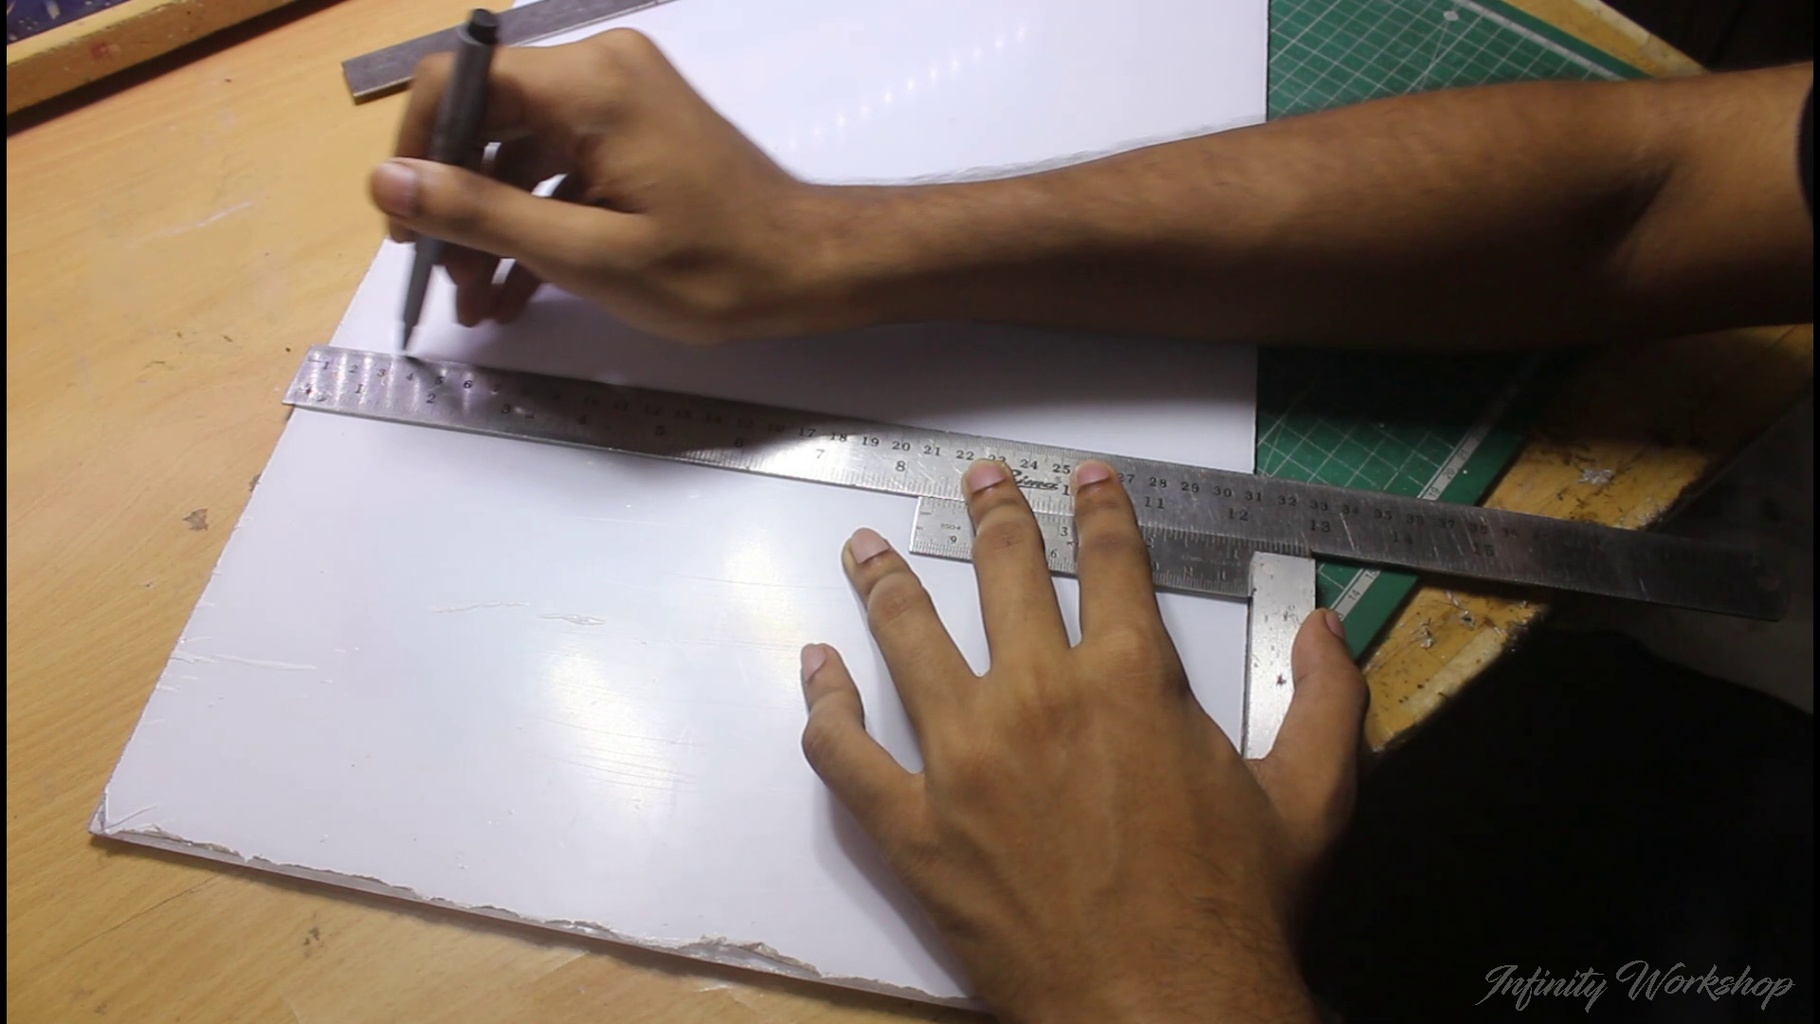
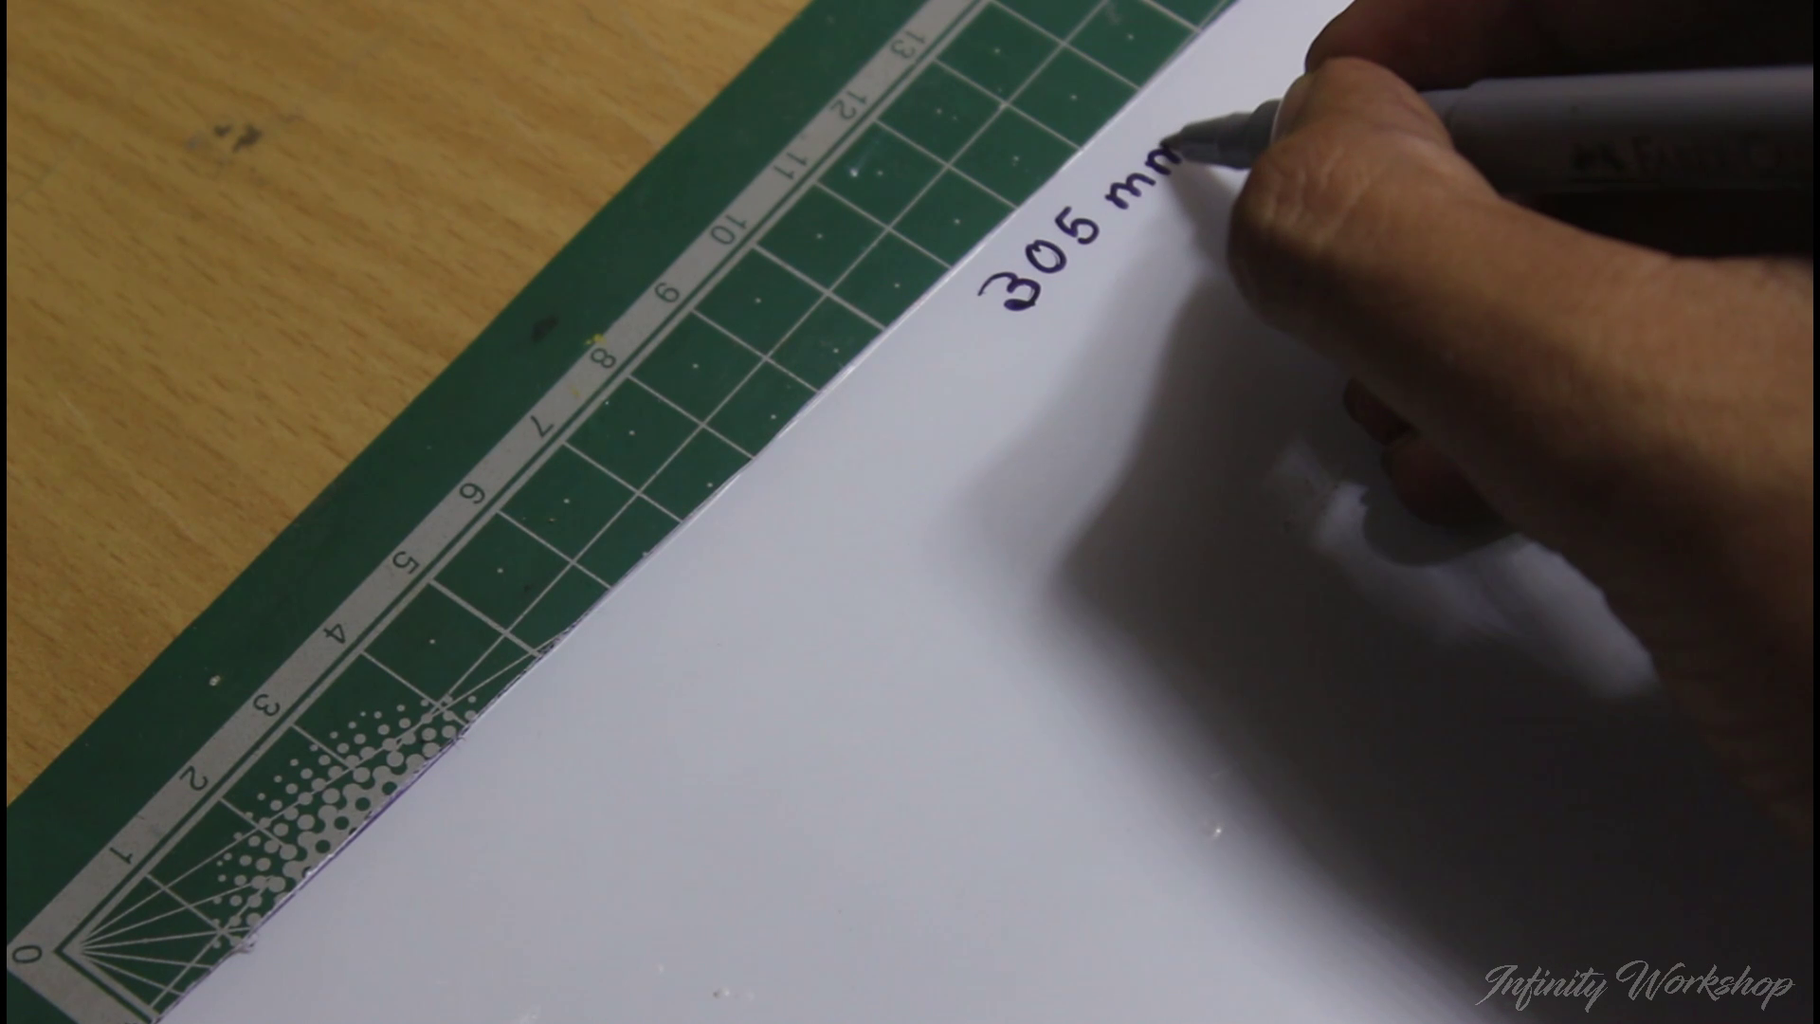
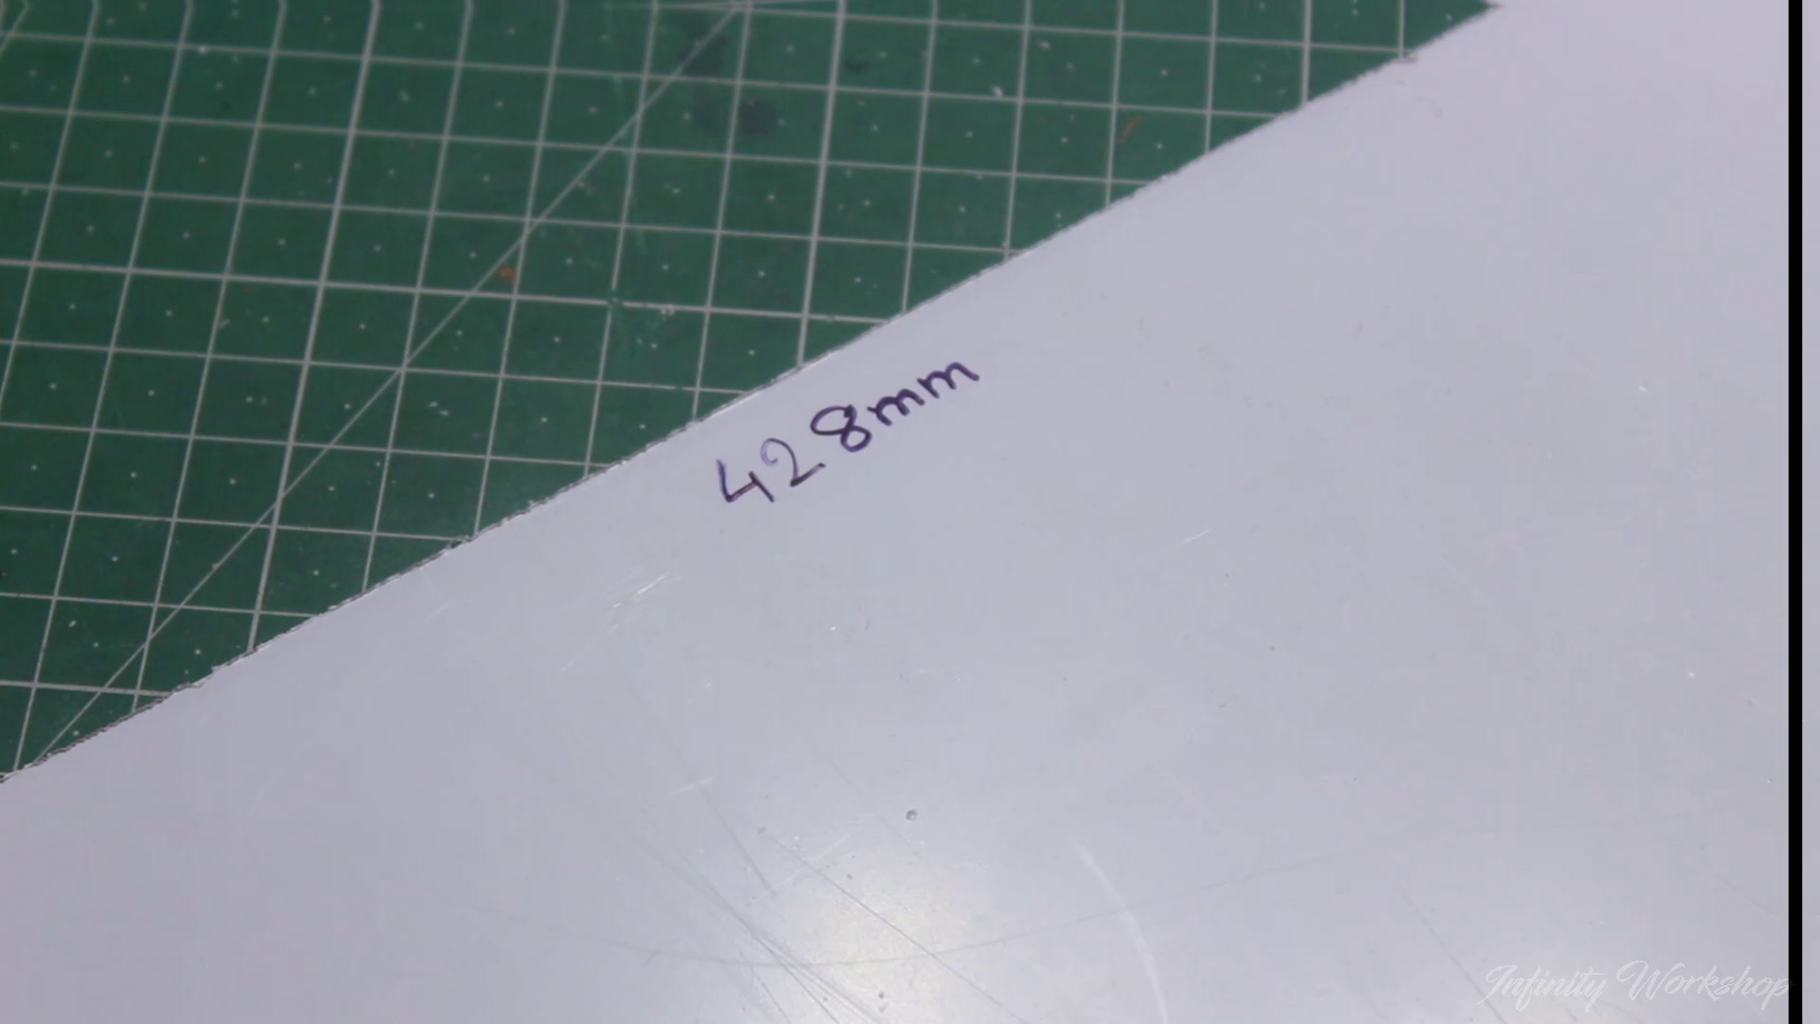
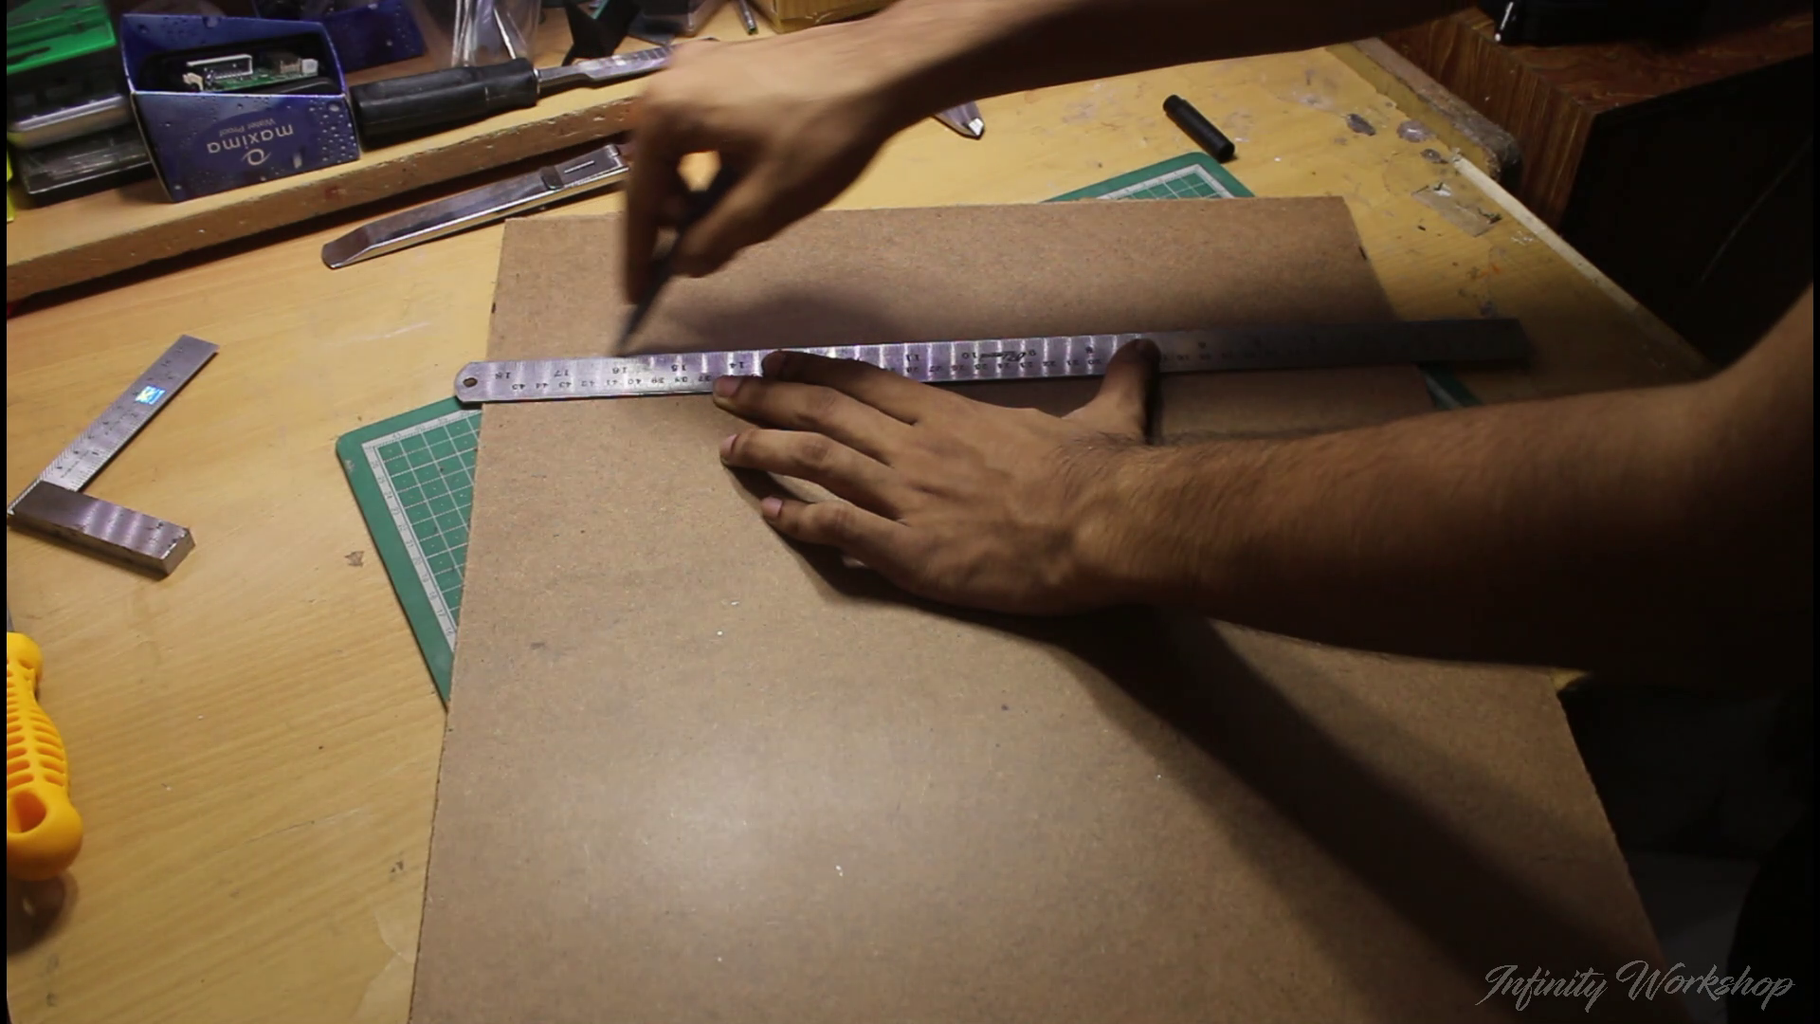
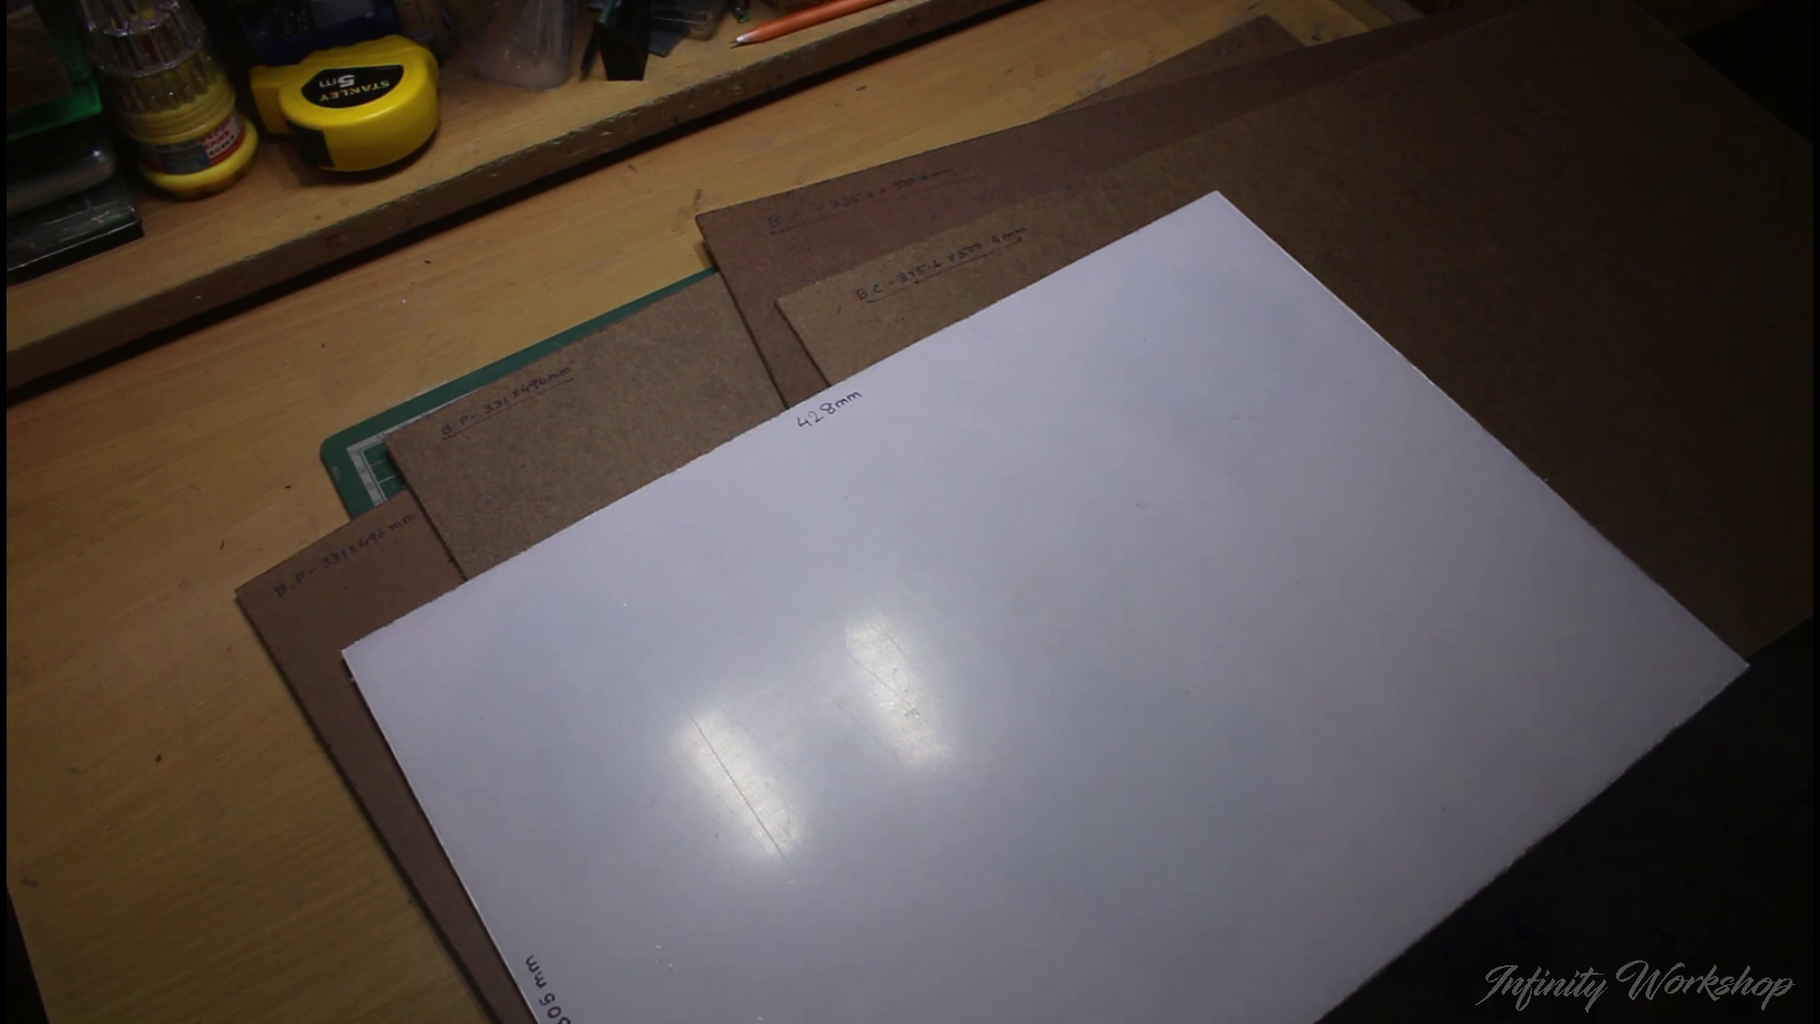
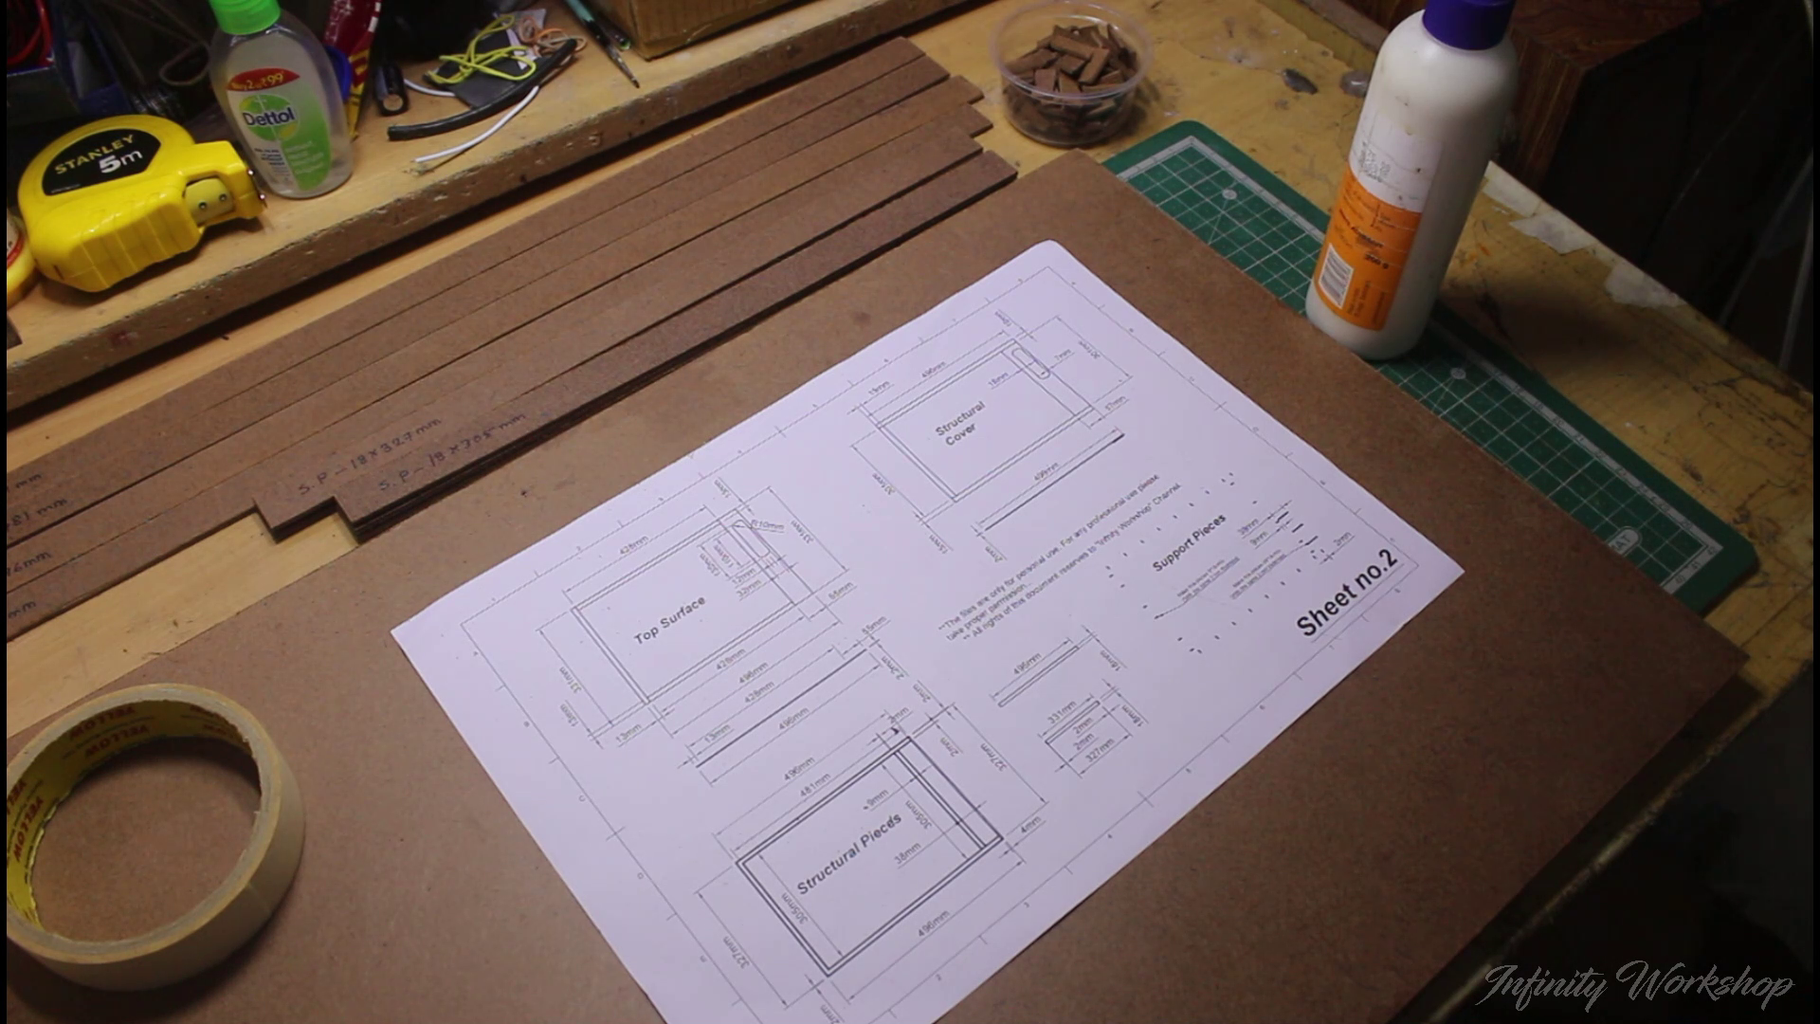
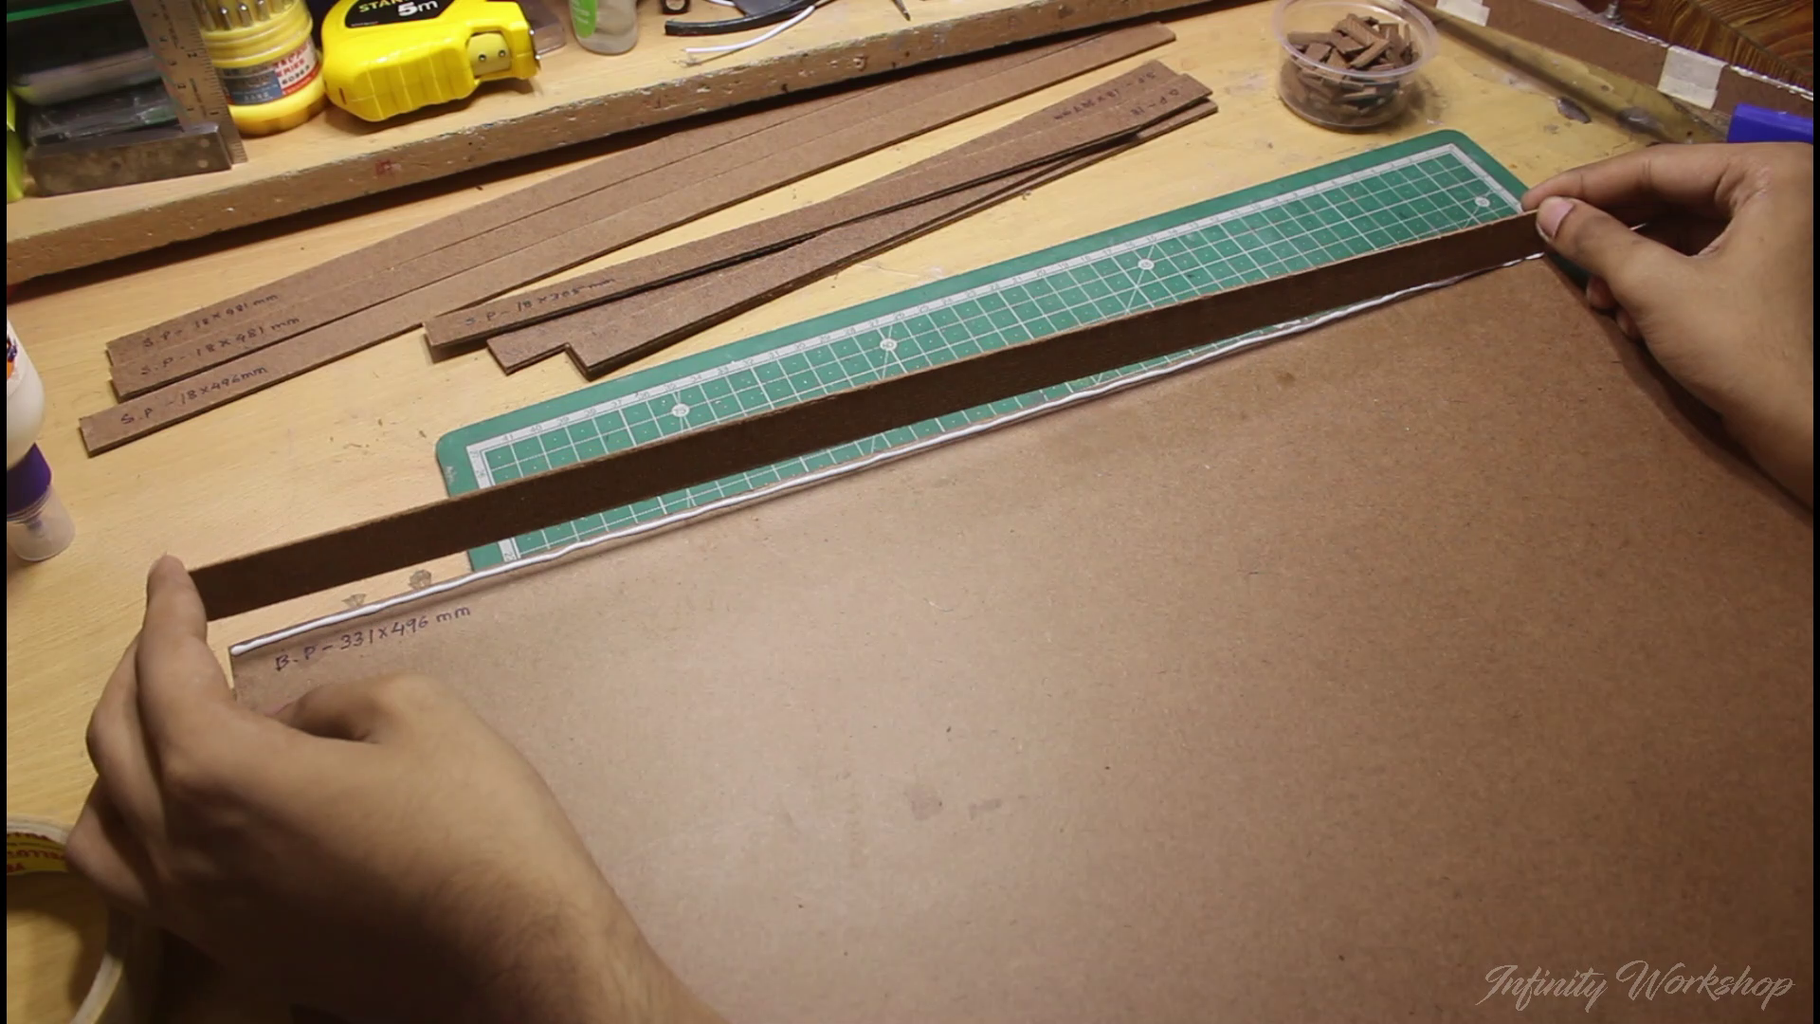
Firstly, take the time to mark out the sheet in the appropriate size using my guide templates, which are expertly designed to make the process as smooth as possible.
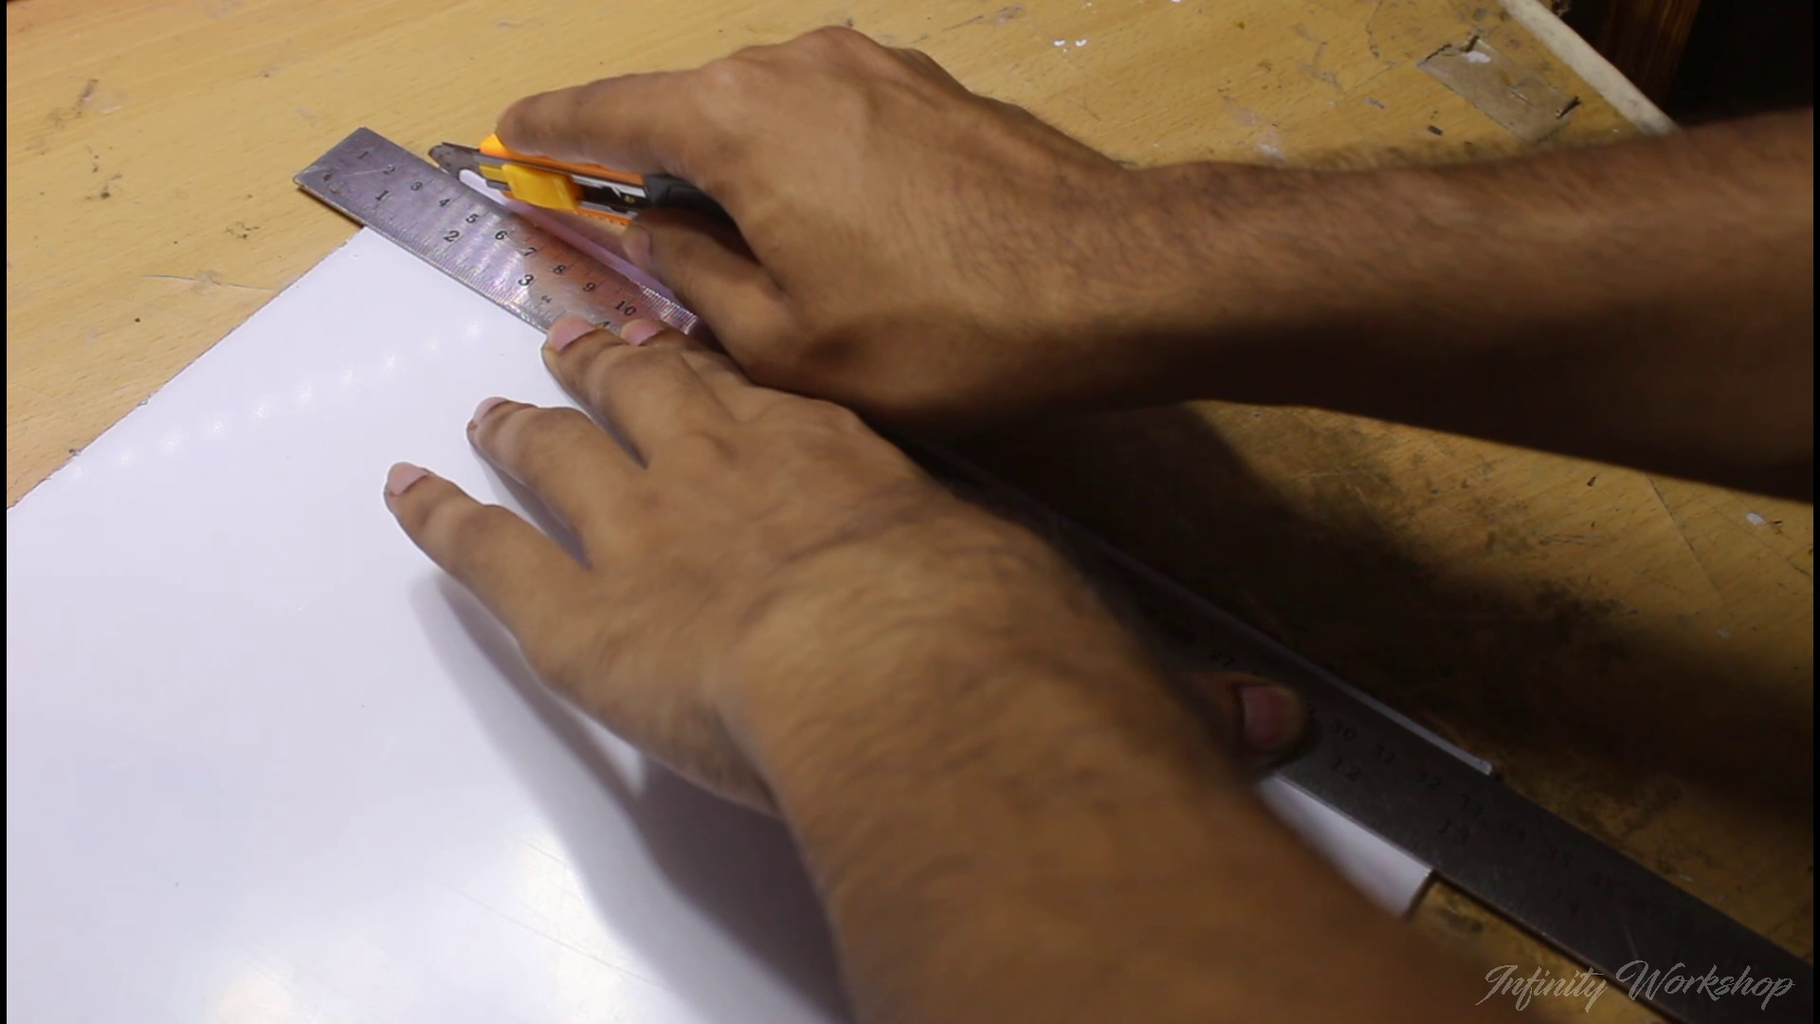
Once you've got your dimensions mapped out, it's time to bring out your acrylic cutter and trim the excess.
With a little bit of patience and attention to detail, you'll have a perfectly sized piece of acrylic ready to use in your project.
And the best part? You can get access to all my expert guide templates right now on my website, WWW.InfinityWorkshop.IN. Don't hesitate to take advantage of this valuable resource and elevate your DIY game today!
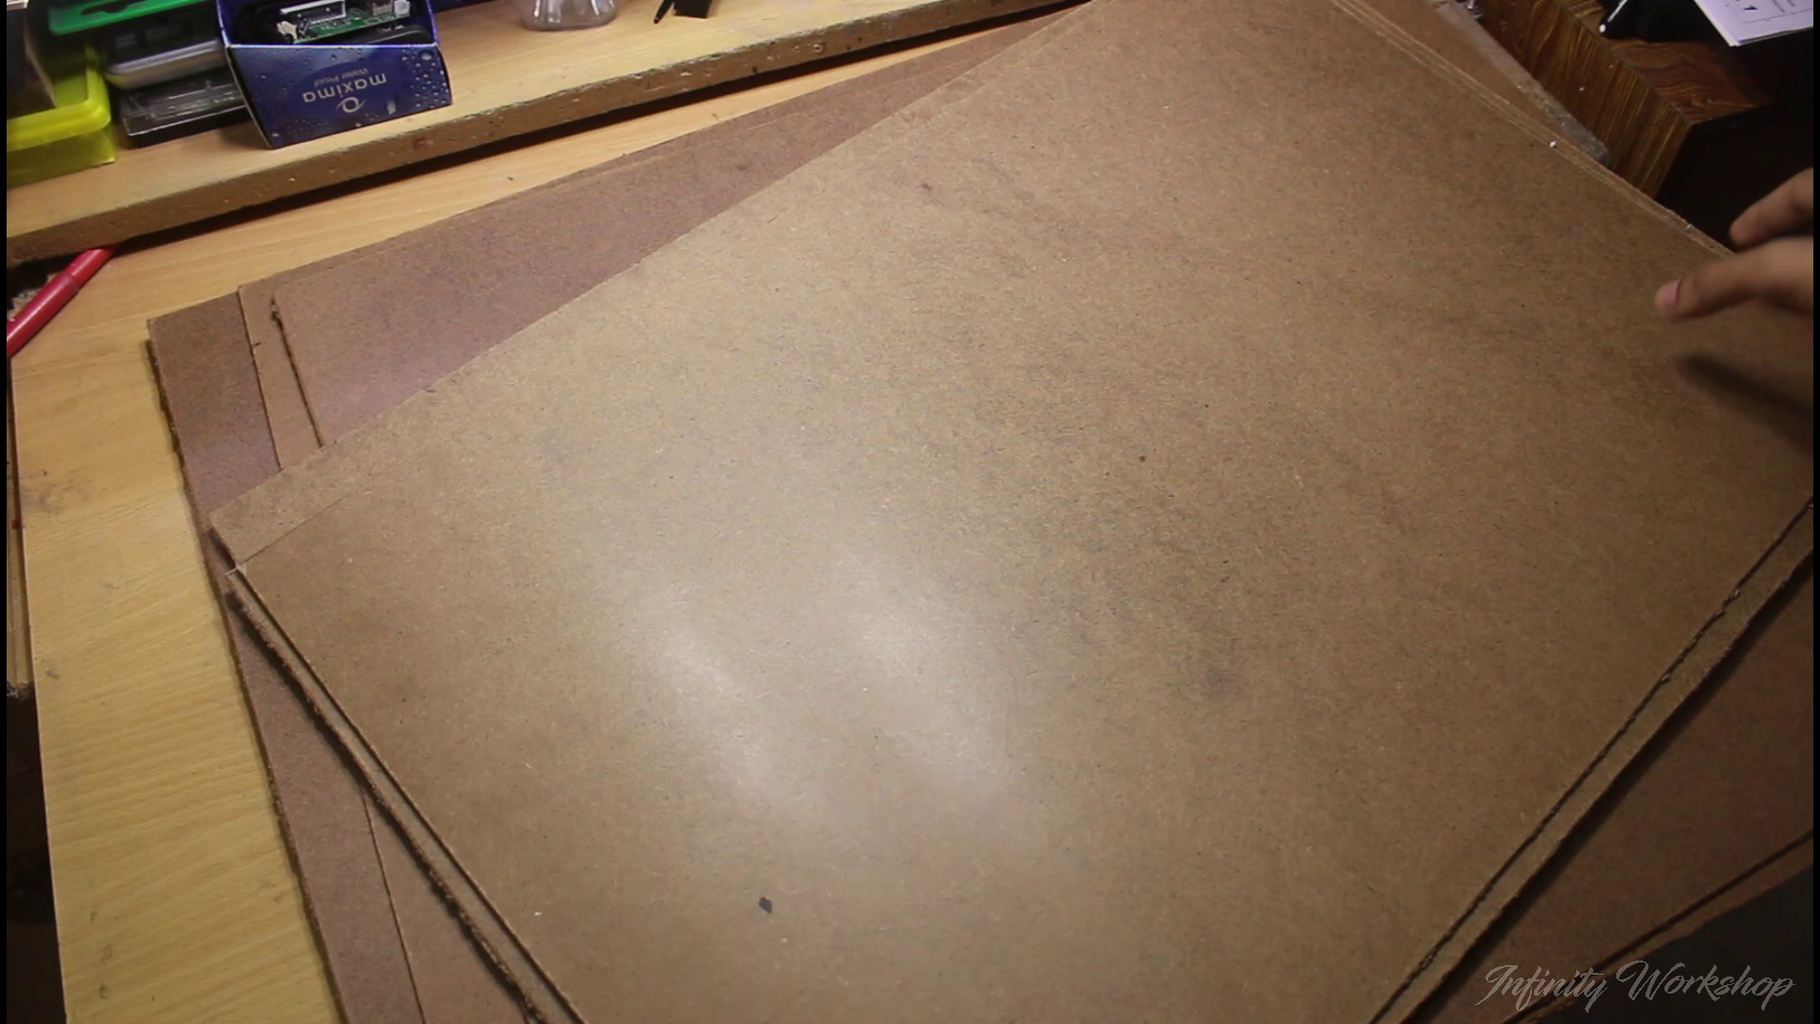
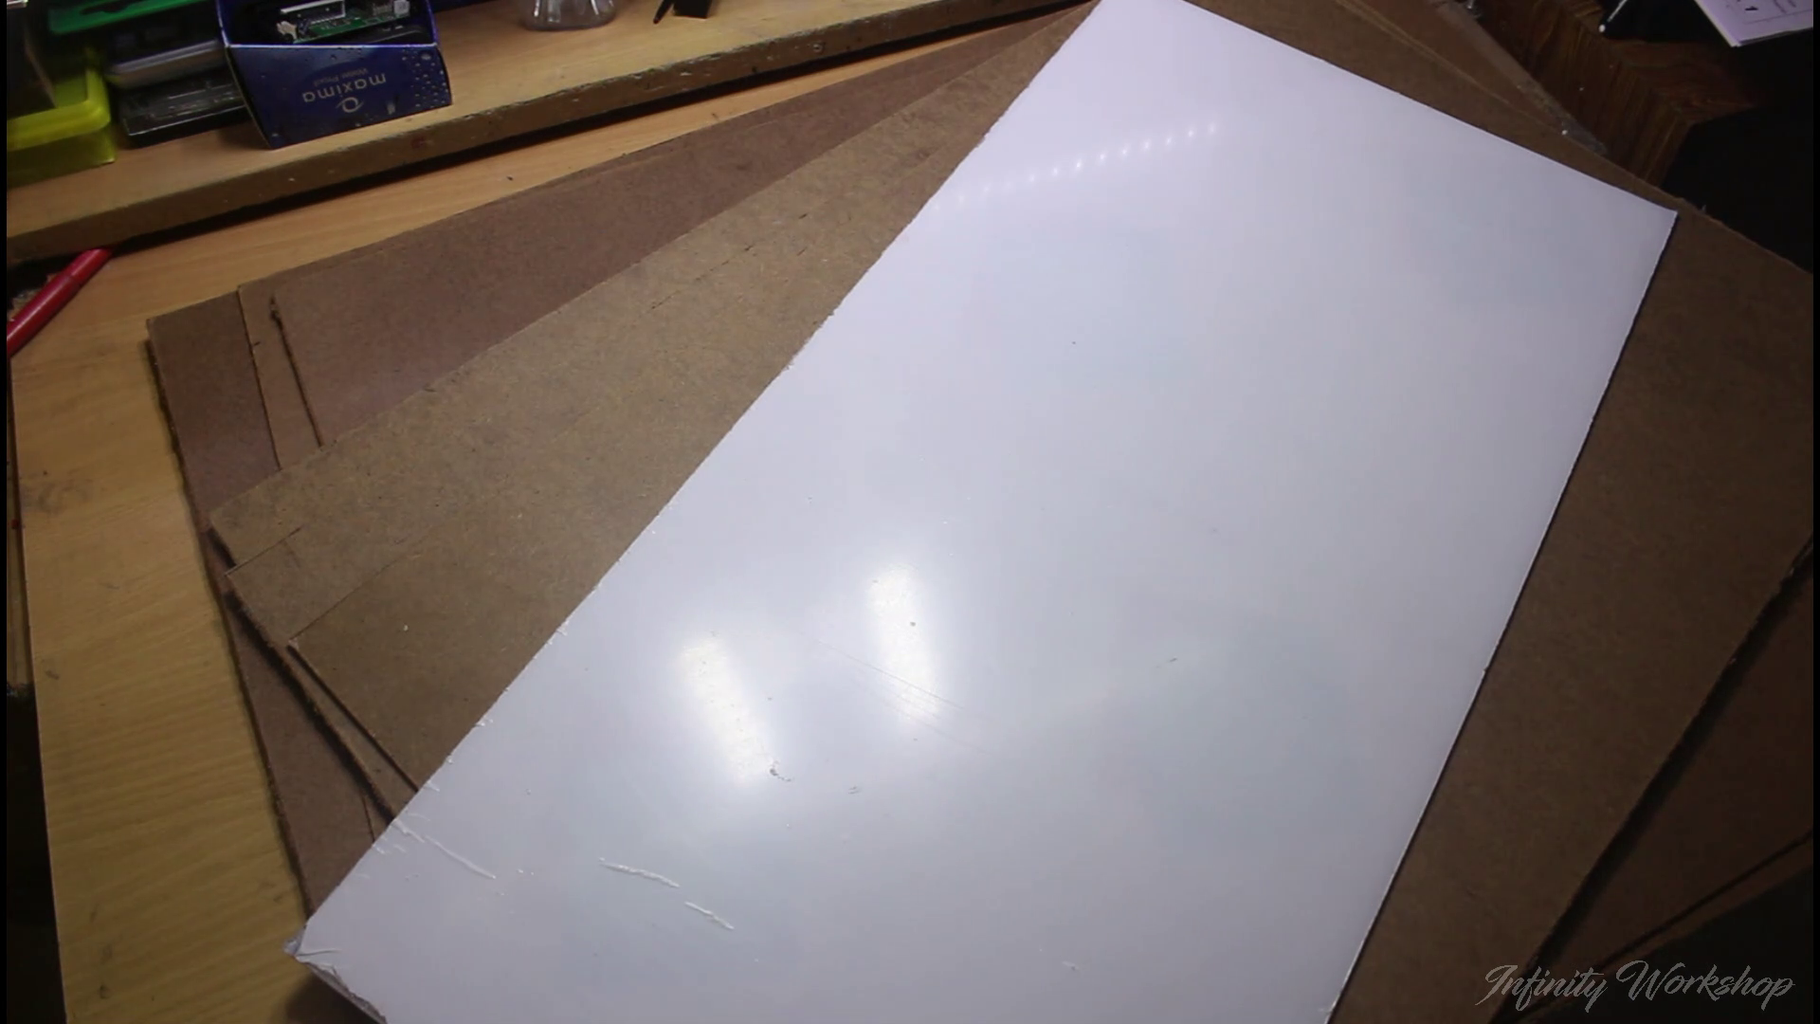
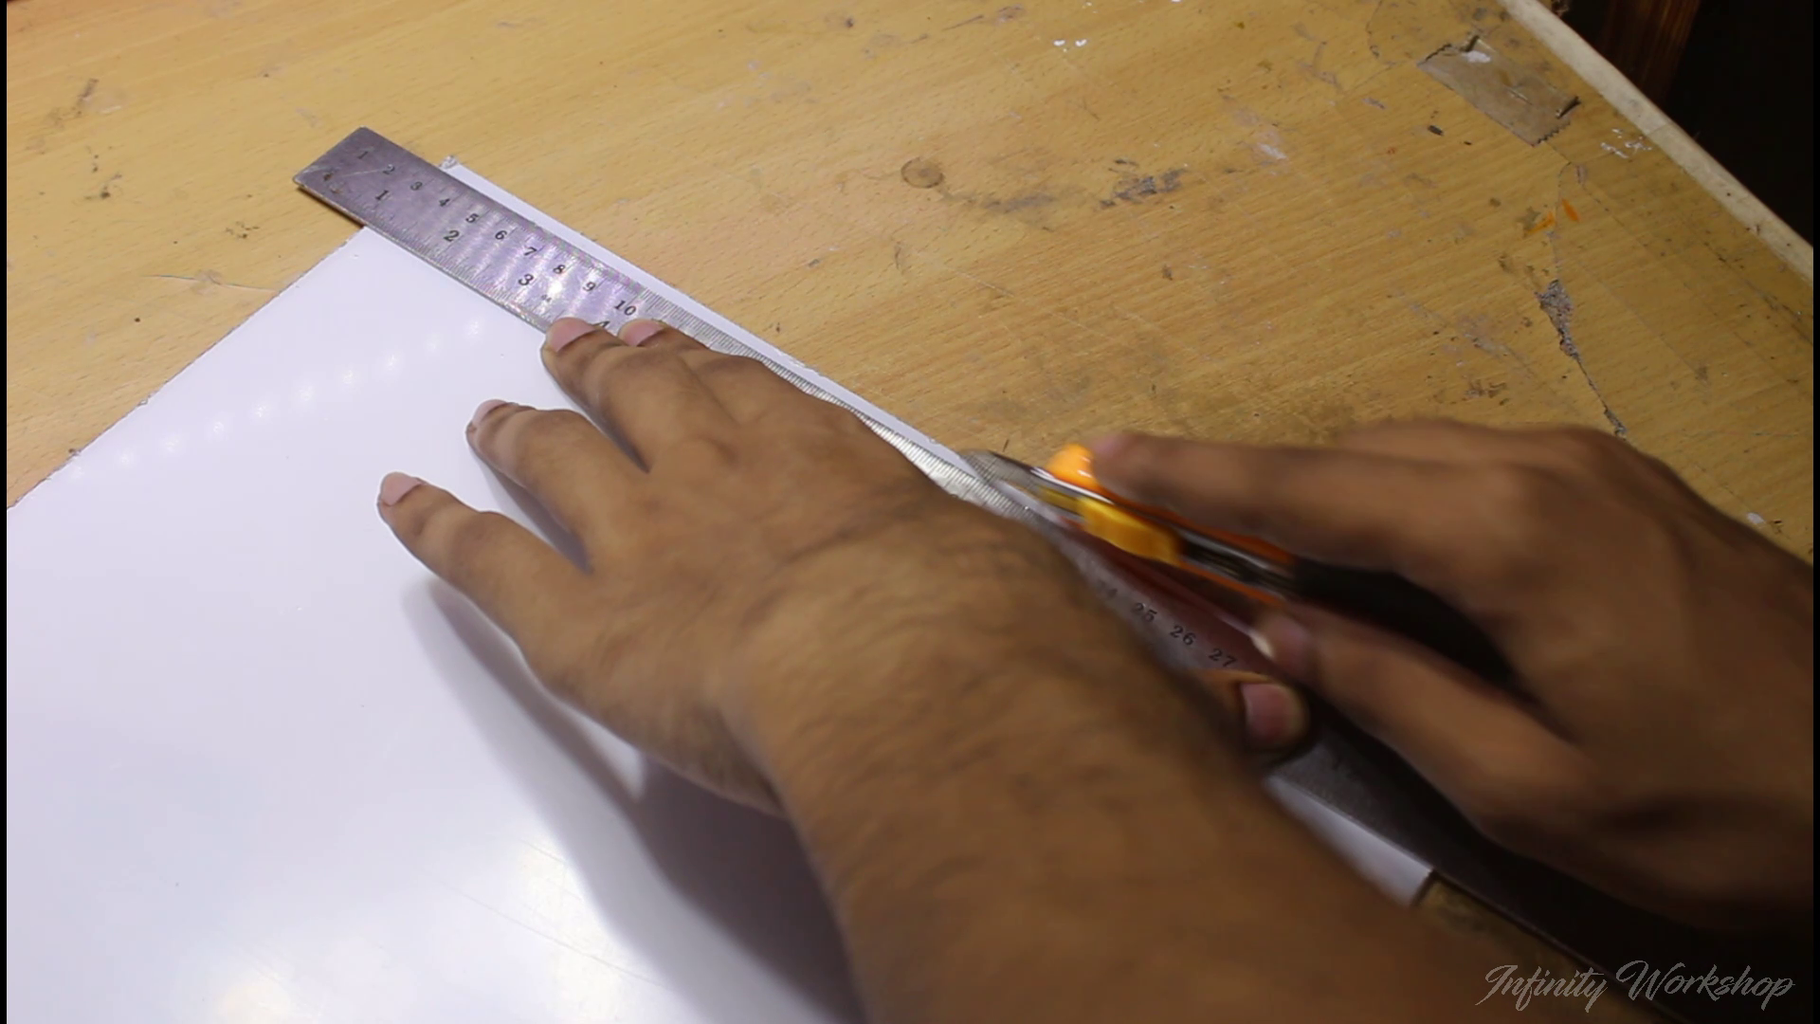
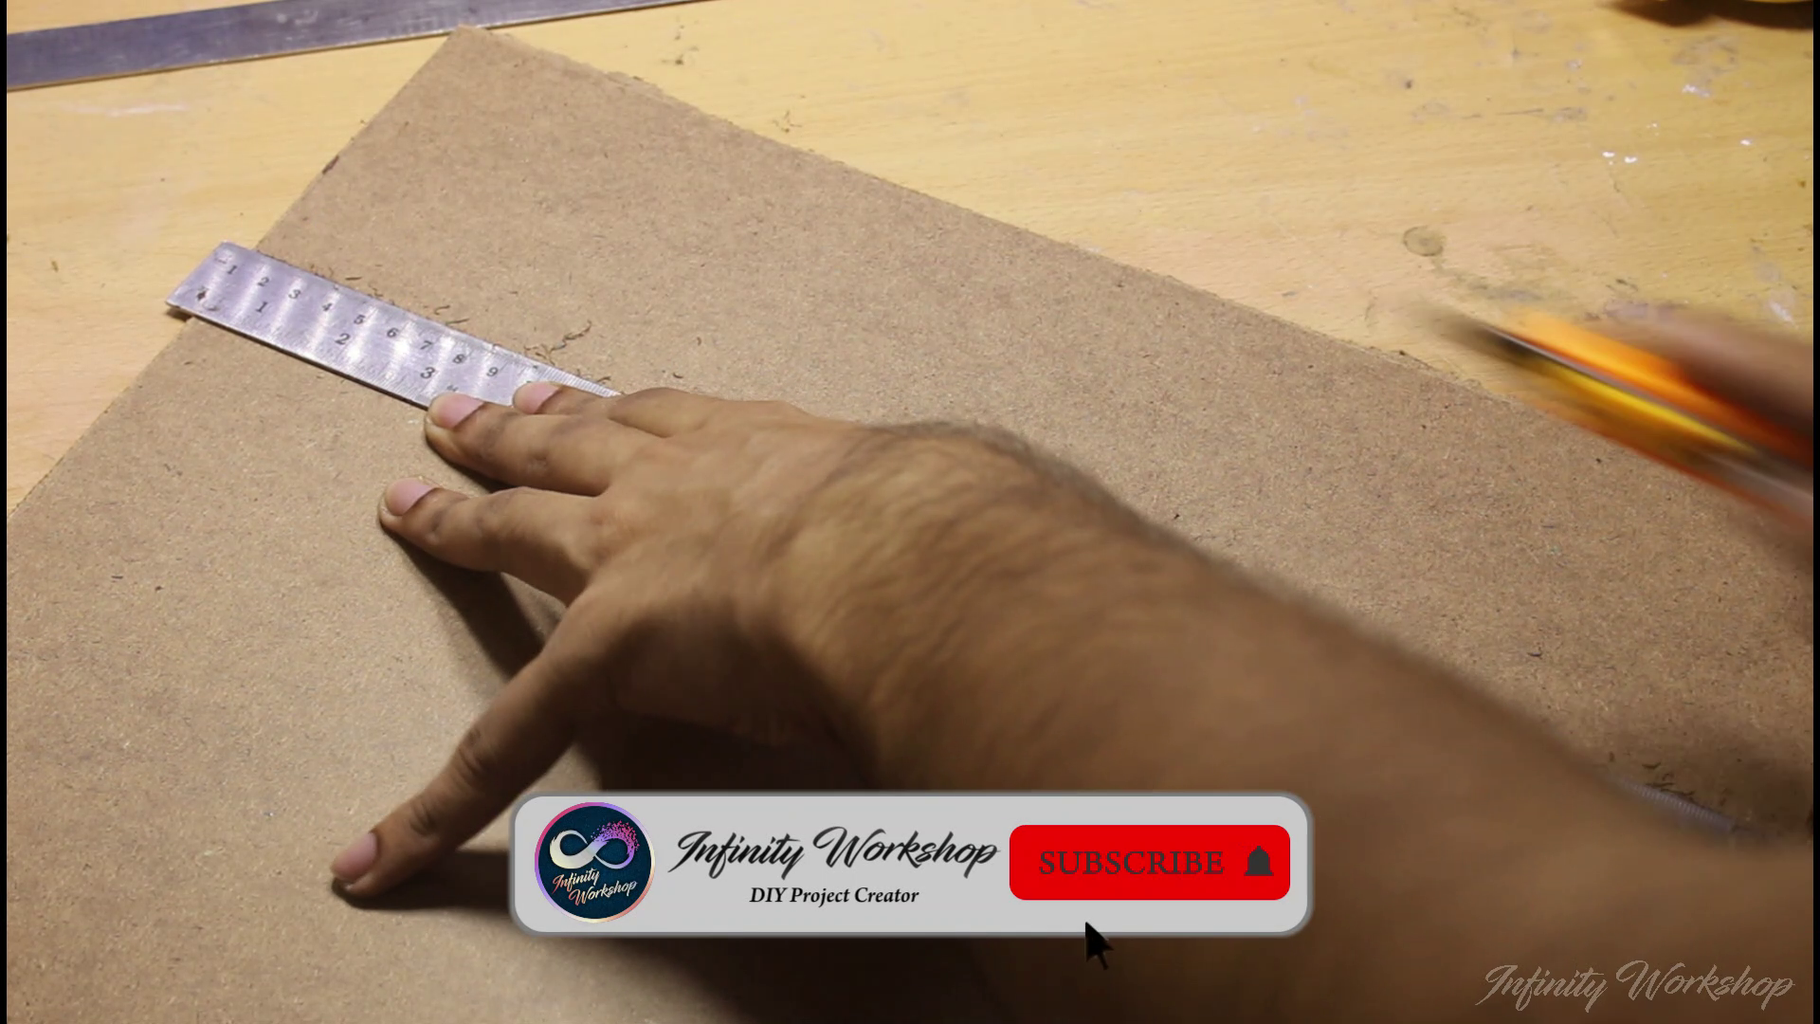
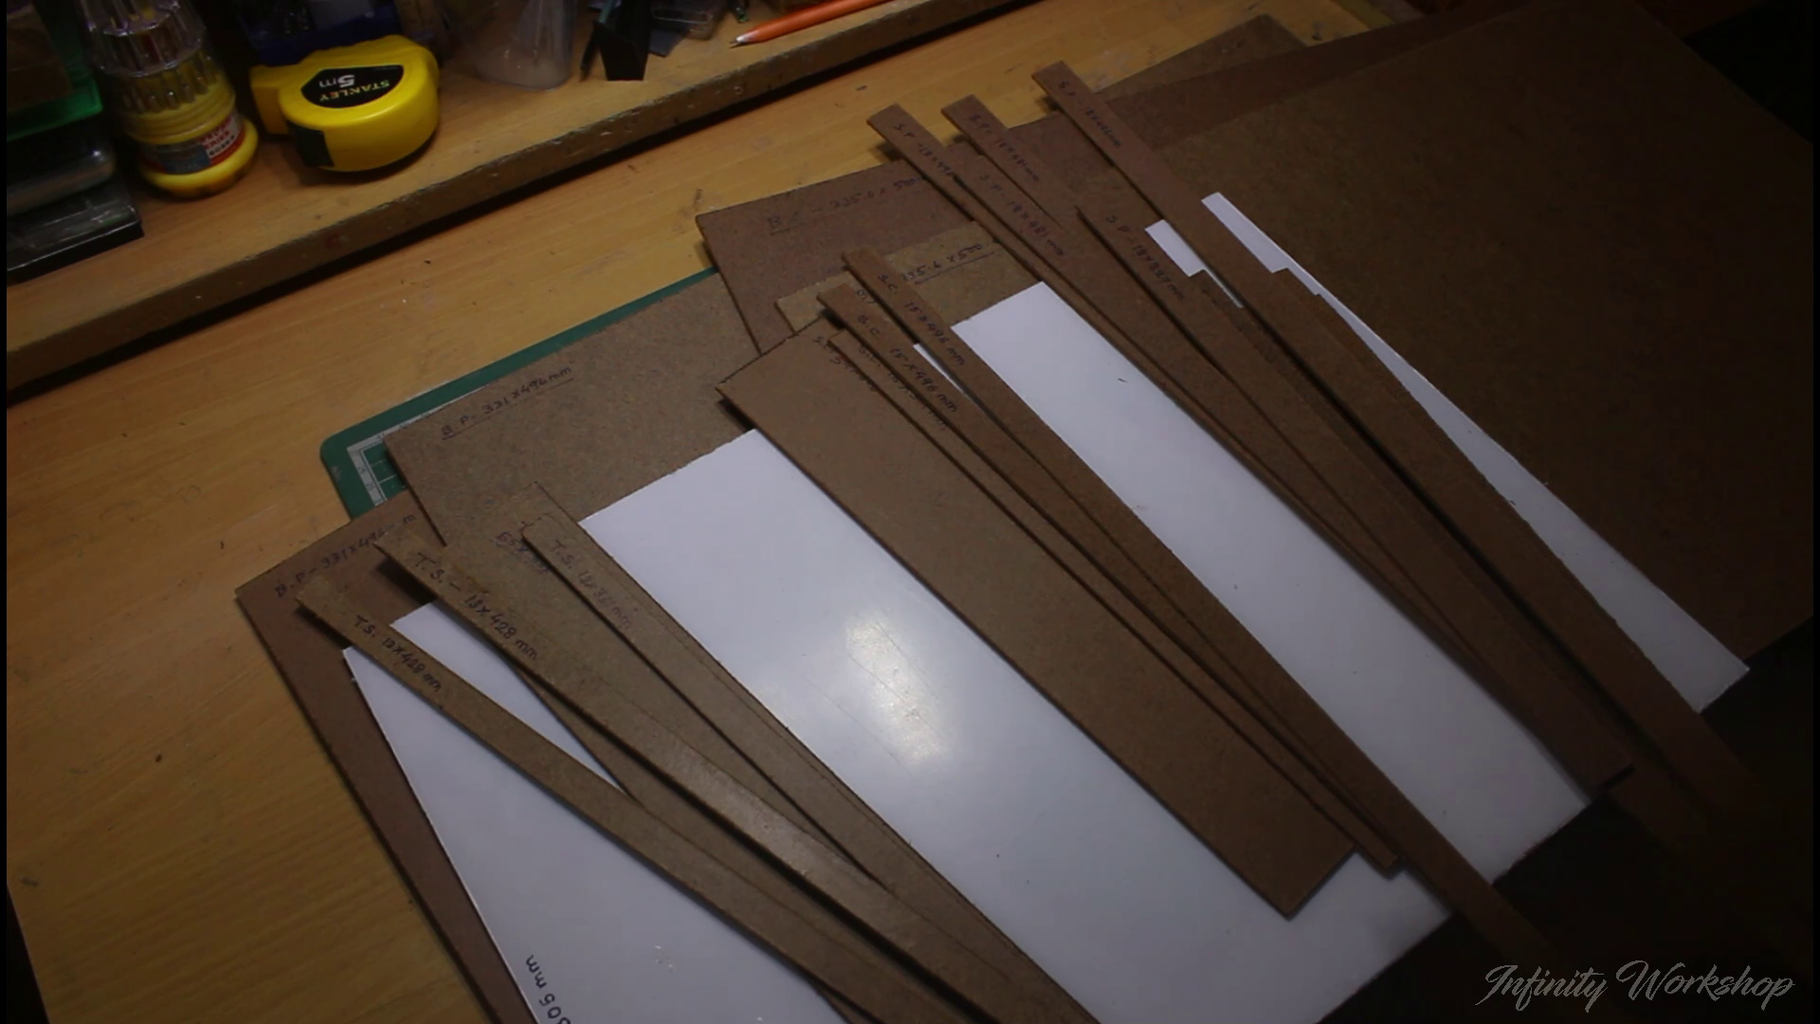
Mark the all necessary pieces (the acrylic sheet and the Masonite board), then cut them with the acrylic cutter, and a heavy-duty cardboard cutter, or the same acrylic cutter you have. Make sure to check the sizes before and after the cutting to avoid any misalignment or any size-related problems later.
cut the acrylic sheet, then the Masonite board piece, and the smaller pieces and sheets. Make sure to go through all the cut lists and the pieces needed.
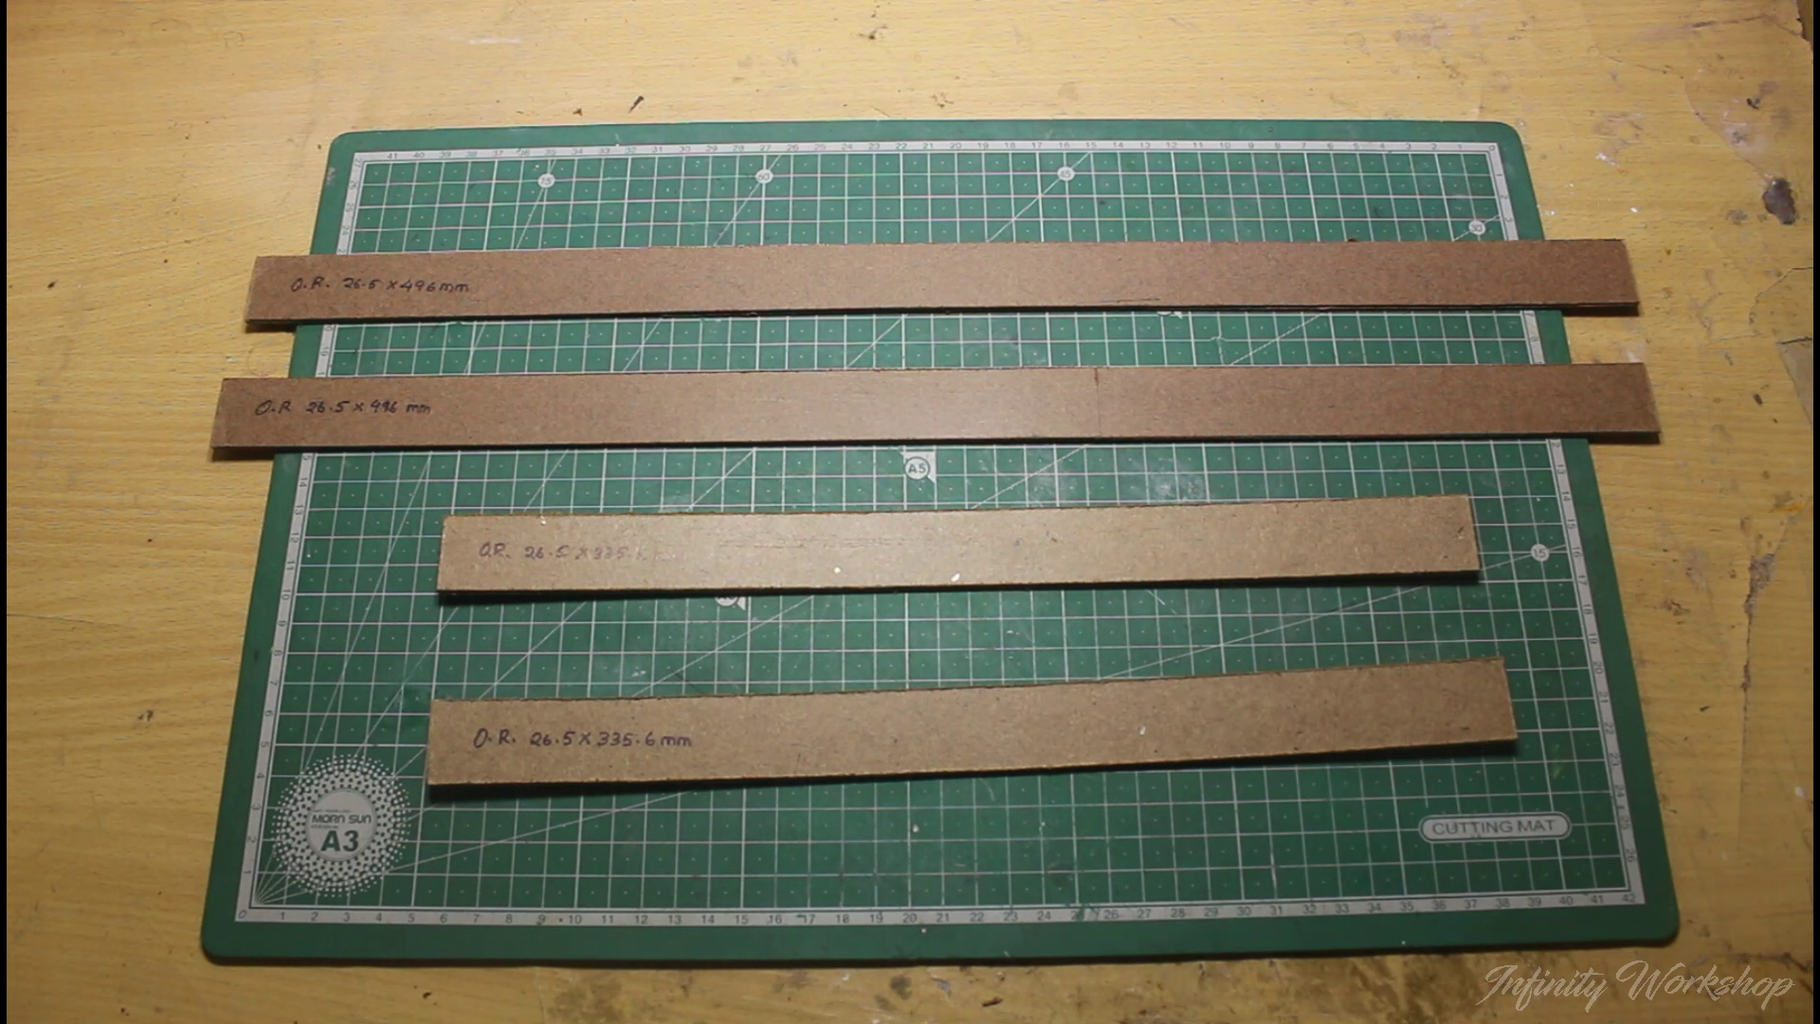
Also, make sure to cut the two types of small structure pieces within their intended size. then go to the next step.
Step 3: Attach the Necessary Pieces Together

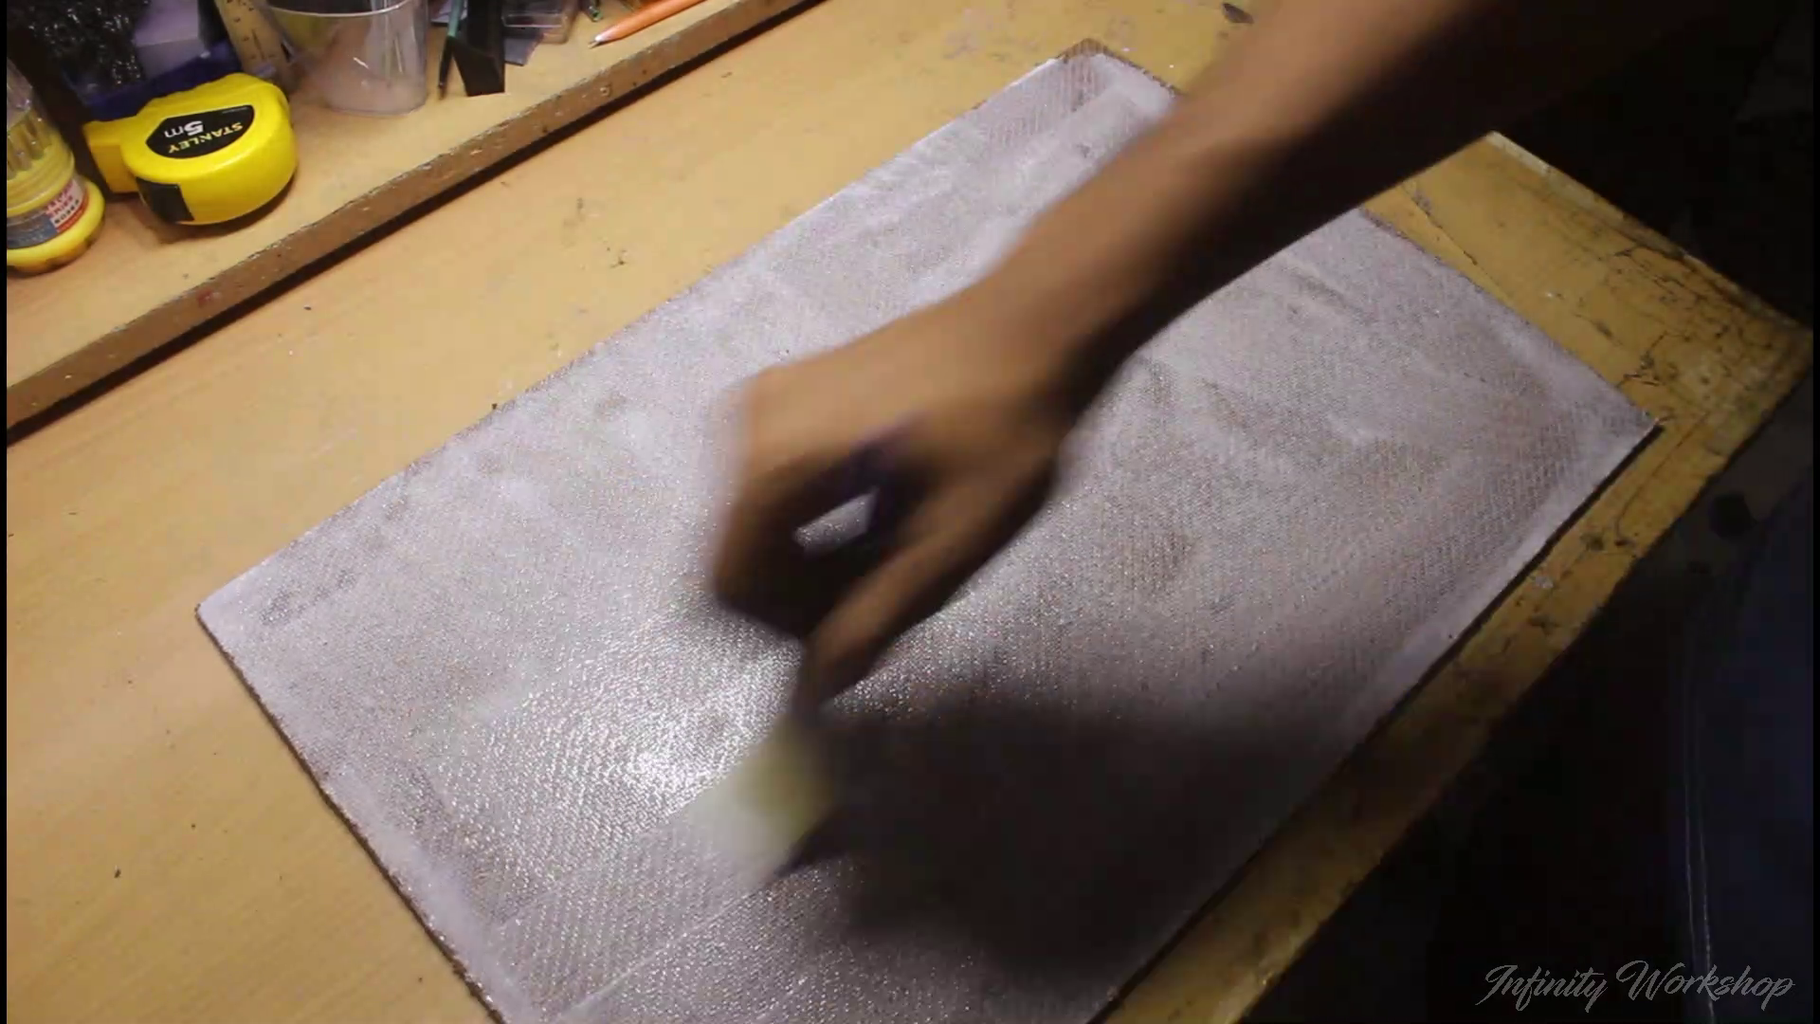
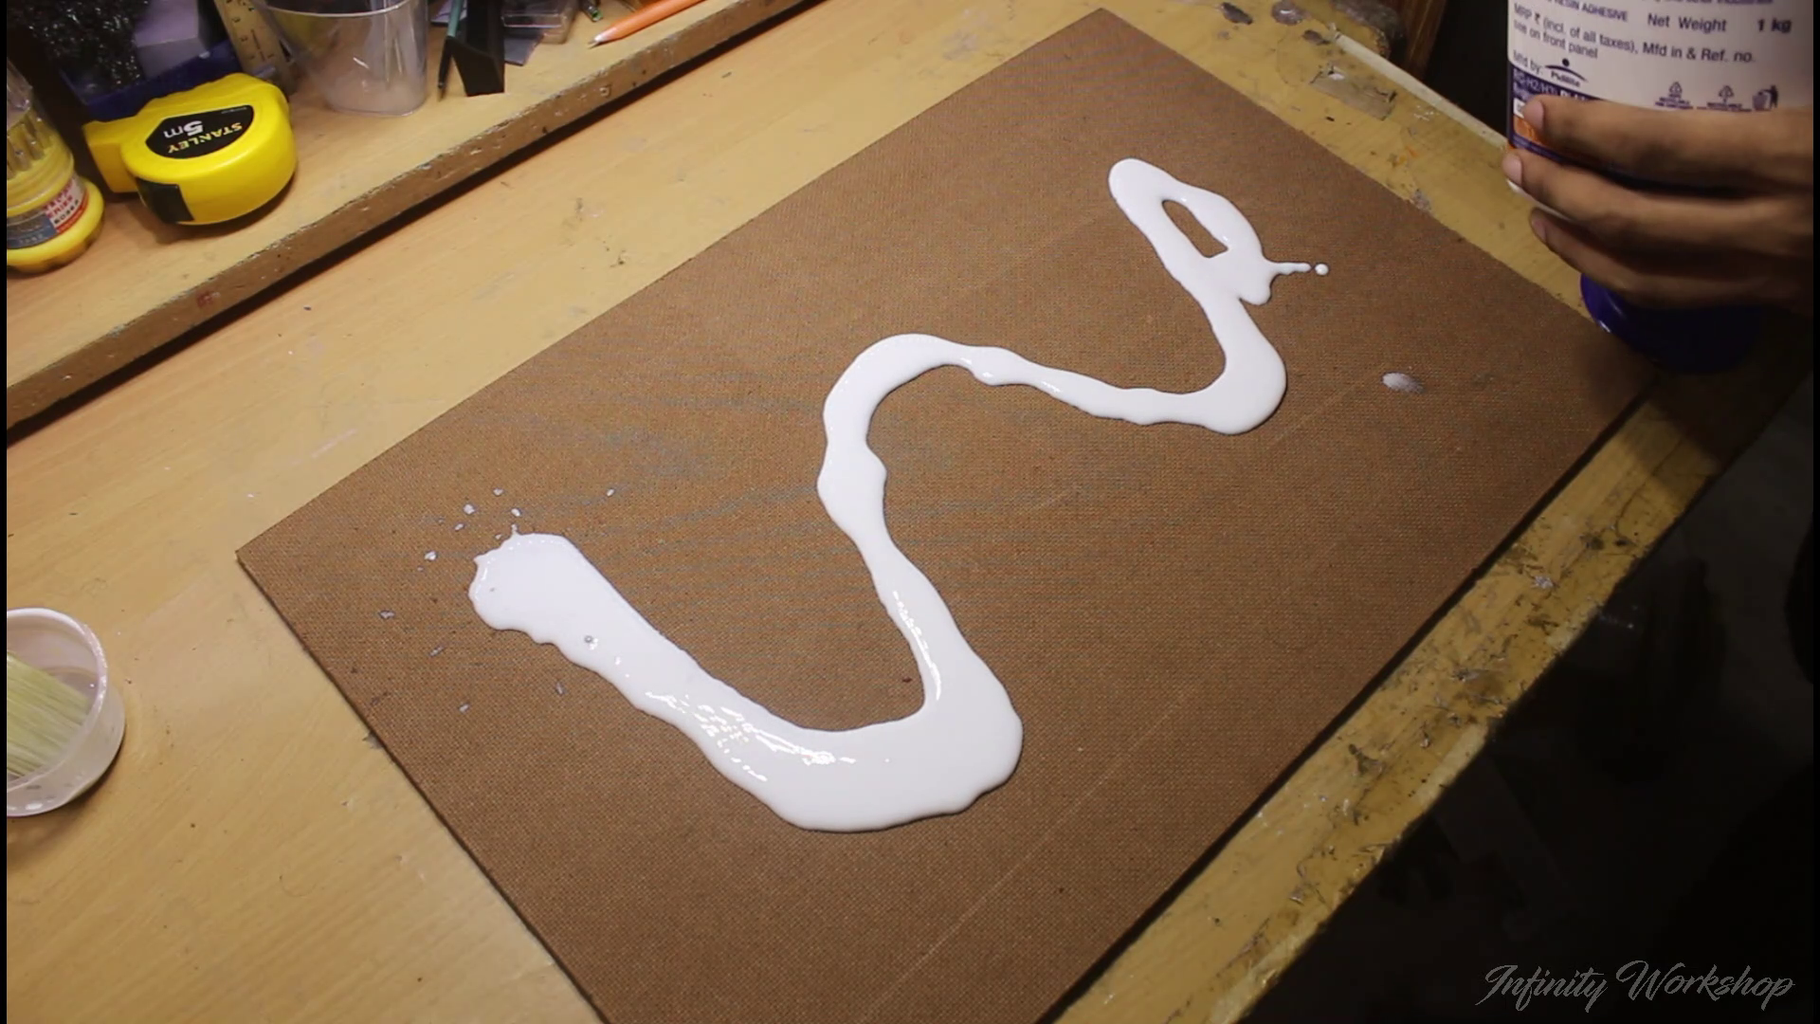
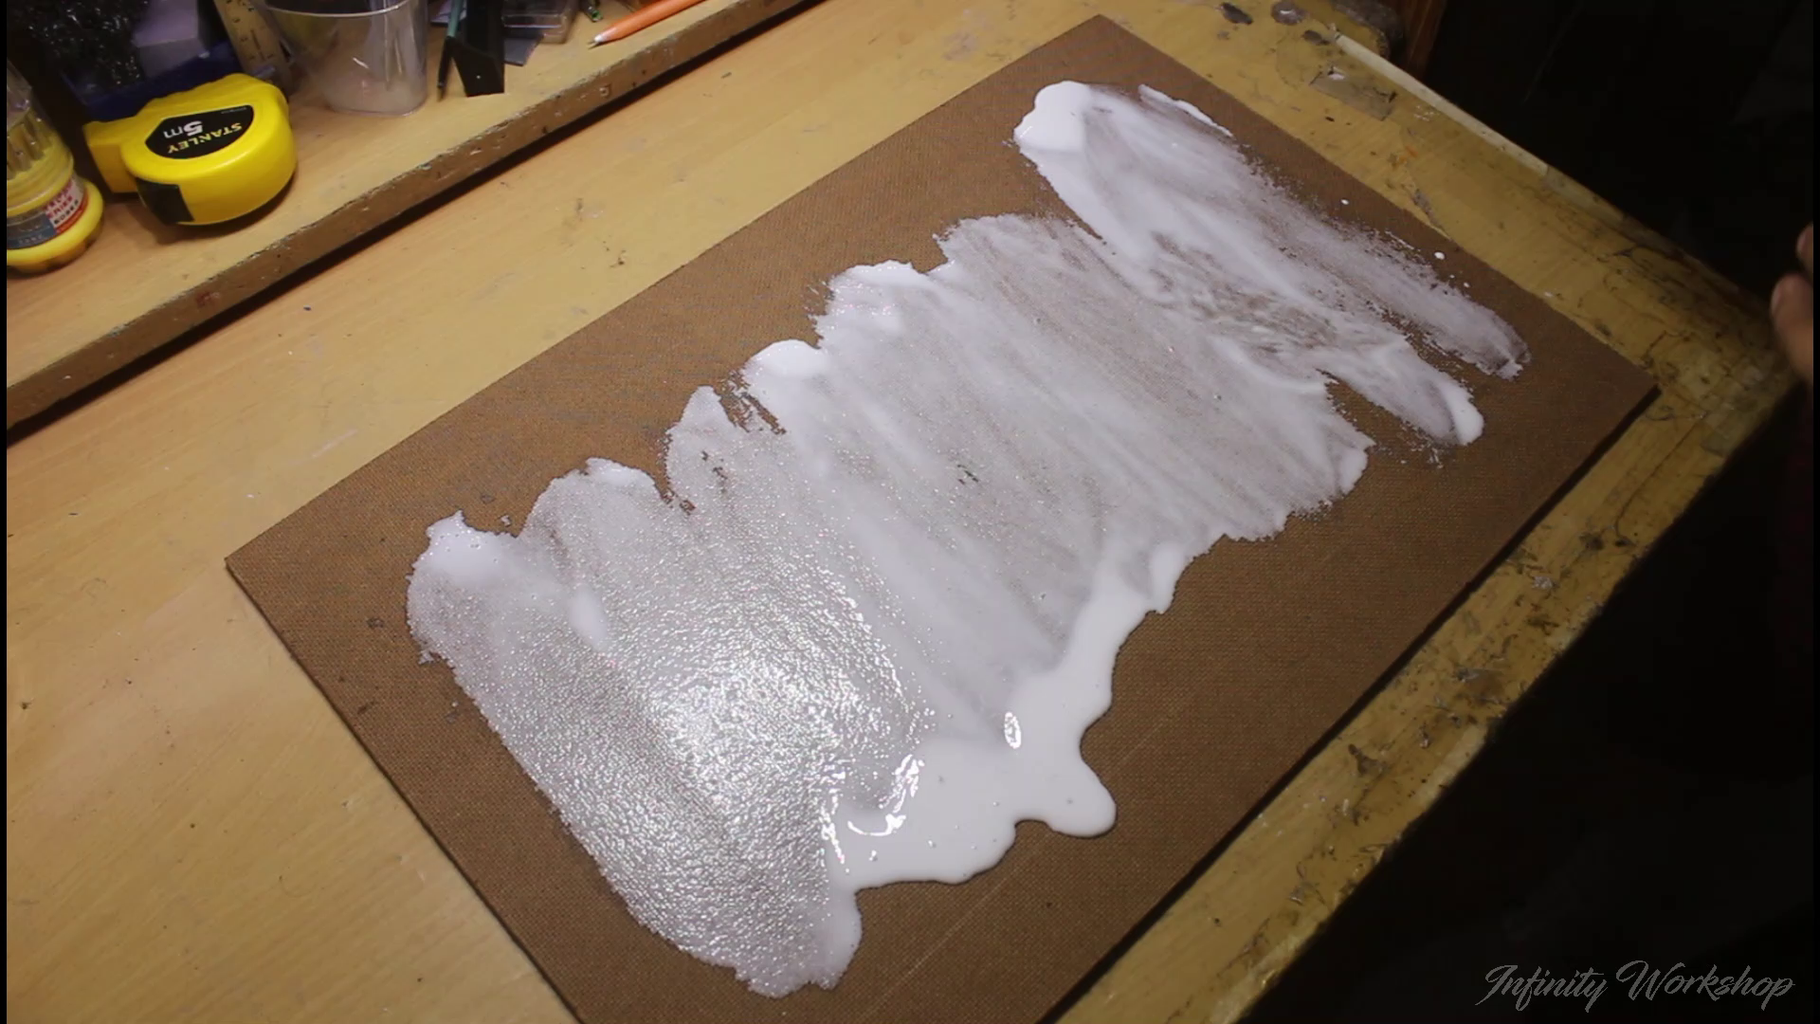
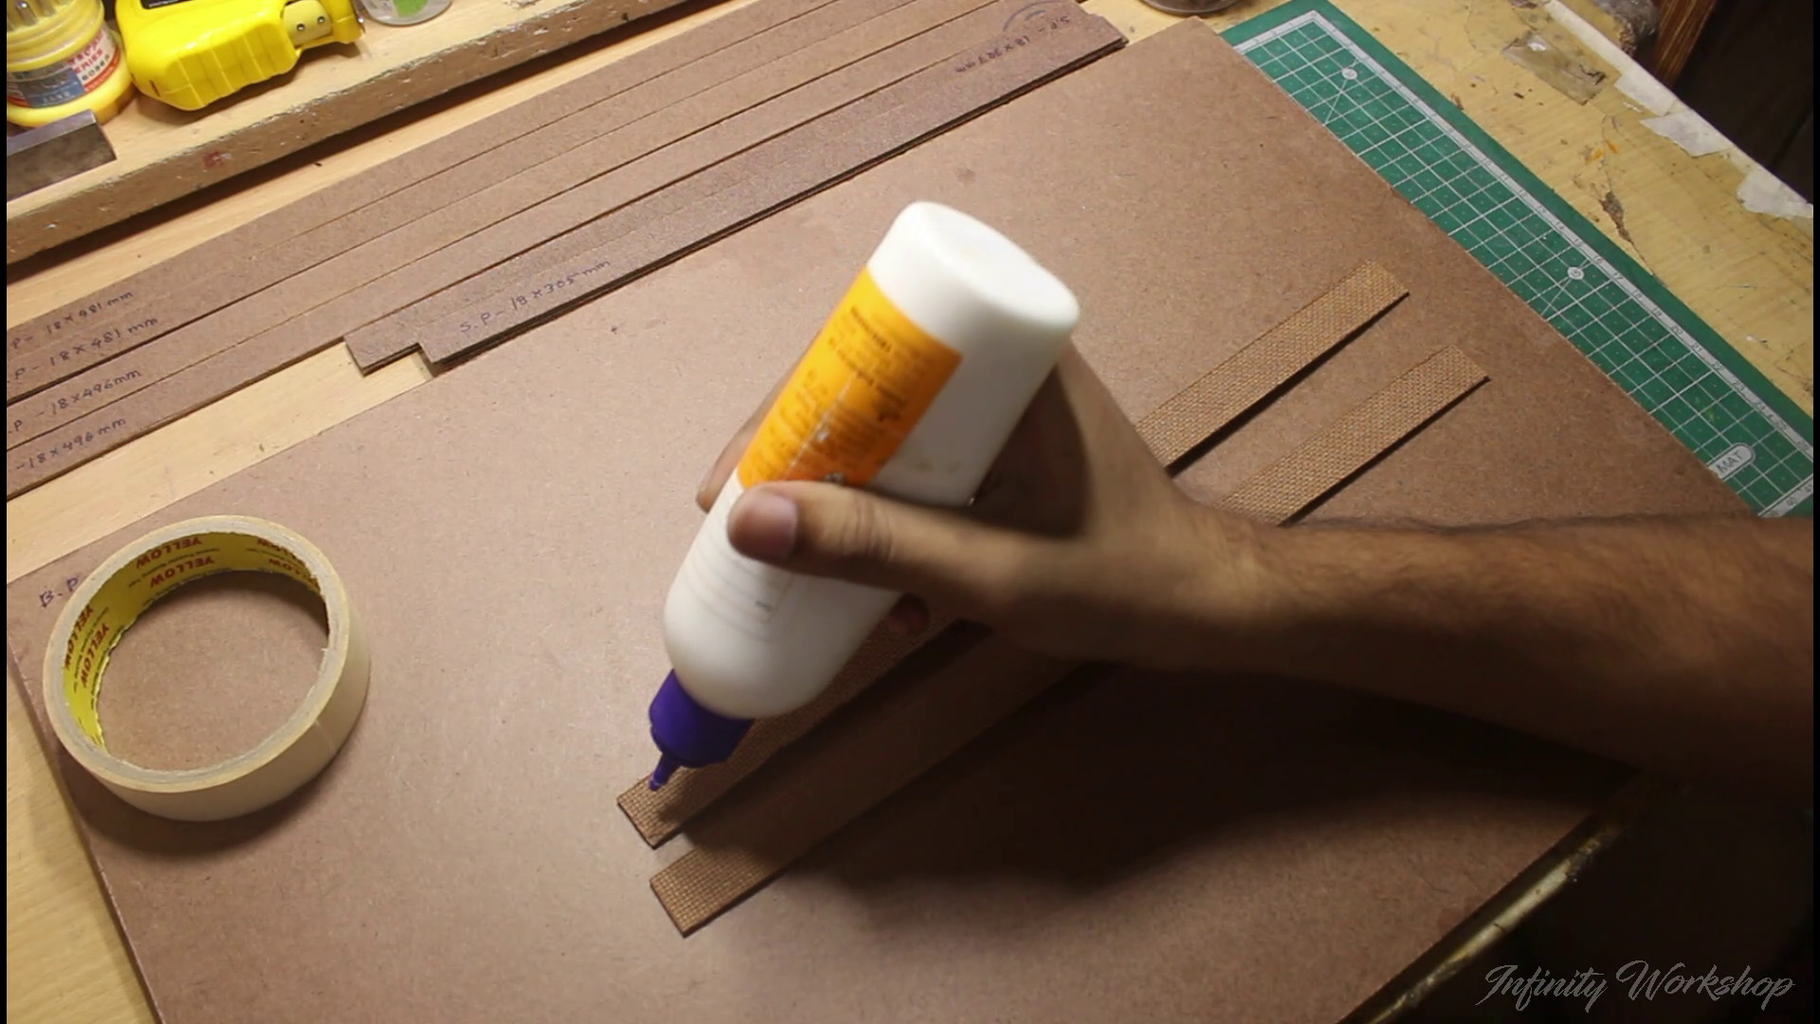
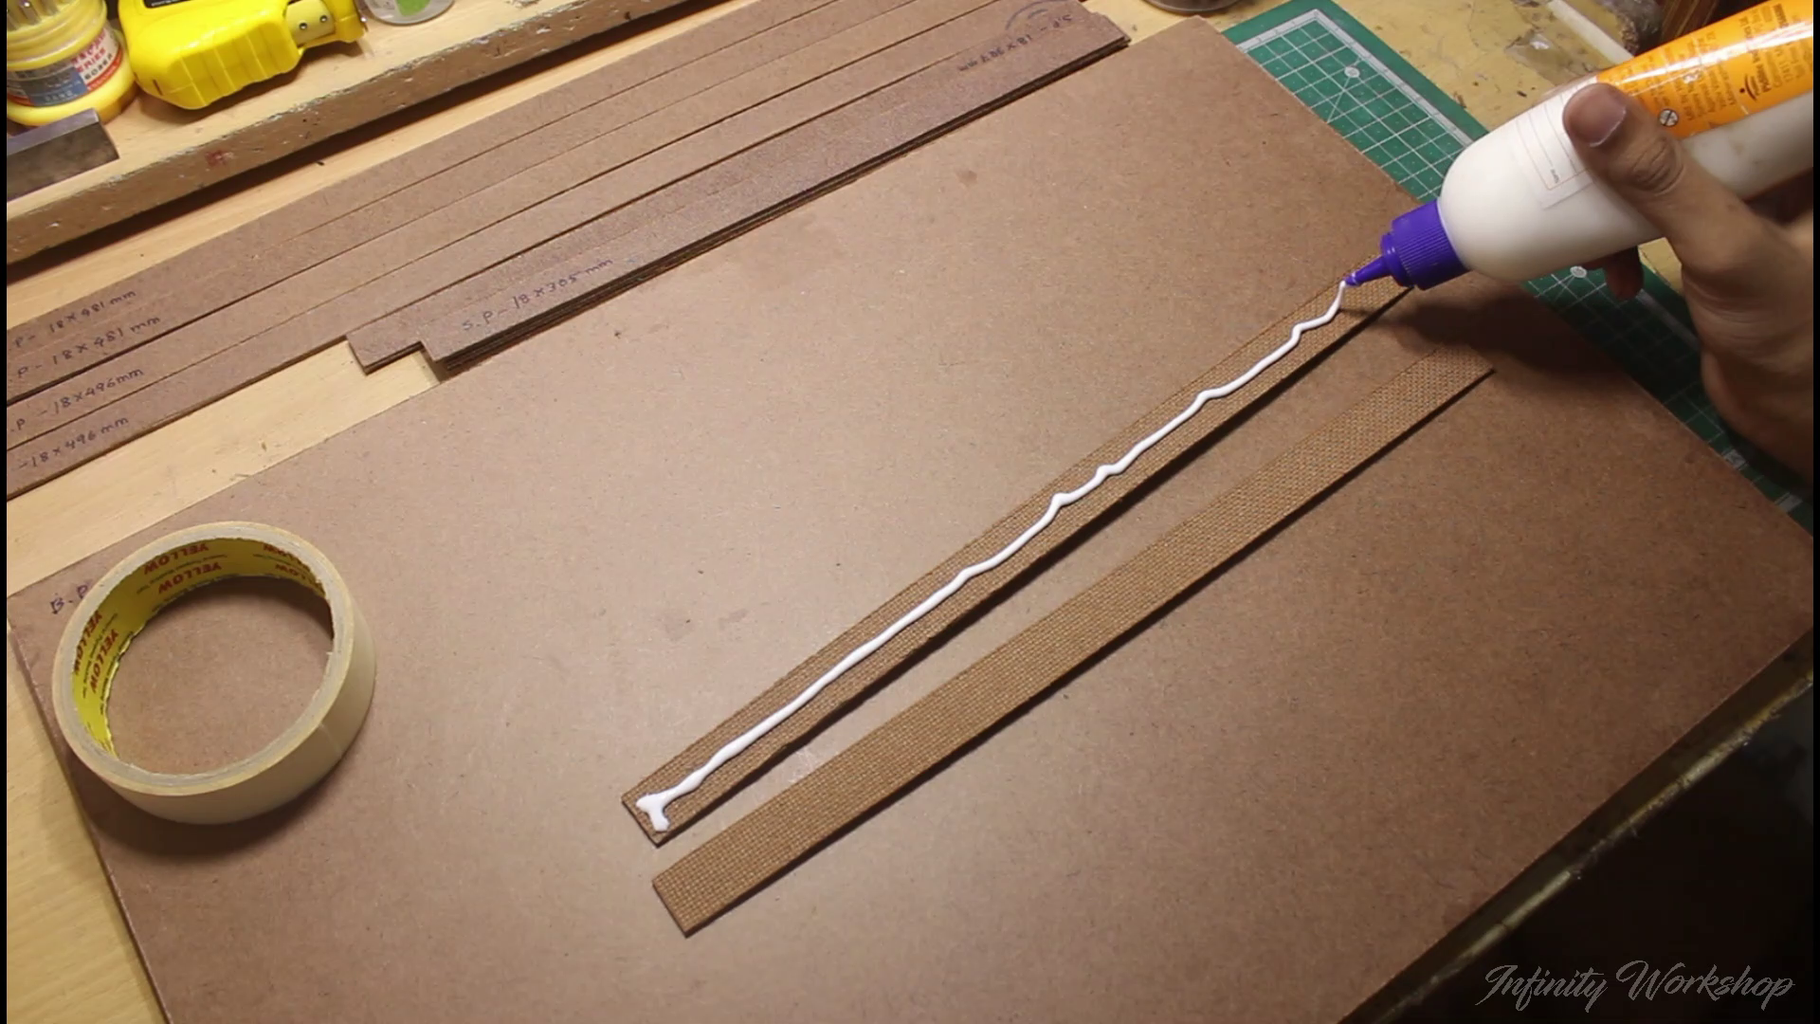

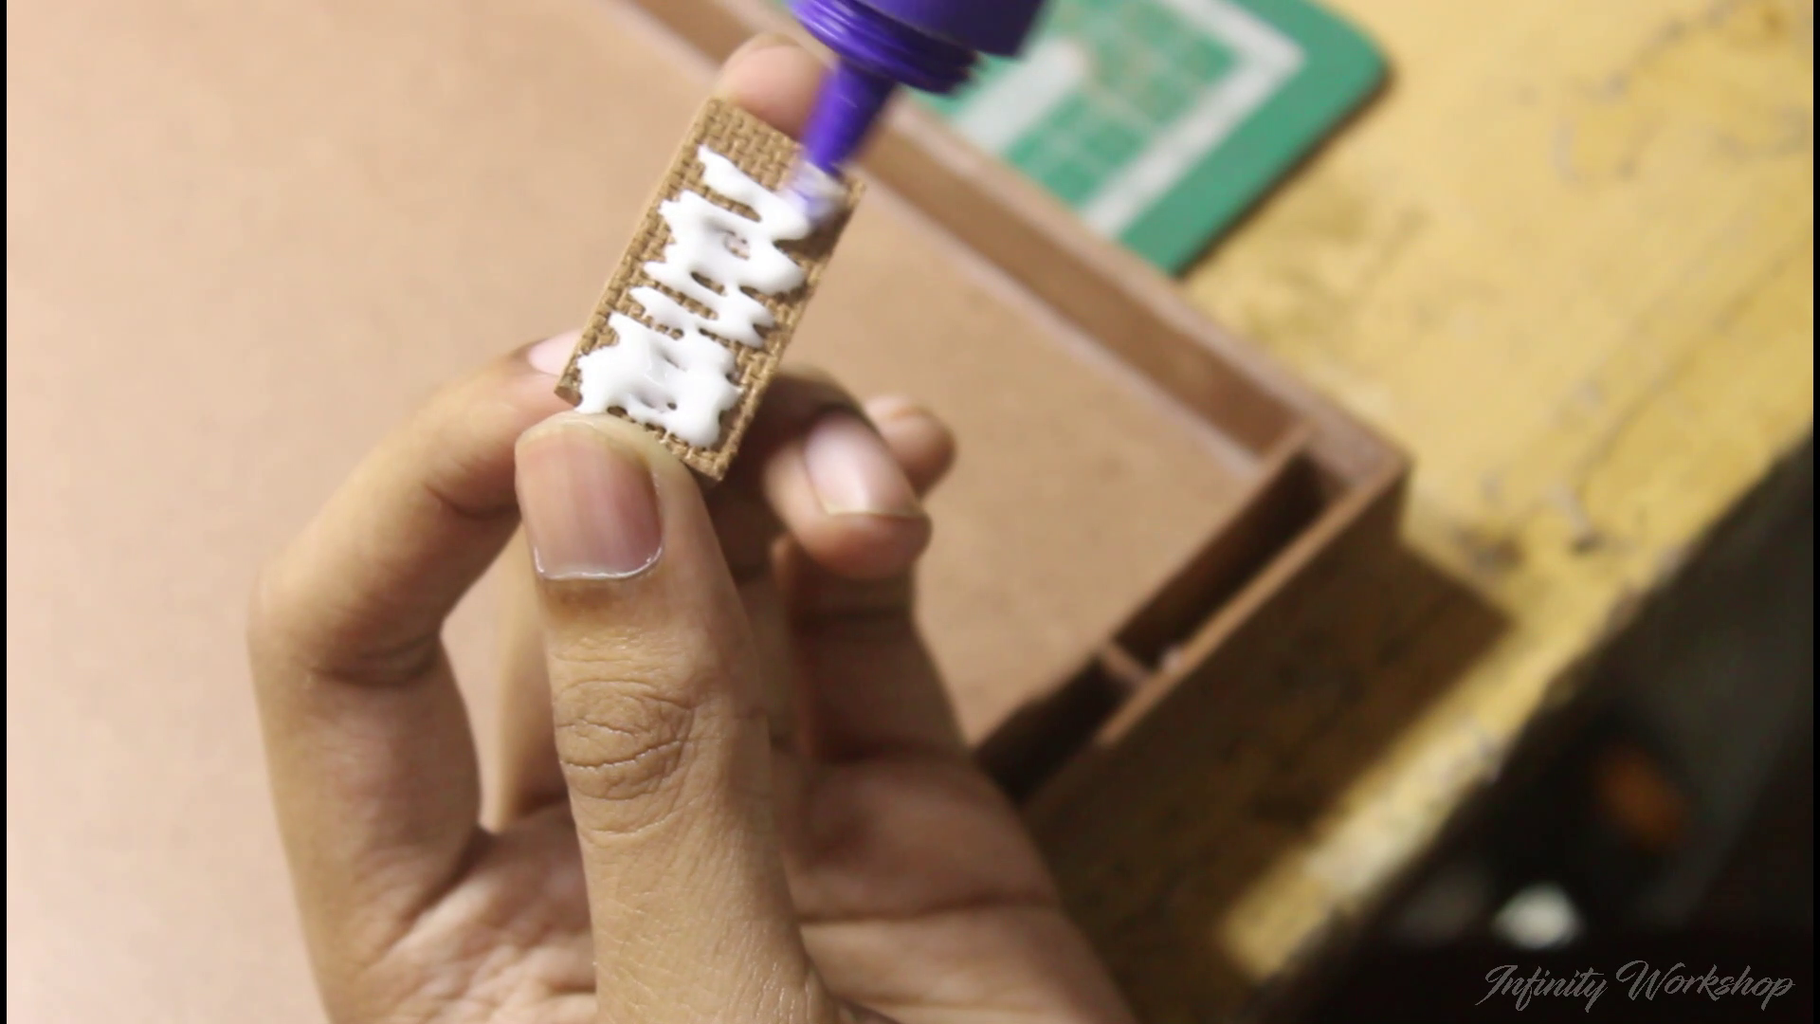
To begin assembling the Masonite boards, you will need an adequate amount of craft glue or wood glue. Take two pieces of the bigger Masonite board and apply the glue evenly on the surface of one piece. Then carefully place the other piece on top of the glued surface and press them together firmly. This will create a stronger bond between the two pieces.
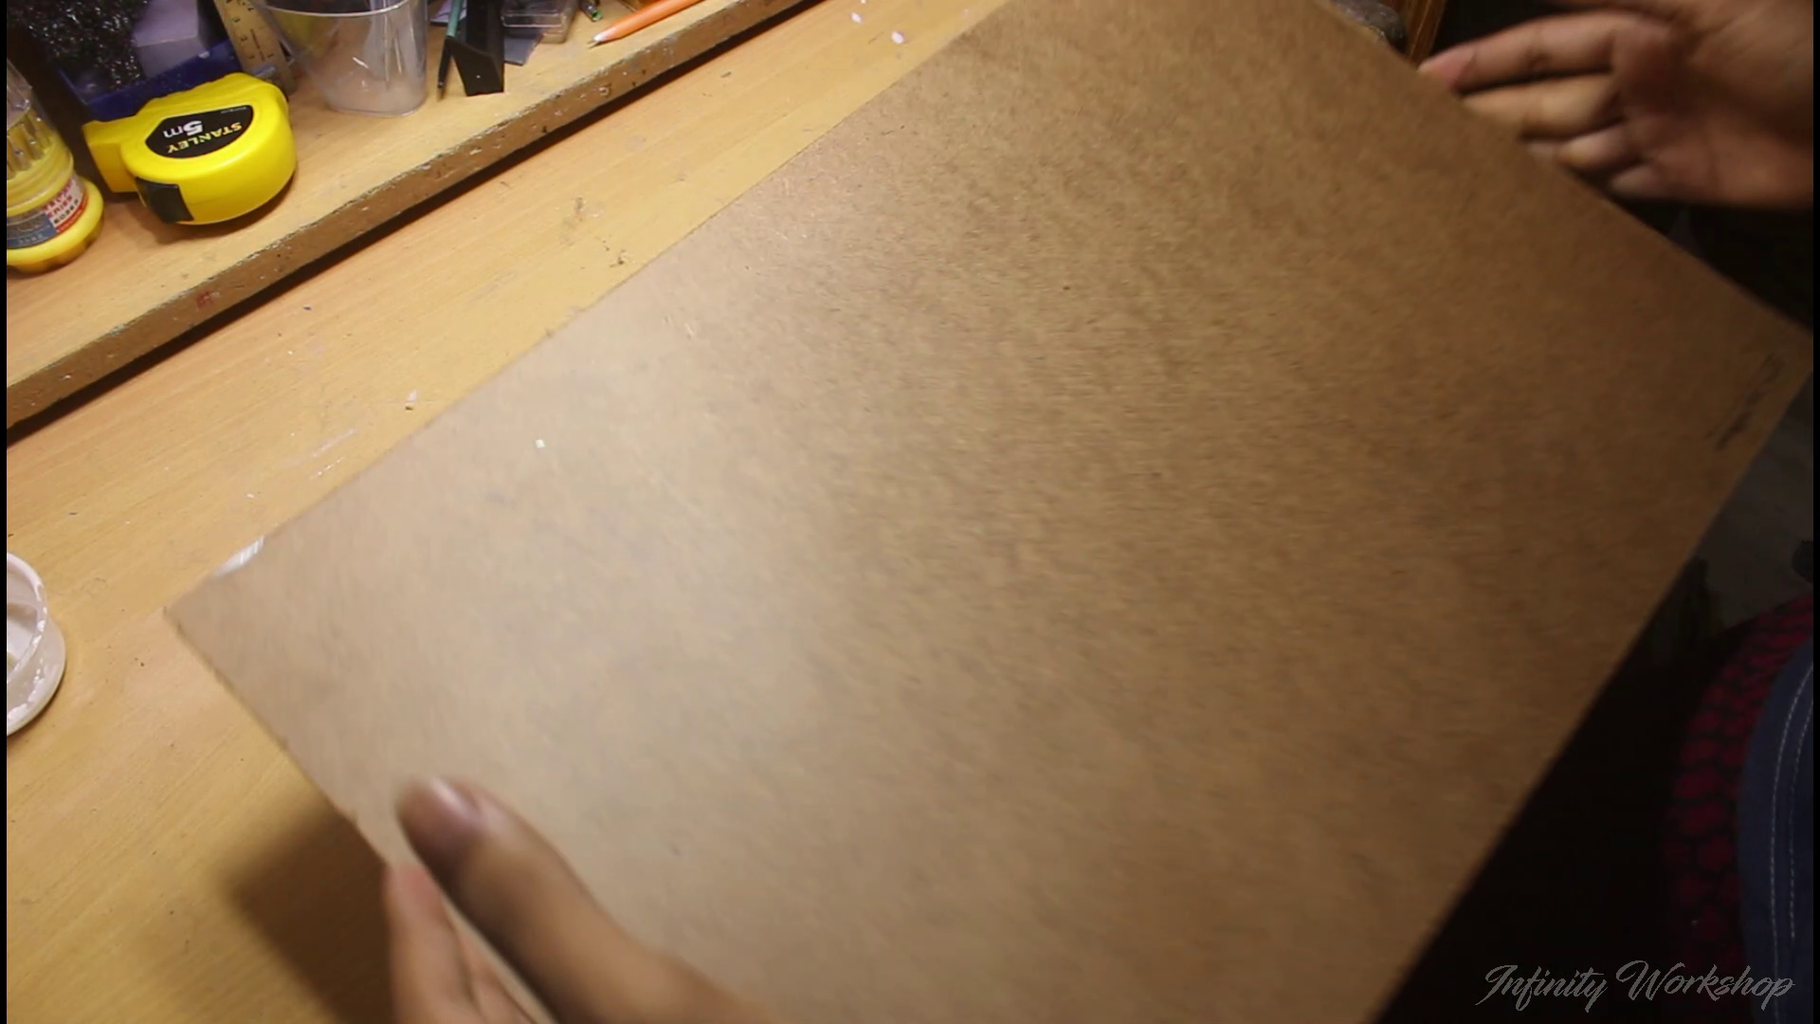
Once the two larger pieces are glued together, you can use some masking tape as a temporary holding clamp to keep the pieces in place while the glue dries. This process can take up to 12 hours, depending on the amount of glue and the type of glue used. It's important to allow enough time for the glue to cure properly to ensure the pieces stay securely joined.
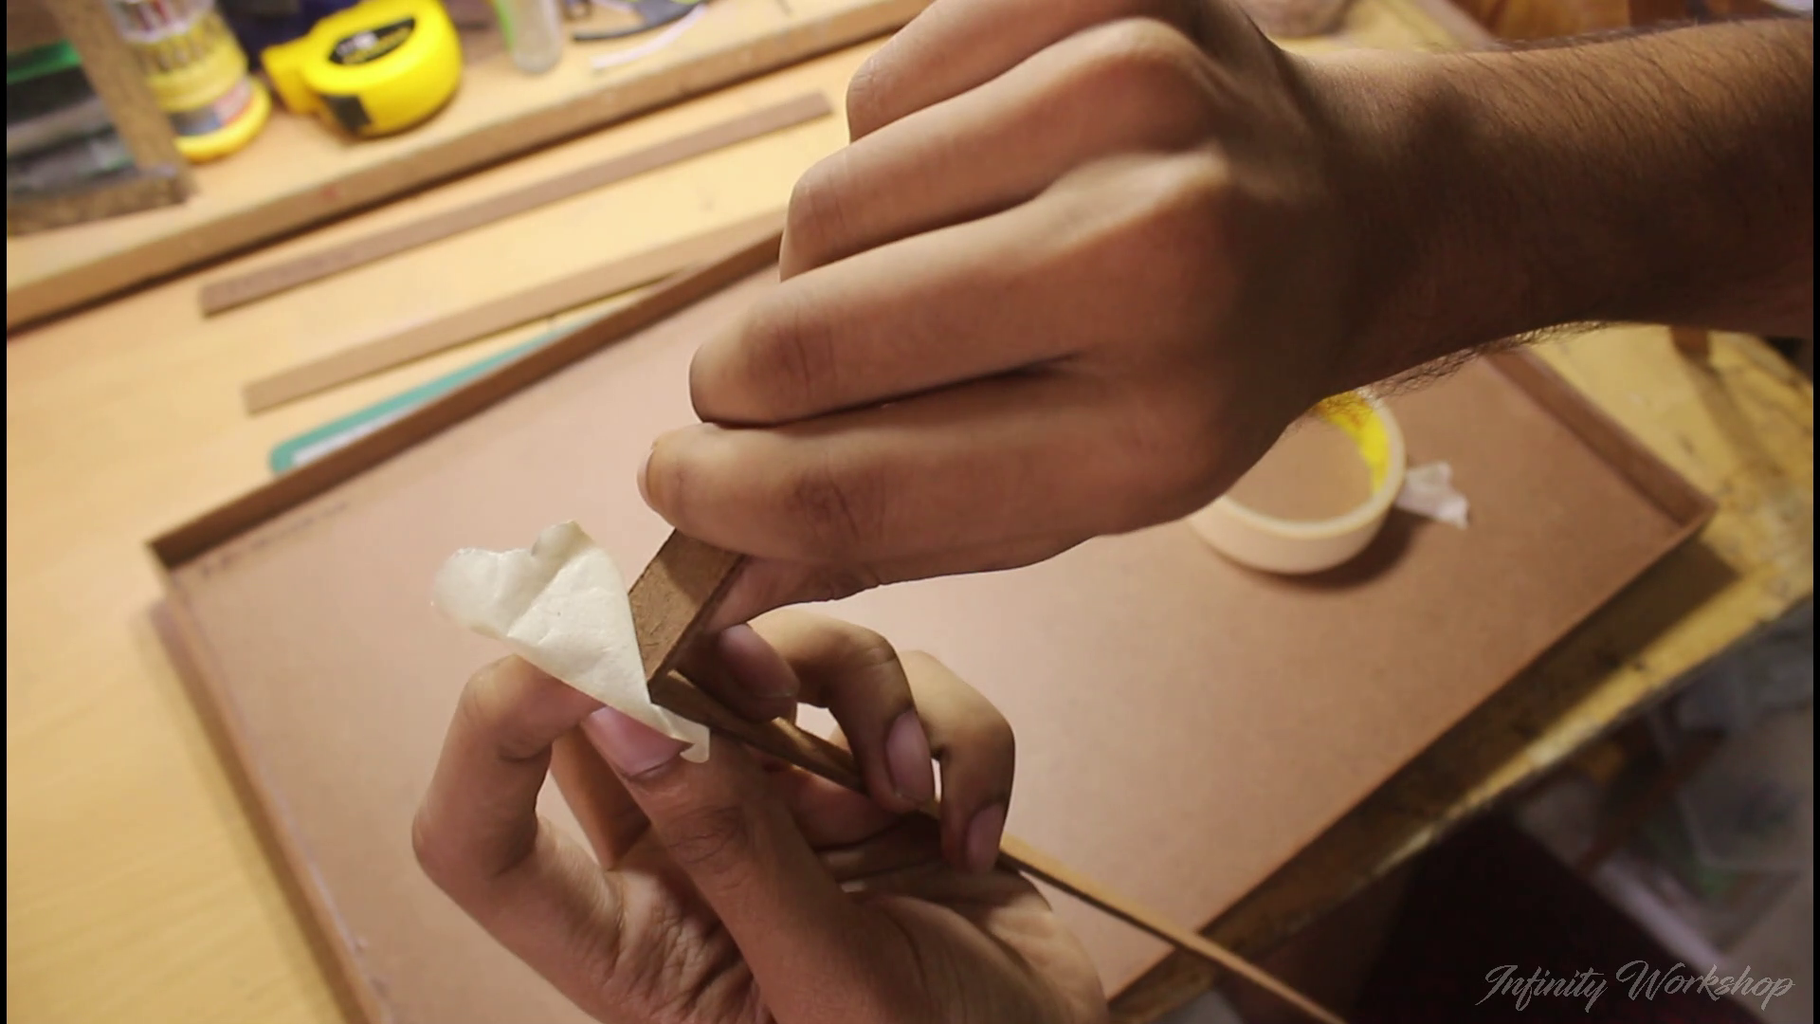
Next, repeat the same process with the smaller pieces to create the wall pieces. These smaller pieces need to be stabilized with two layers of glue to provide the necessary structural rigidity. Once again, apply the glue evenly on the surface of one piece, then carefully place the other piece on top and press them firmly together. Use masking tape to hold the pieces in place while the glue dries.
By following these steps, you'll be able to assemble the Masonite boards with ease and create a sturdy structure for your project.
Step 4: Start Building the Box

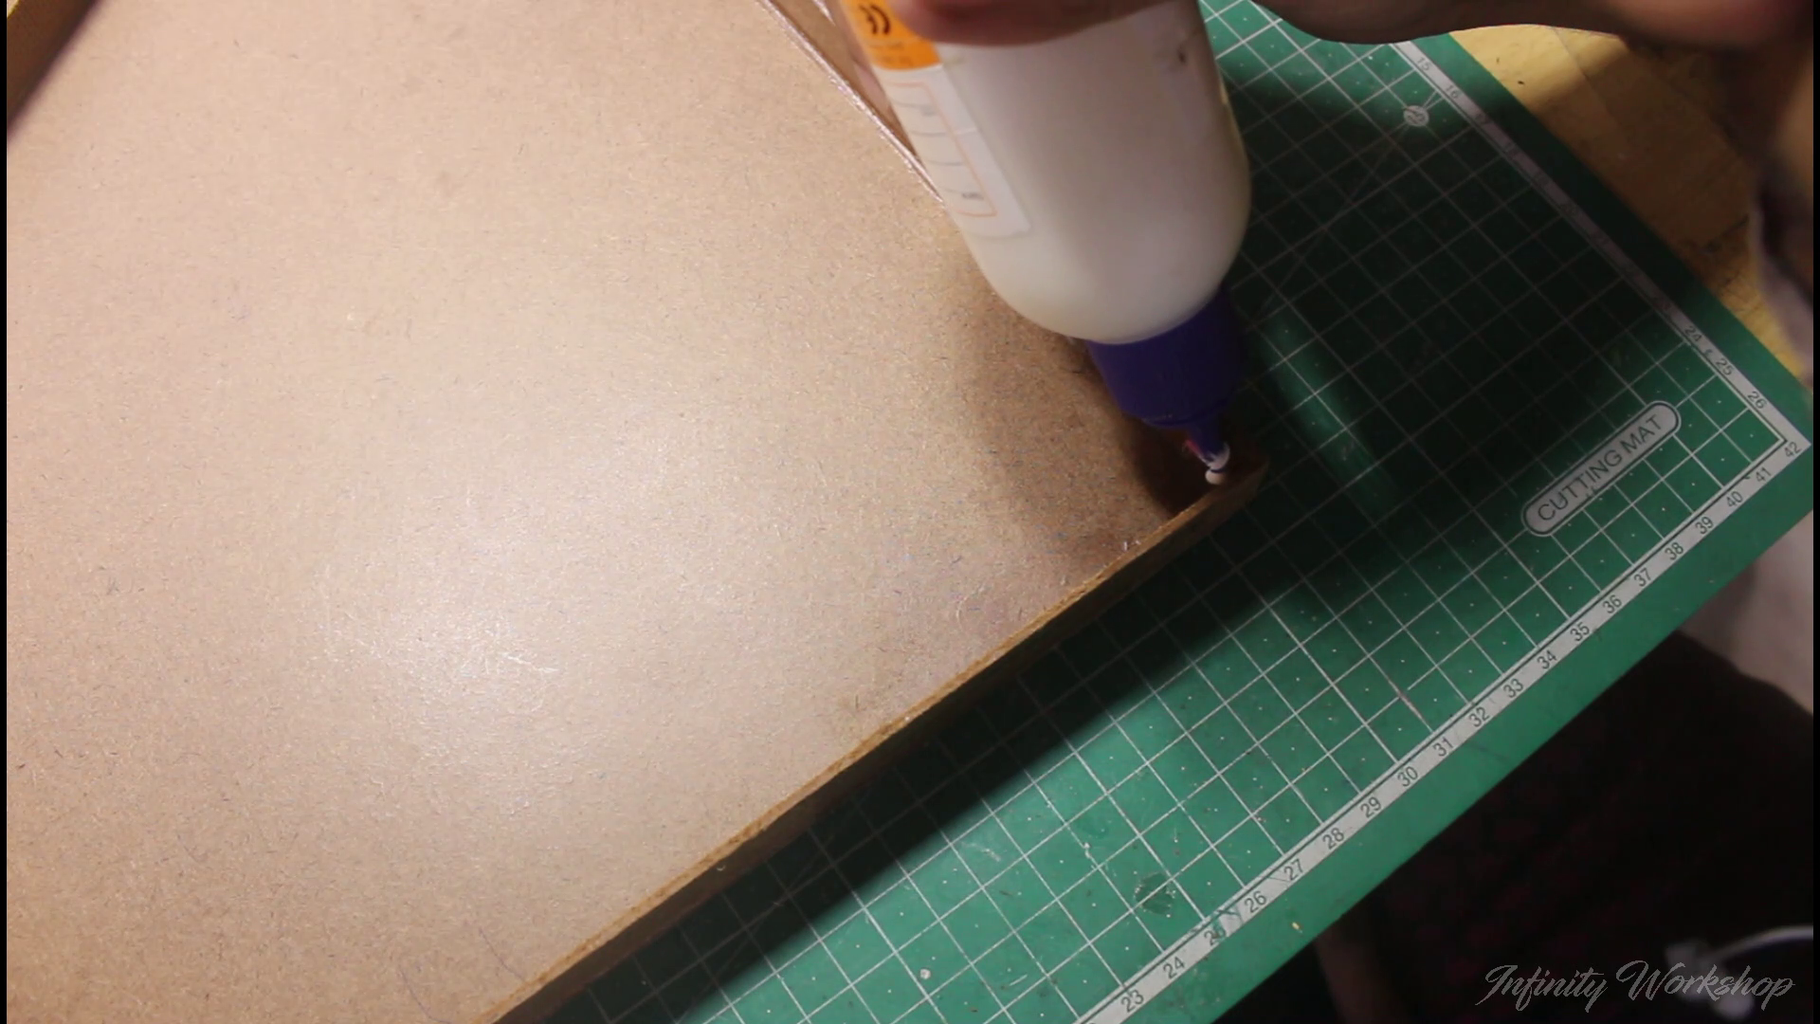


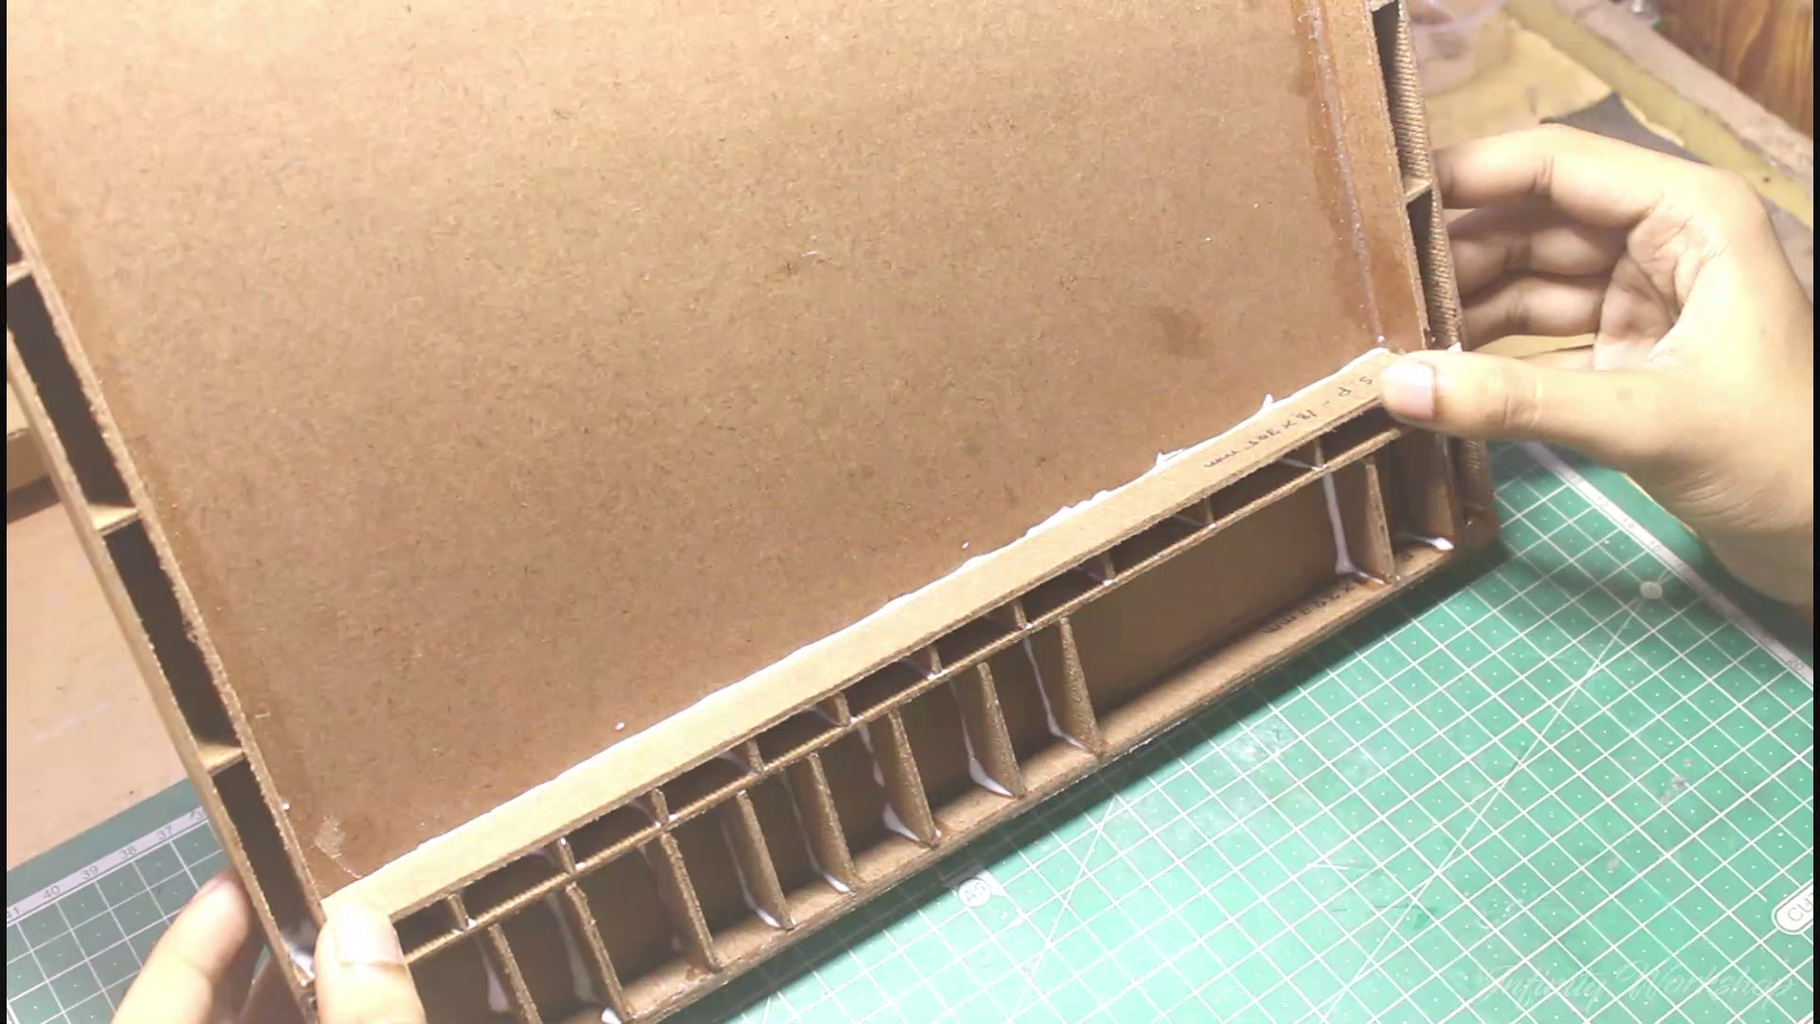
Now that the pieces of the lightbox have been prepared, it's time to begin constructing the box itself. The first step is to carefully remove all the masking tape from the glued-down sheets, ensuring that the edges remain intact. Next, apply a generous amount of glue to the edges of the sheets and allow them to set for a sufficient amount of time.
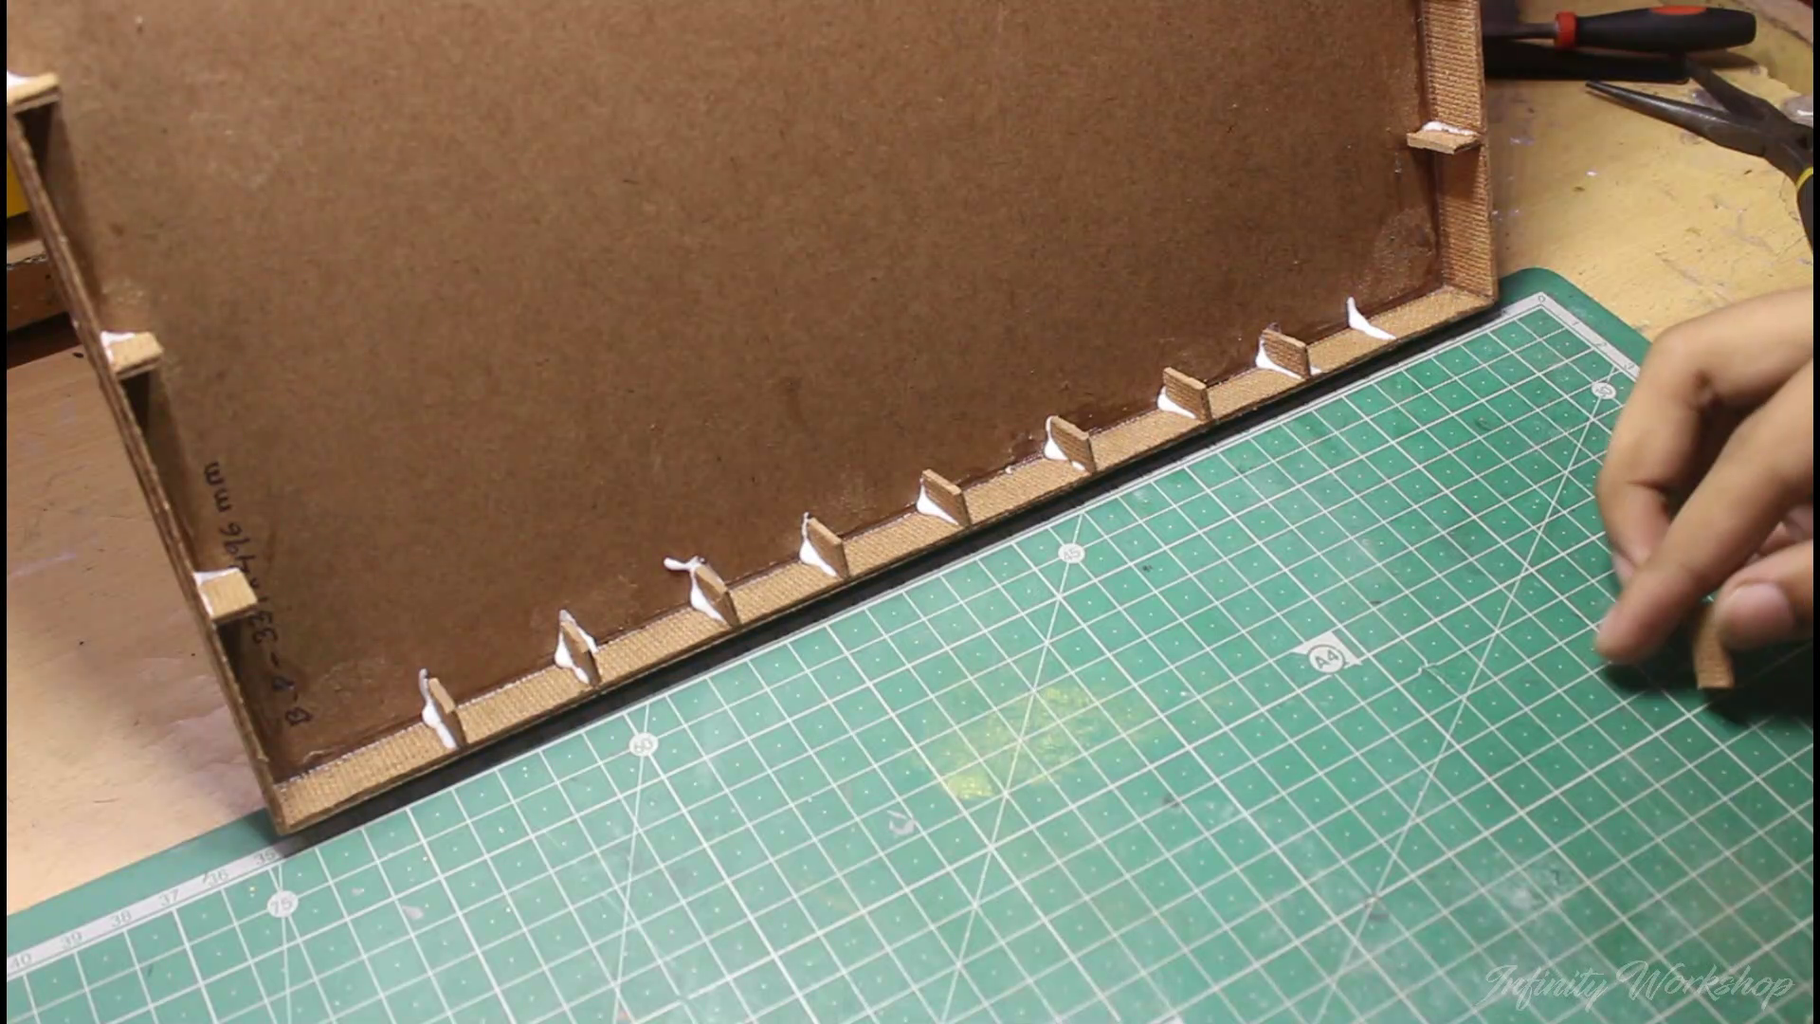
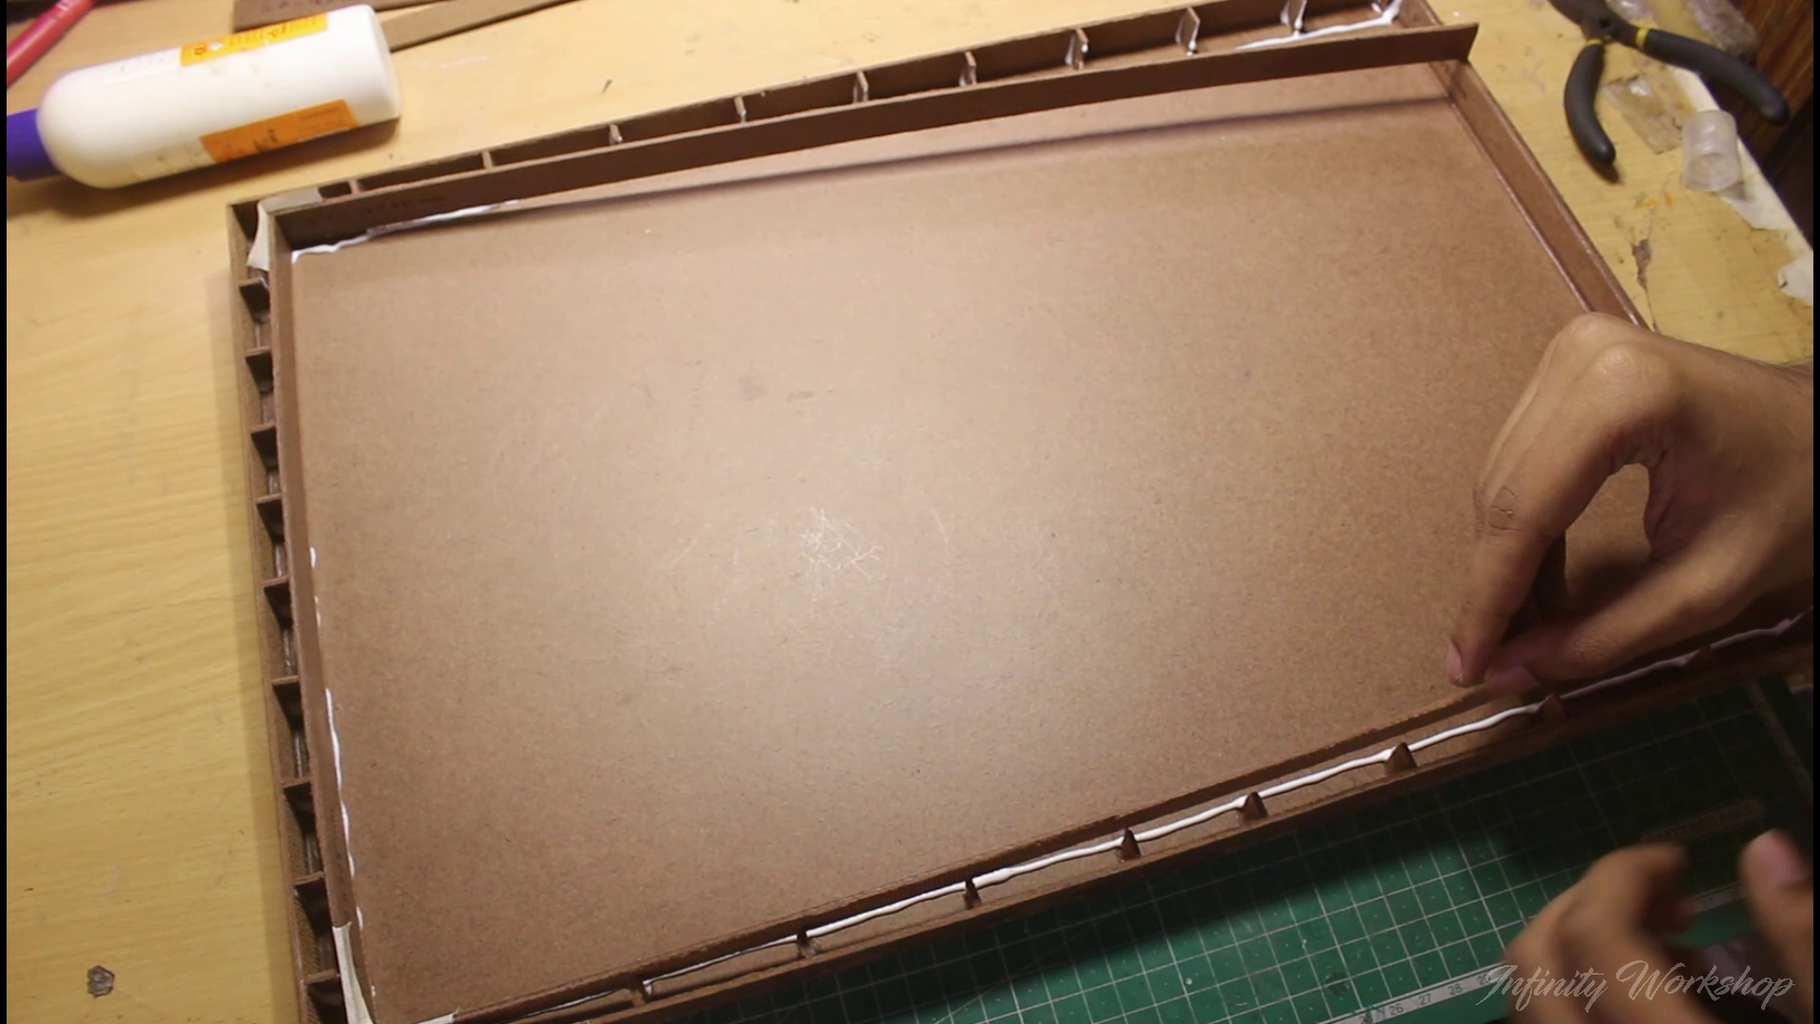
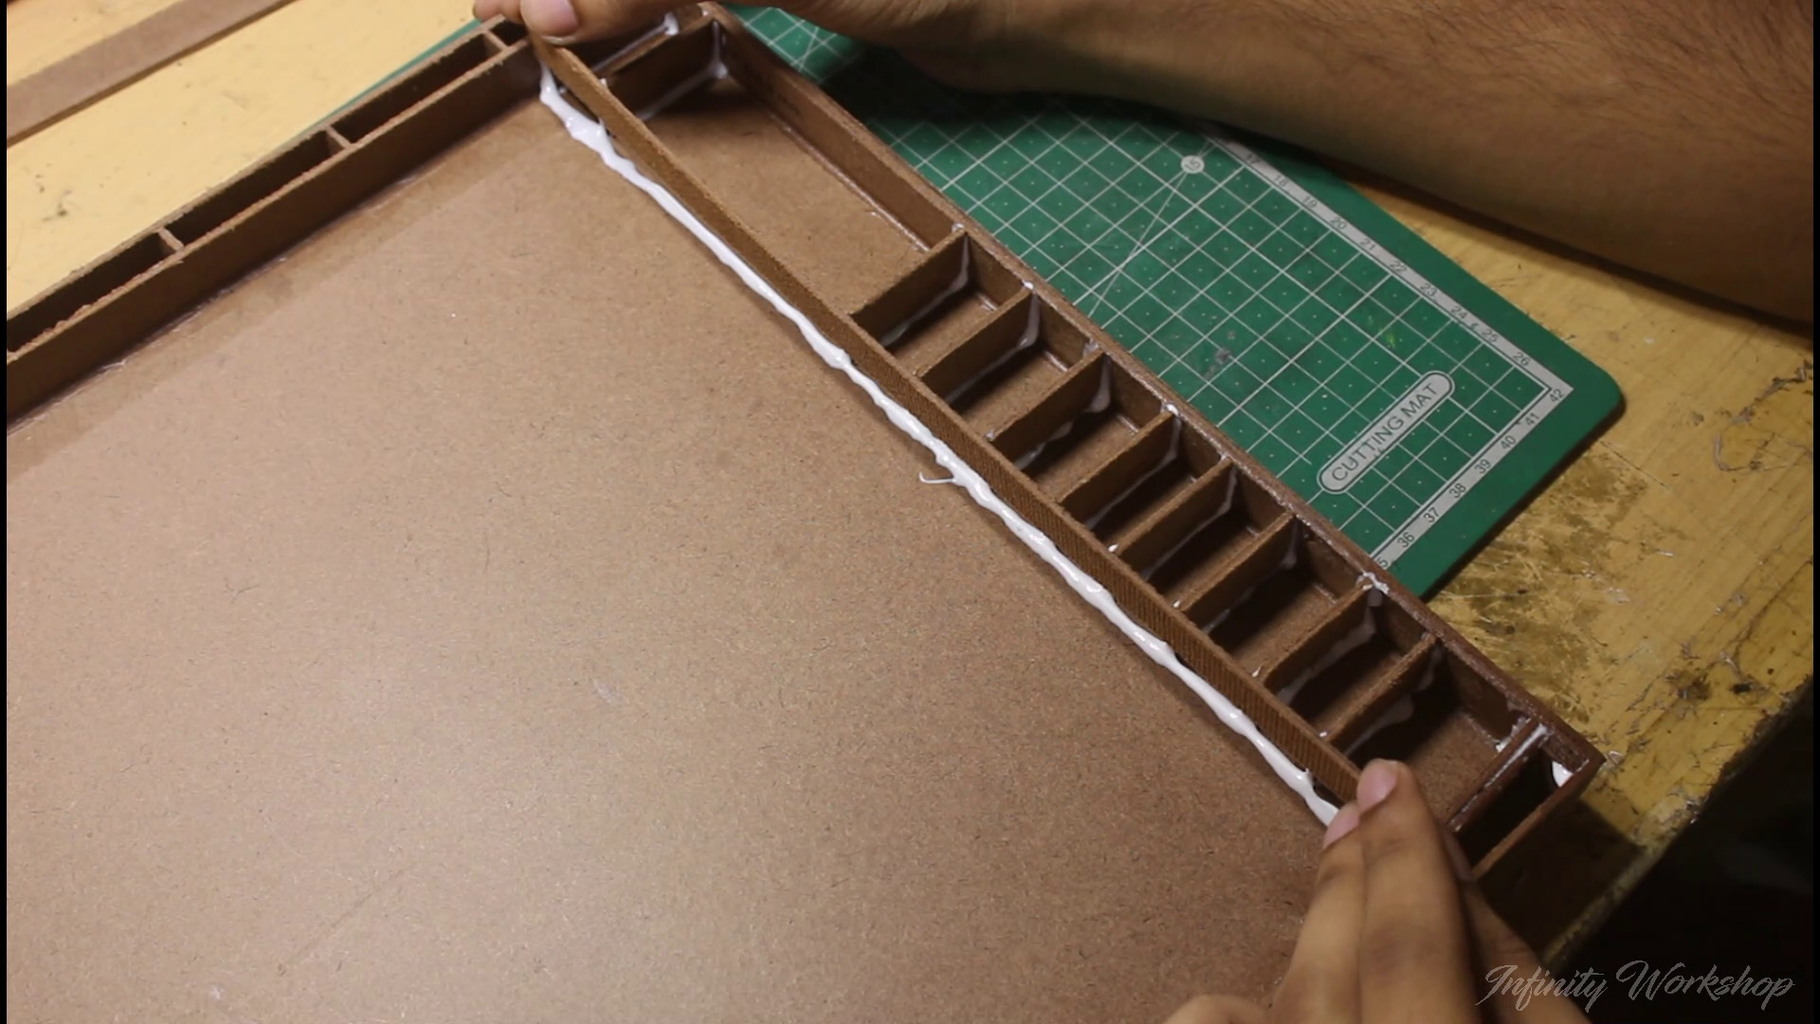
Once the glue has dried, repeat the process for the remaining three sides of the box and join them together to form the main structure. After the perimeter of the box has fully dried, it's time to attach the smaller pieces mentioned in the plan. These pieces will be used as the walls of the box, providing structural rigidity to the lightbox.
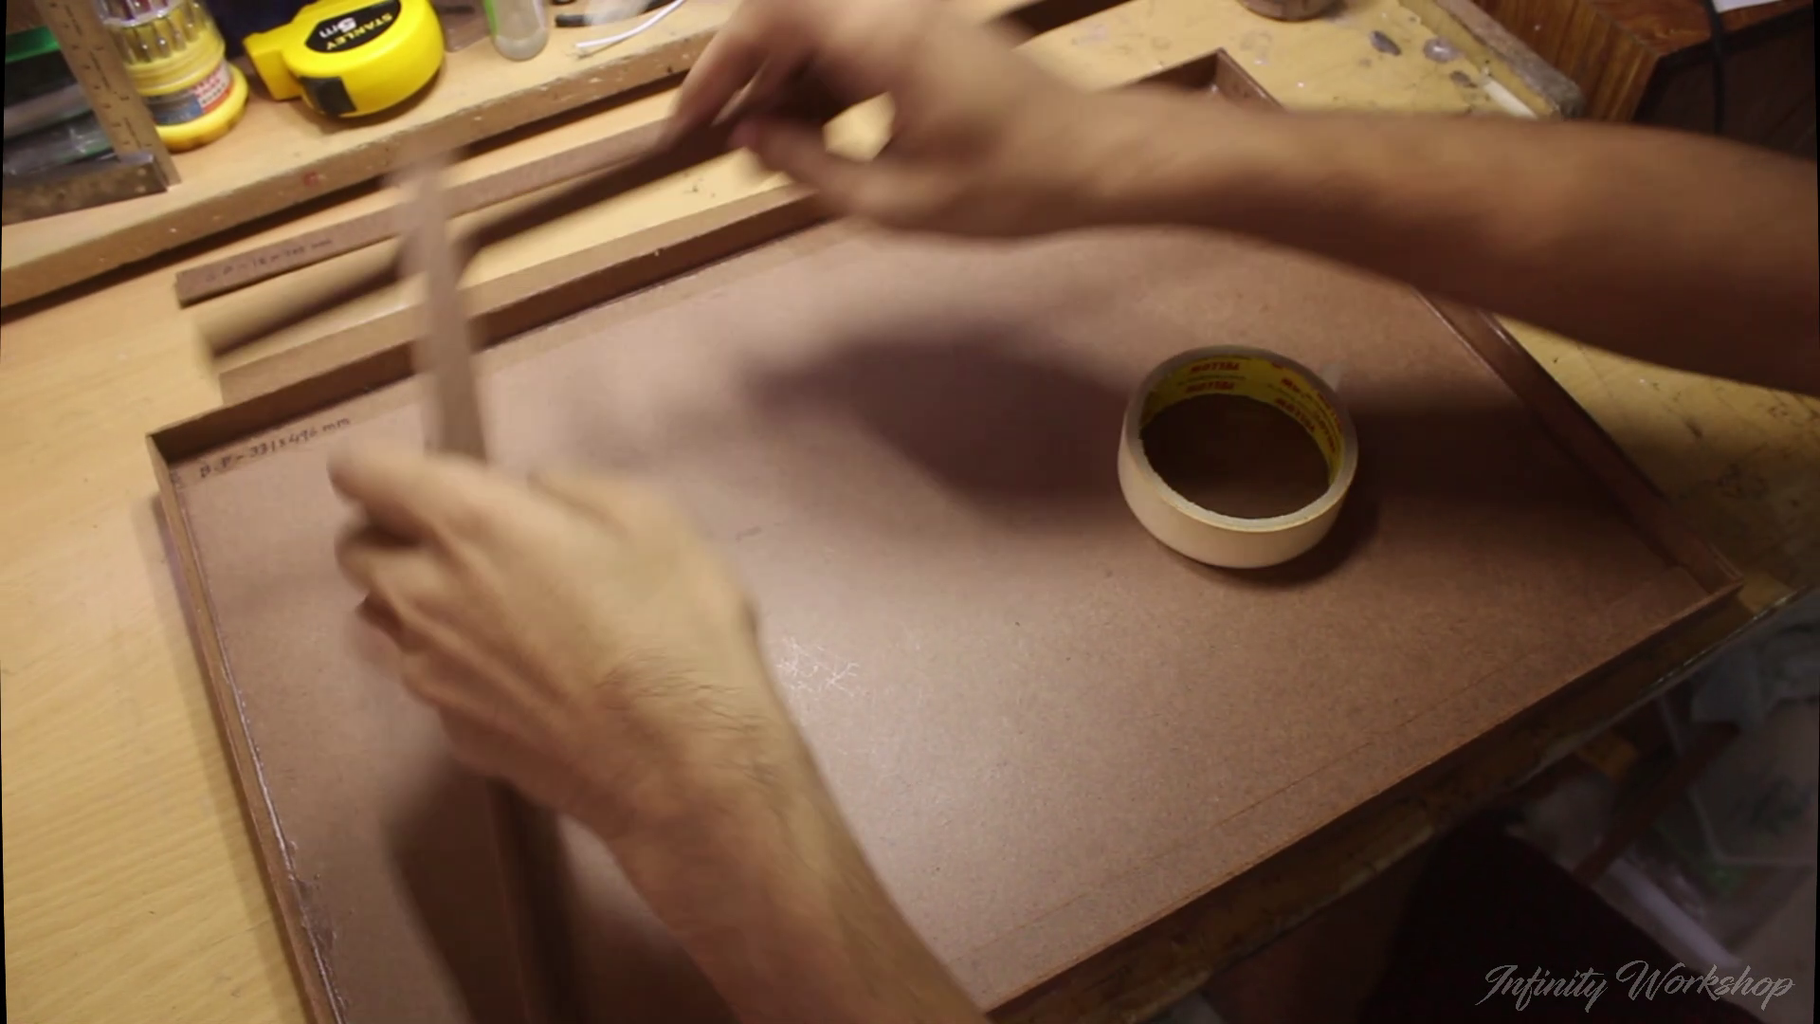
While attaching the inner wall pieces, it's a good idea to use some masking tape to temporarily hold them in place until the glue has fully dried. Repeat the same process for the bigger structure pieces, and then add the remaining cardboard strips according to the plans provided.
Step 5: Prepare the Lights

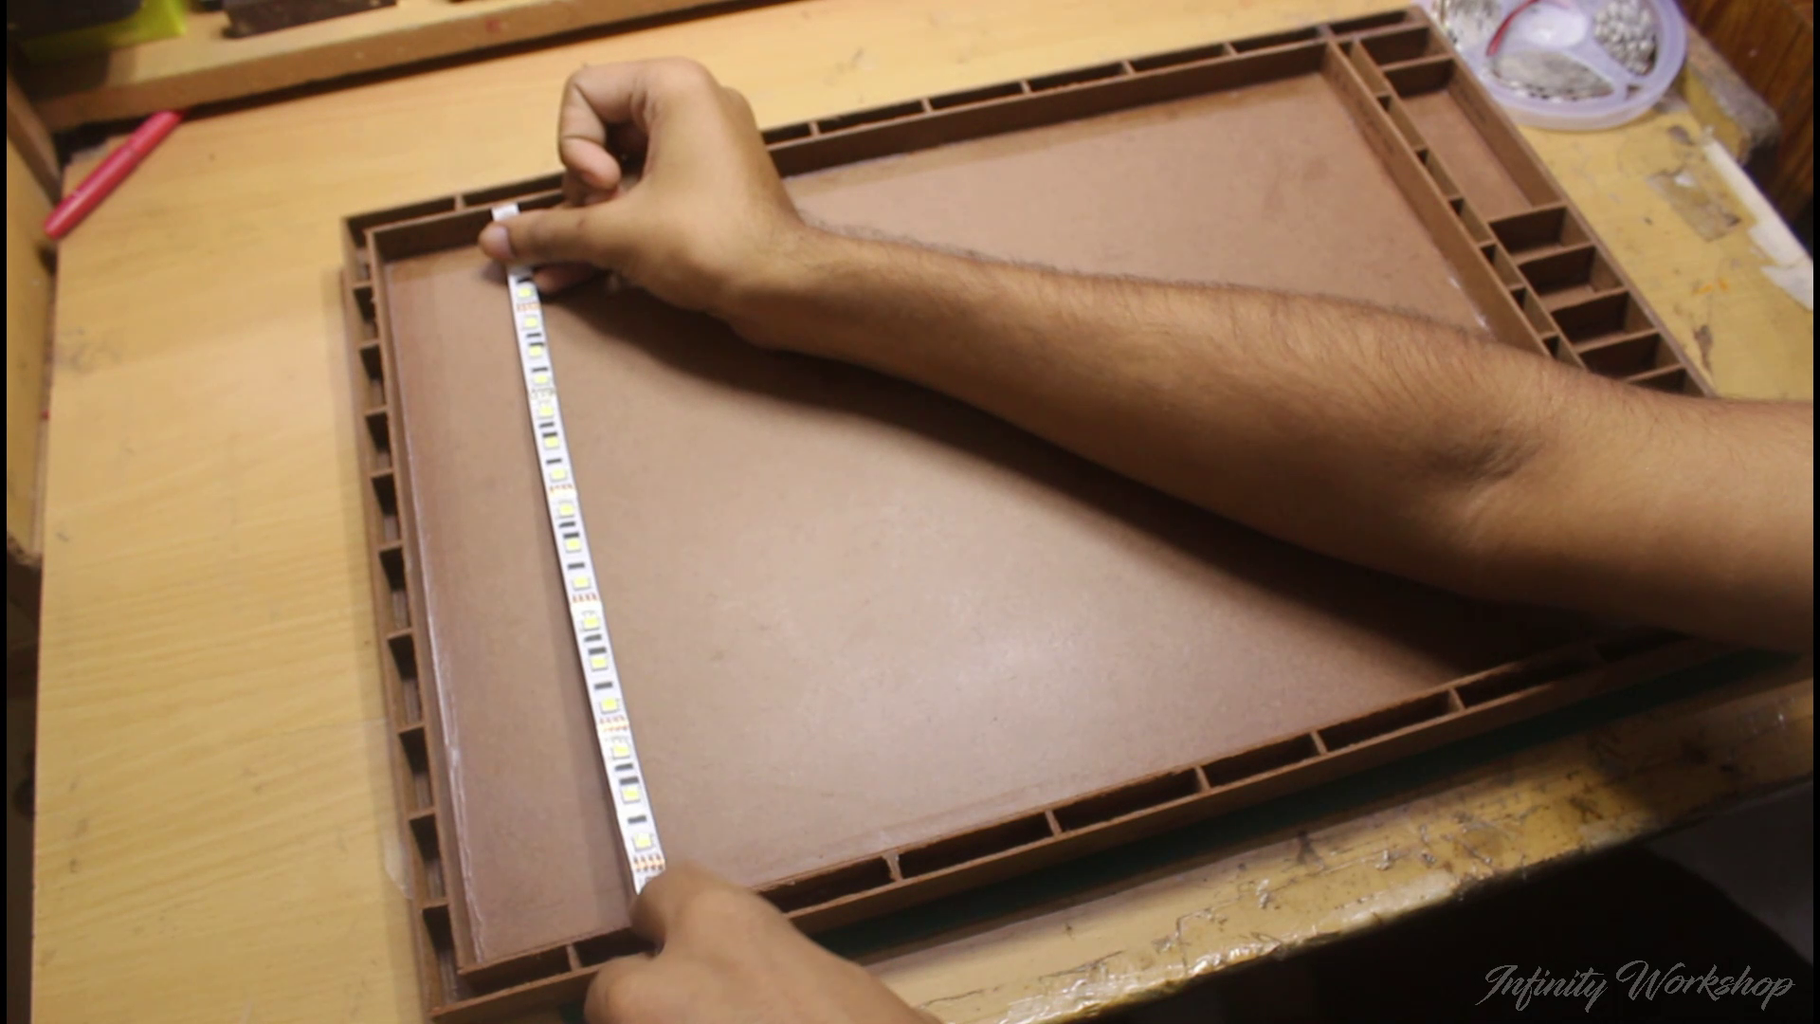
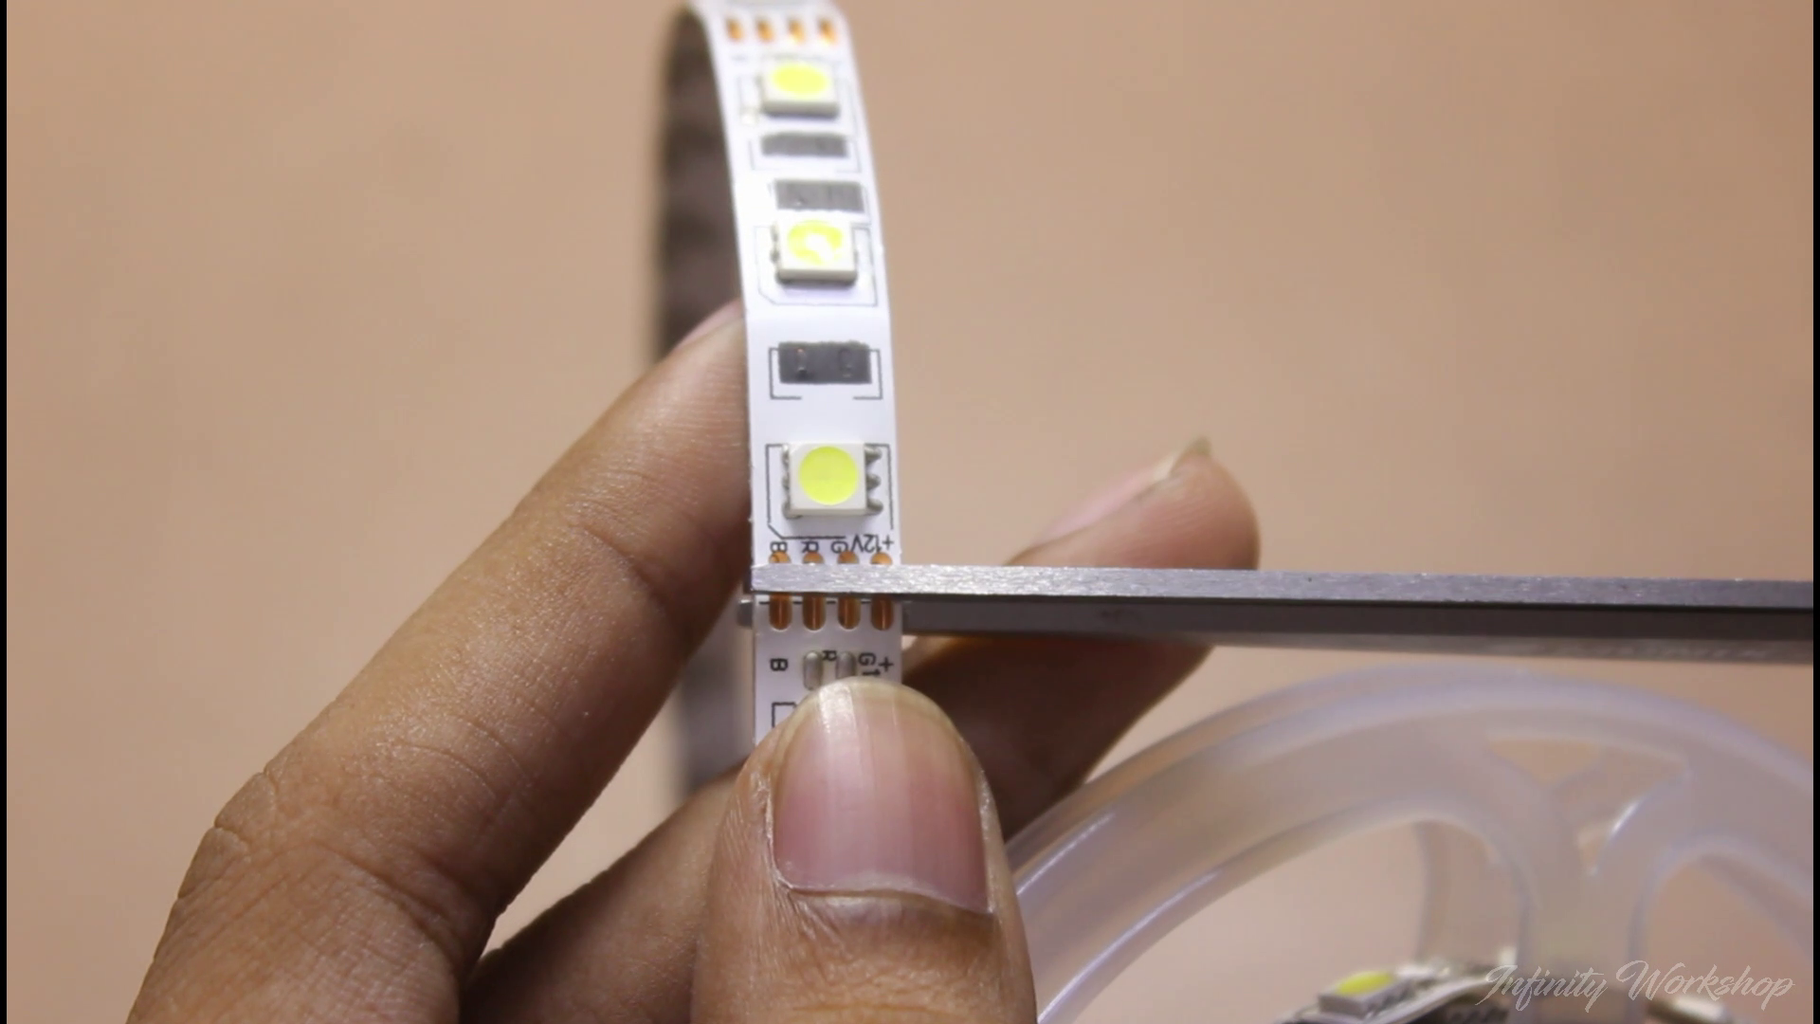

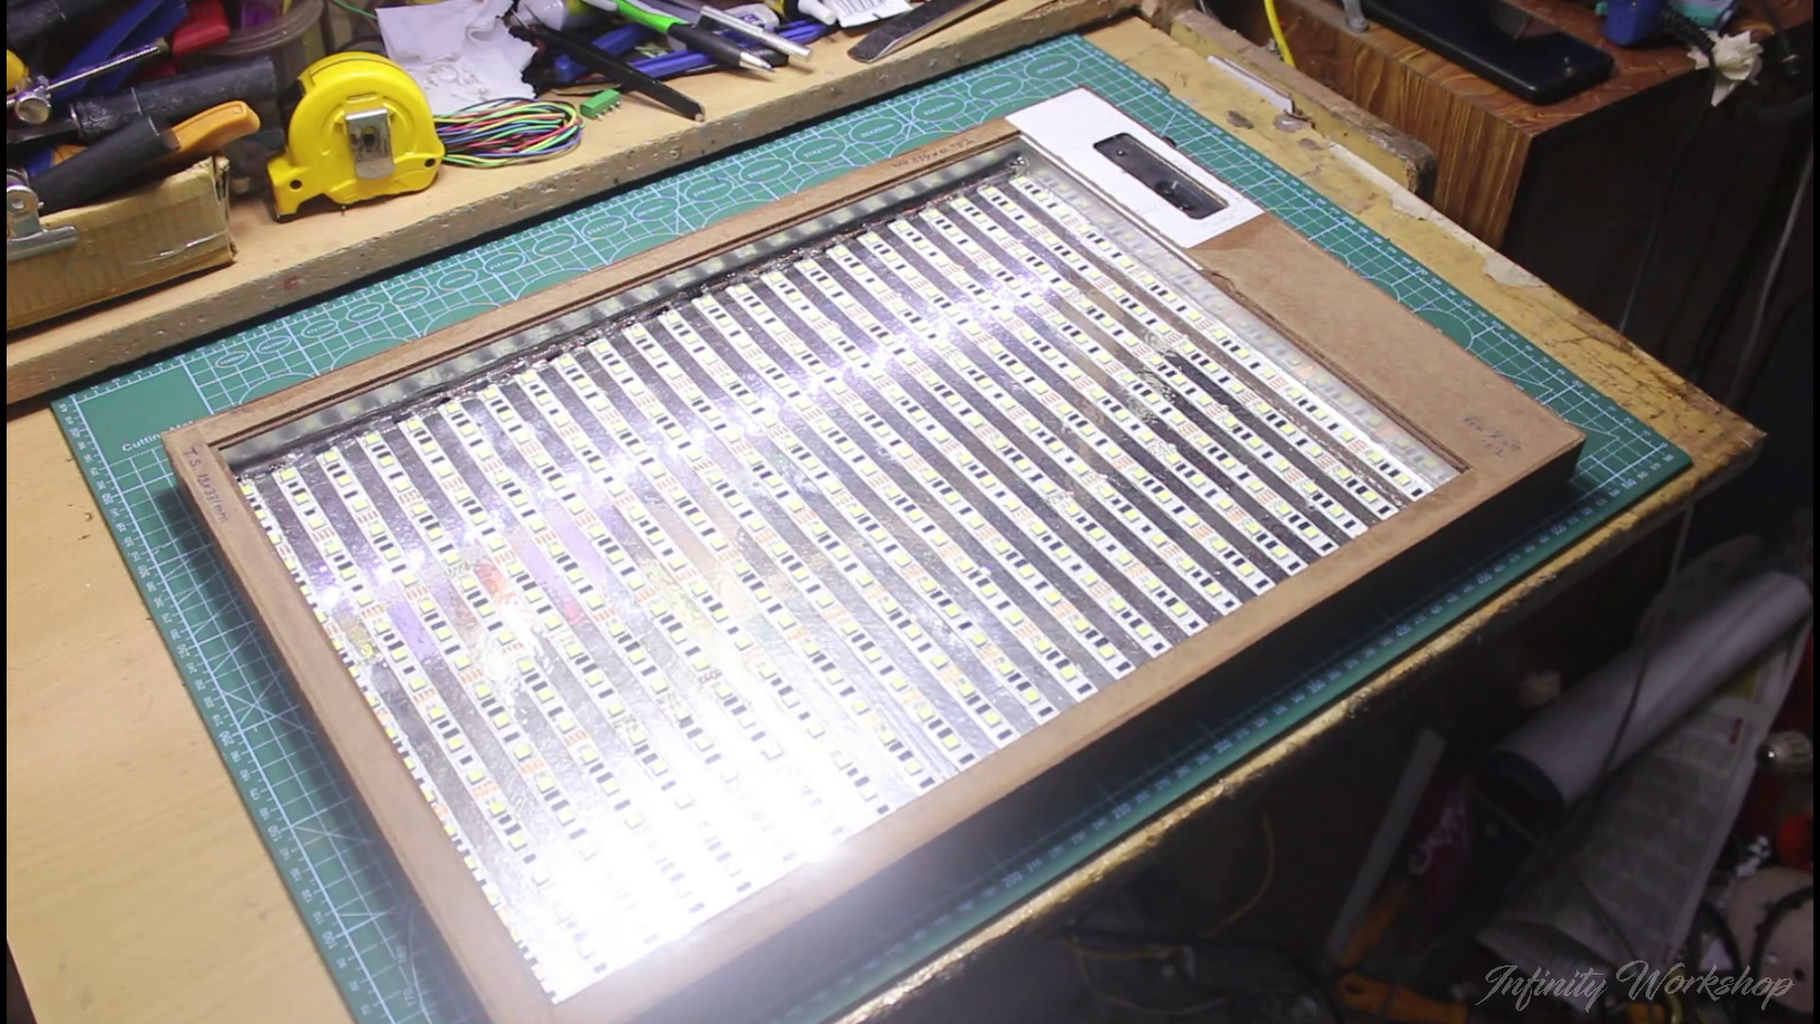
Now, let's move on to one of the most important parts of the project, which is installing the LED strips. You'll need to take out enough length of the 12-volt pure white 5050 SMD LED strips and cut them into equal lengths that match the inner space of the box. This is crucial as the length of the strips will determine how well the lightbox will work.
5050 SMD LEDs are a popular choice for lightbox projects due to their high brightness and vibrant colors. They offer a wider viewing angle, which ensures even distribution of light throughout the box. Furthermore, they come in a range of colors, including pure white, making them ideal for use in lightboxes where color accuracy is important. While 3528 SMD LED strips are another commonly used option, they are less bright and have a narrower viewing angle than 5050 SMD LED strips. Additionally, there are other types of white LED strips, such as 2835 and 5630, that can be used for lightbox projects. However, these may have different specifications and are not as widely available as 5050 SMD LED strips.
For my project, I used 23 LED strips, and I highly recommend using the same number for yours. If your LED strip length varies, try to find another strip with the same length to ensure consistency.
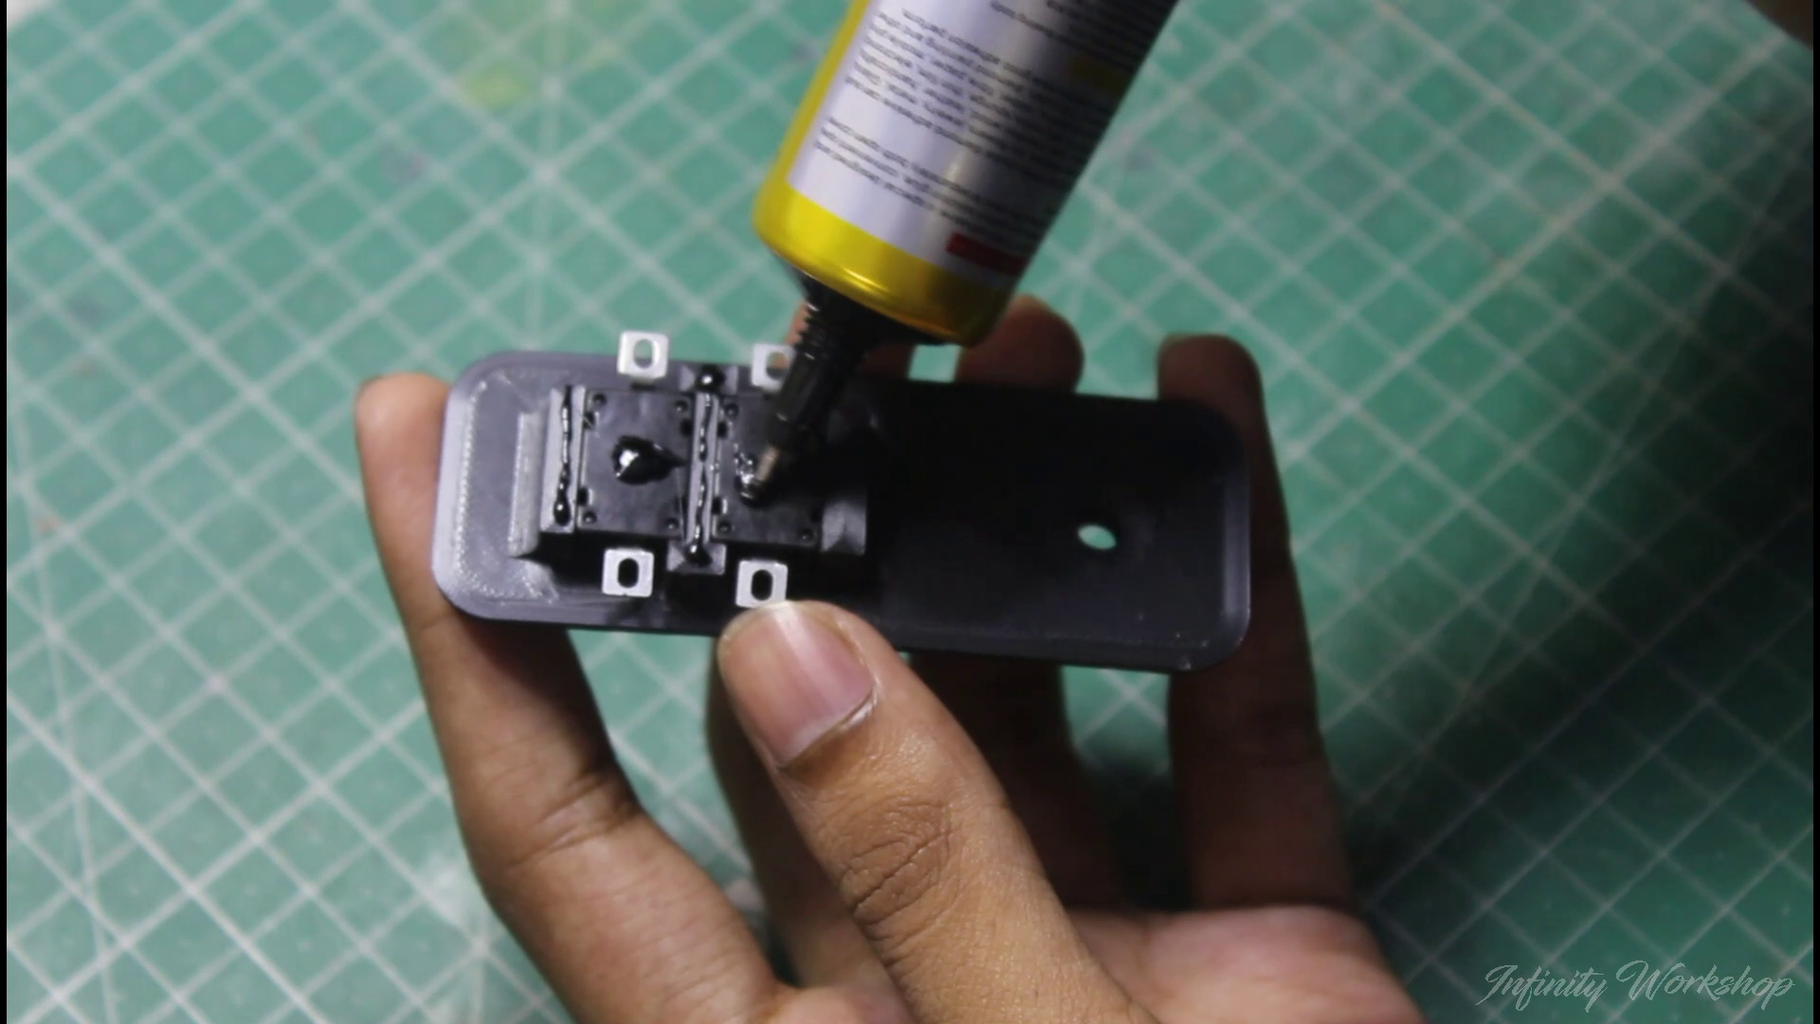
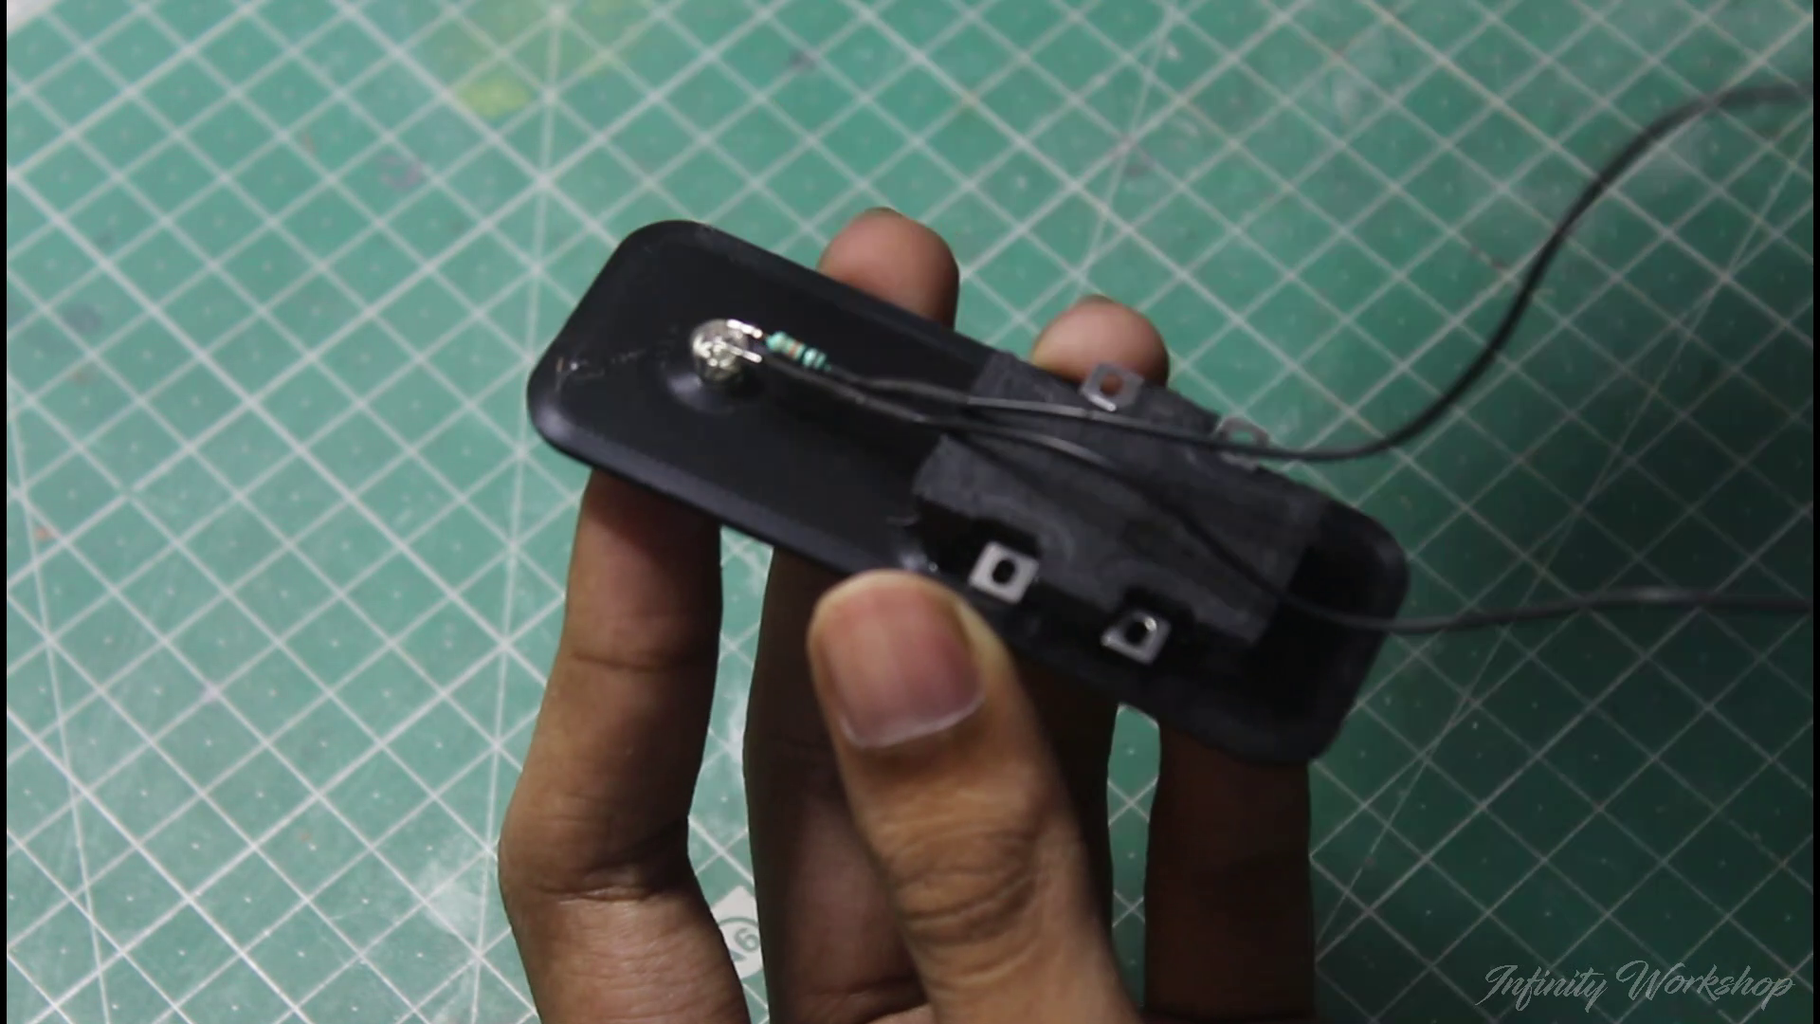
Step 6: Prepare the Switch Holder Pieces
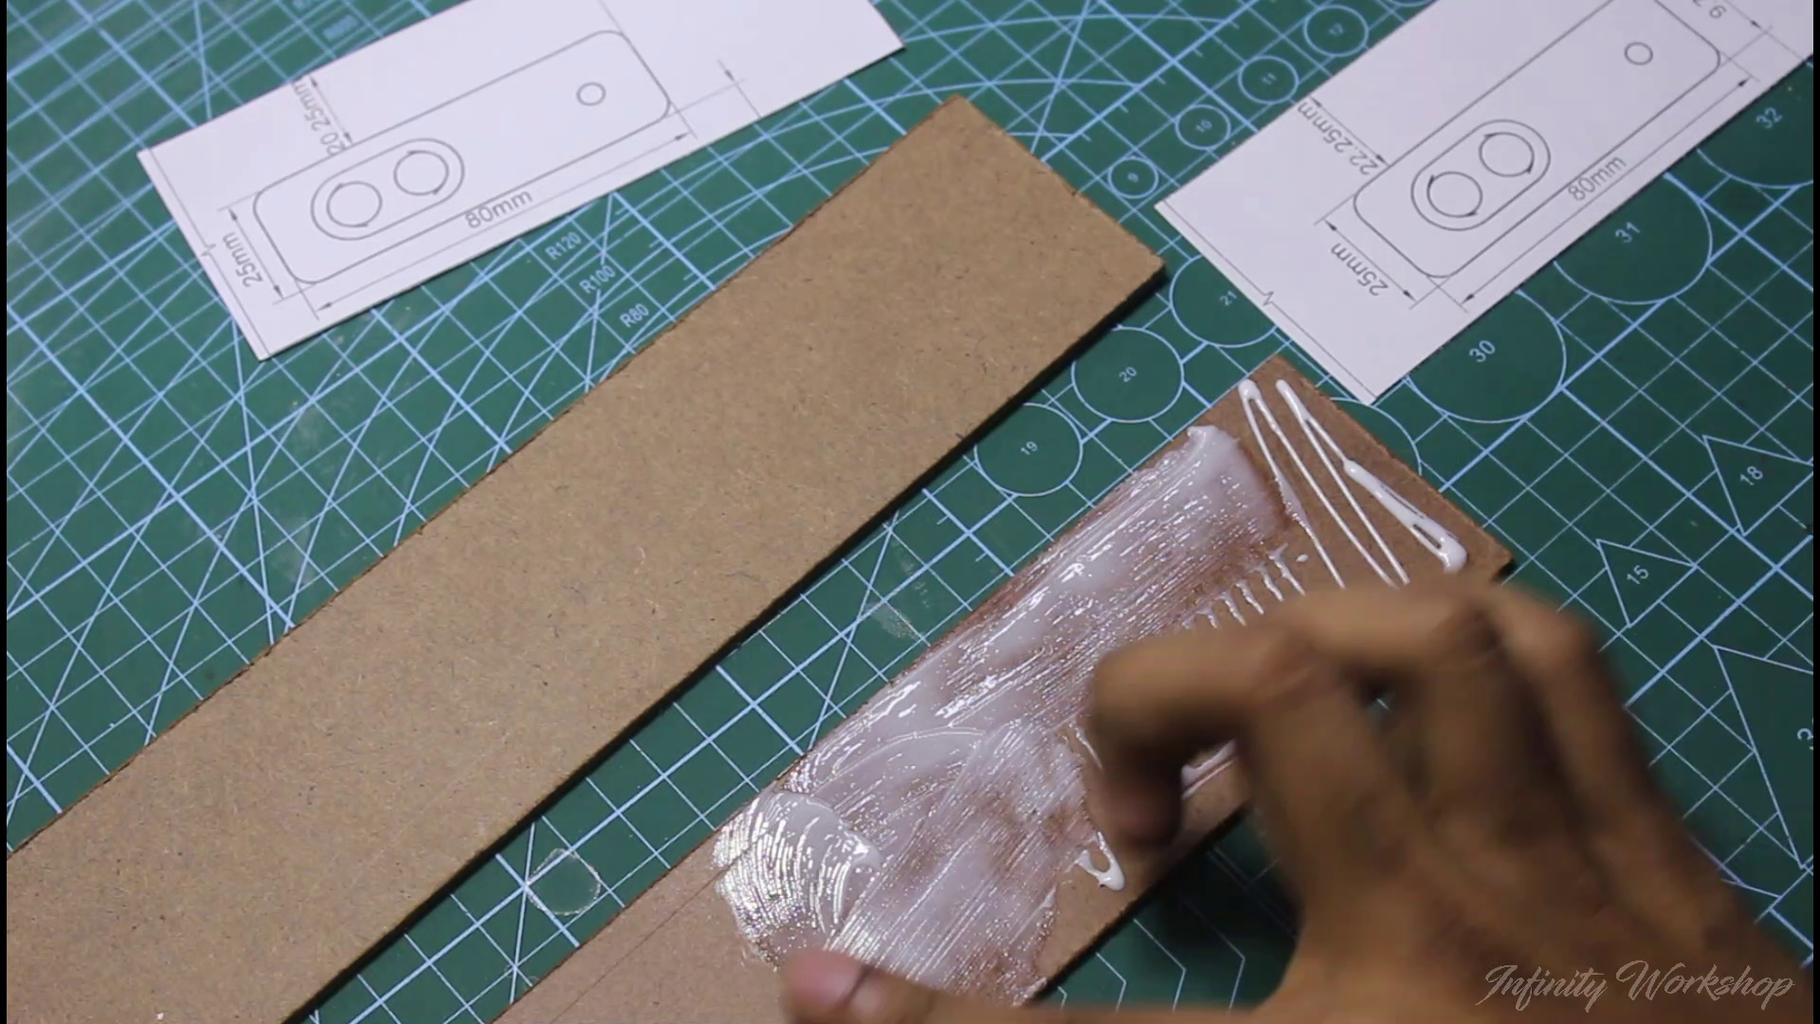
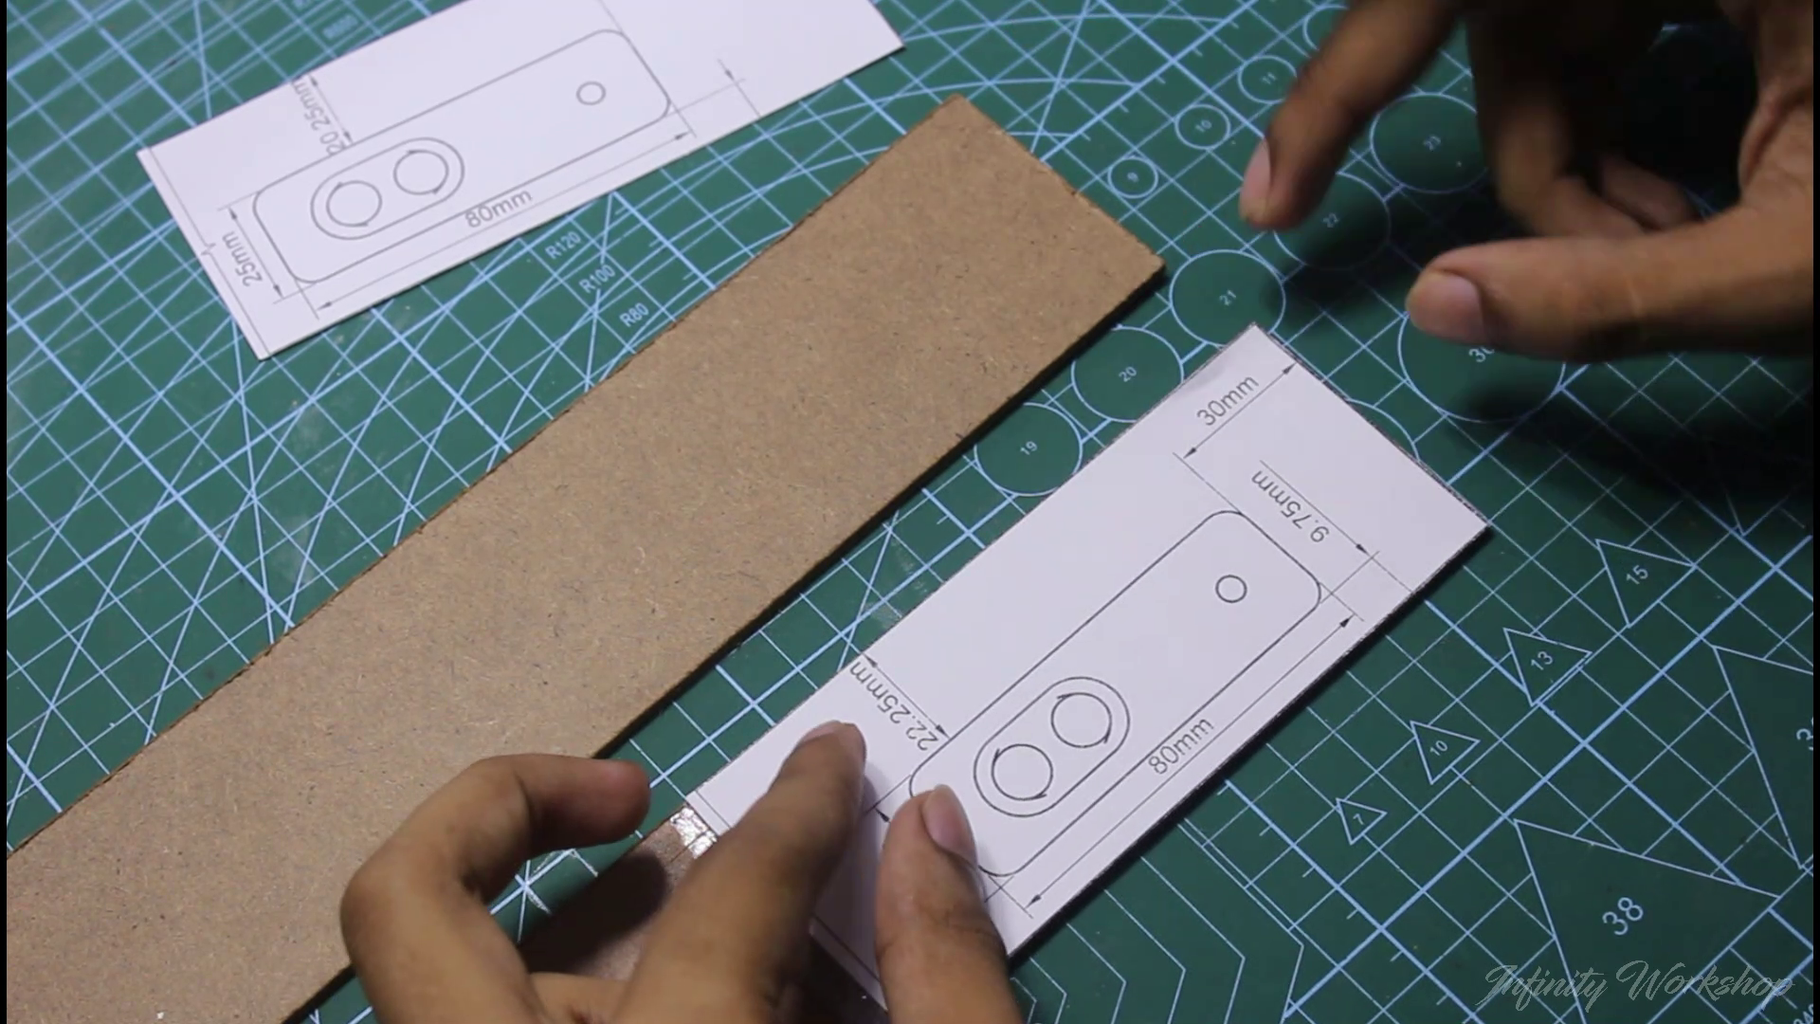


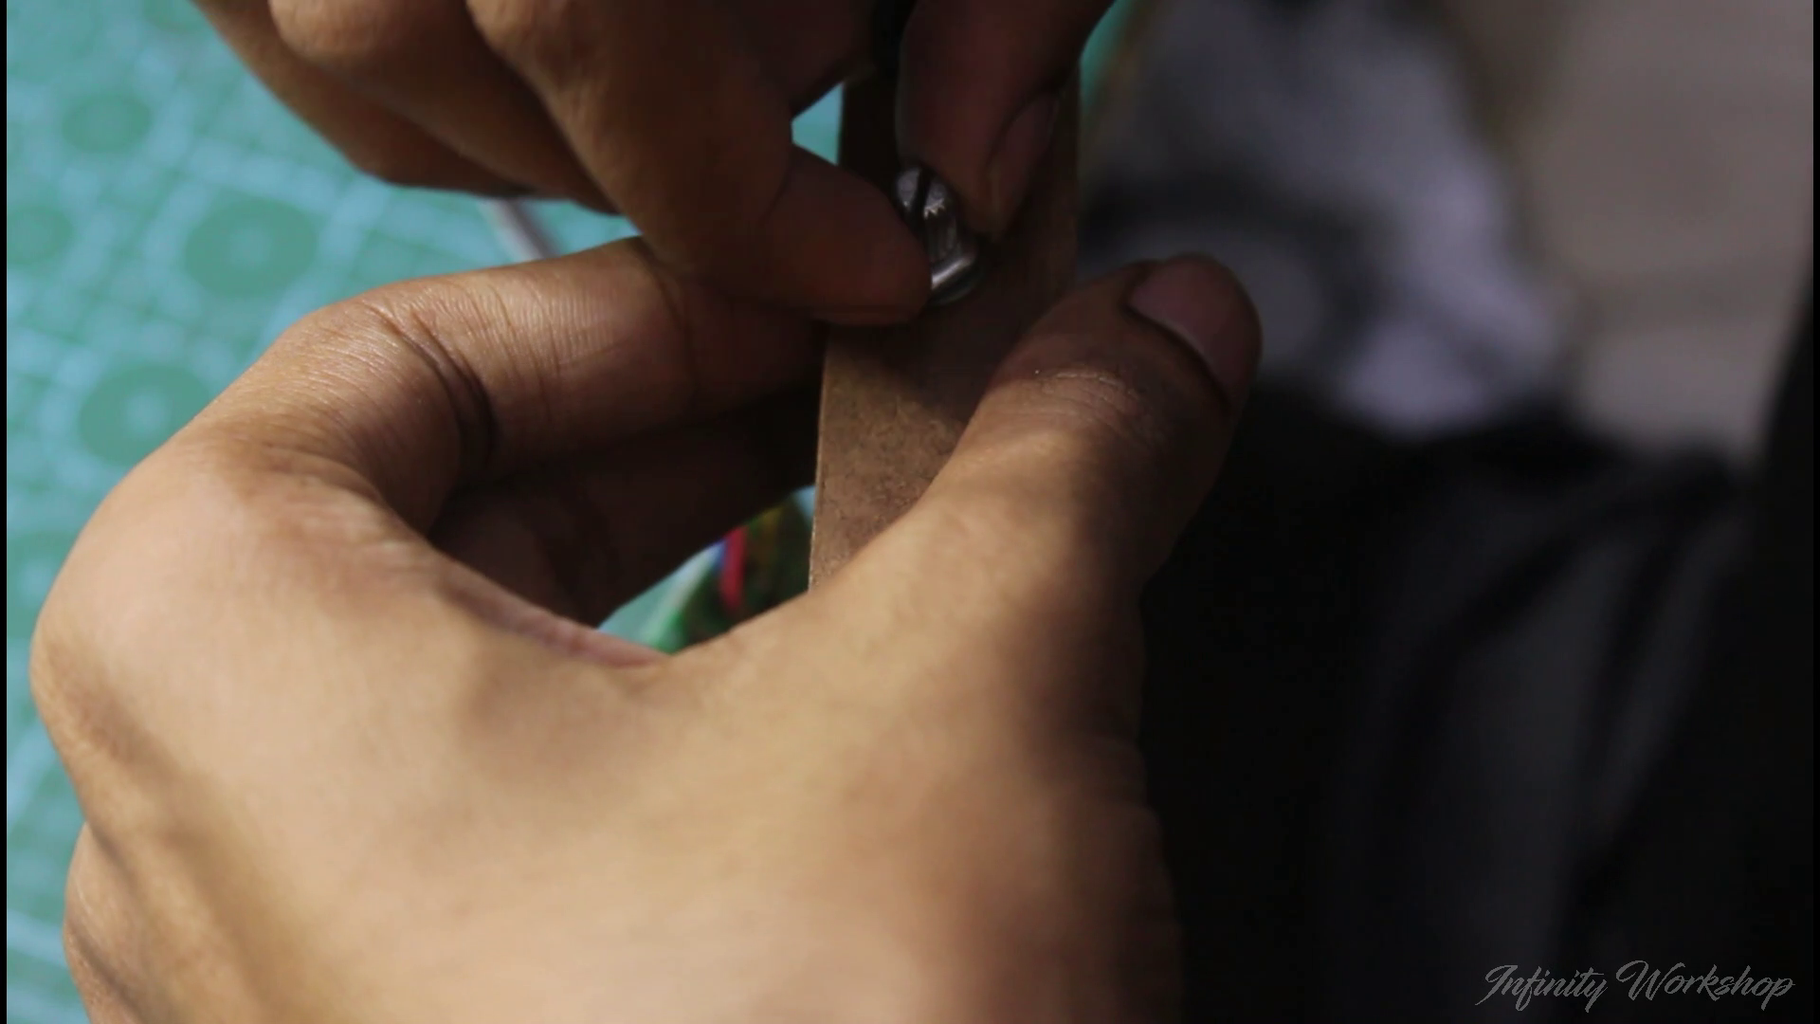
To start assembling the control panel for the lightbox, first cut out the template provided and stick it on the cardboard piece as instructed in the templates. Use some craft glue to secure it in place. Next, using a coping saw, cut out the piece following the outline of the template.
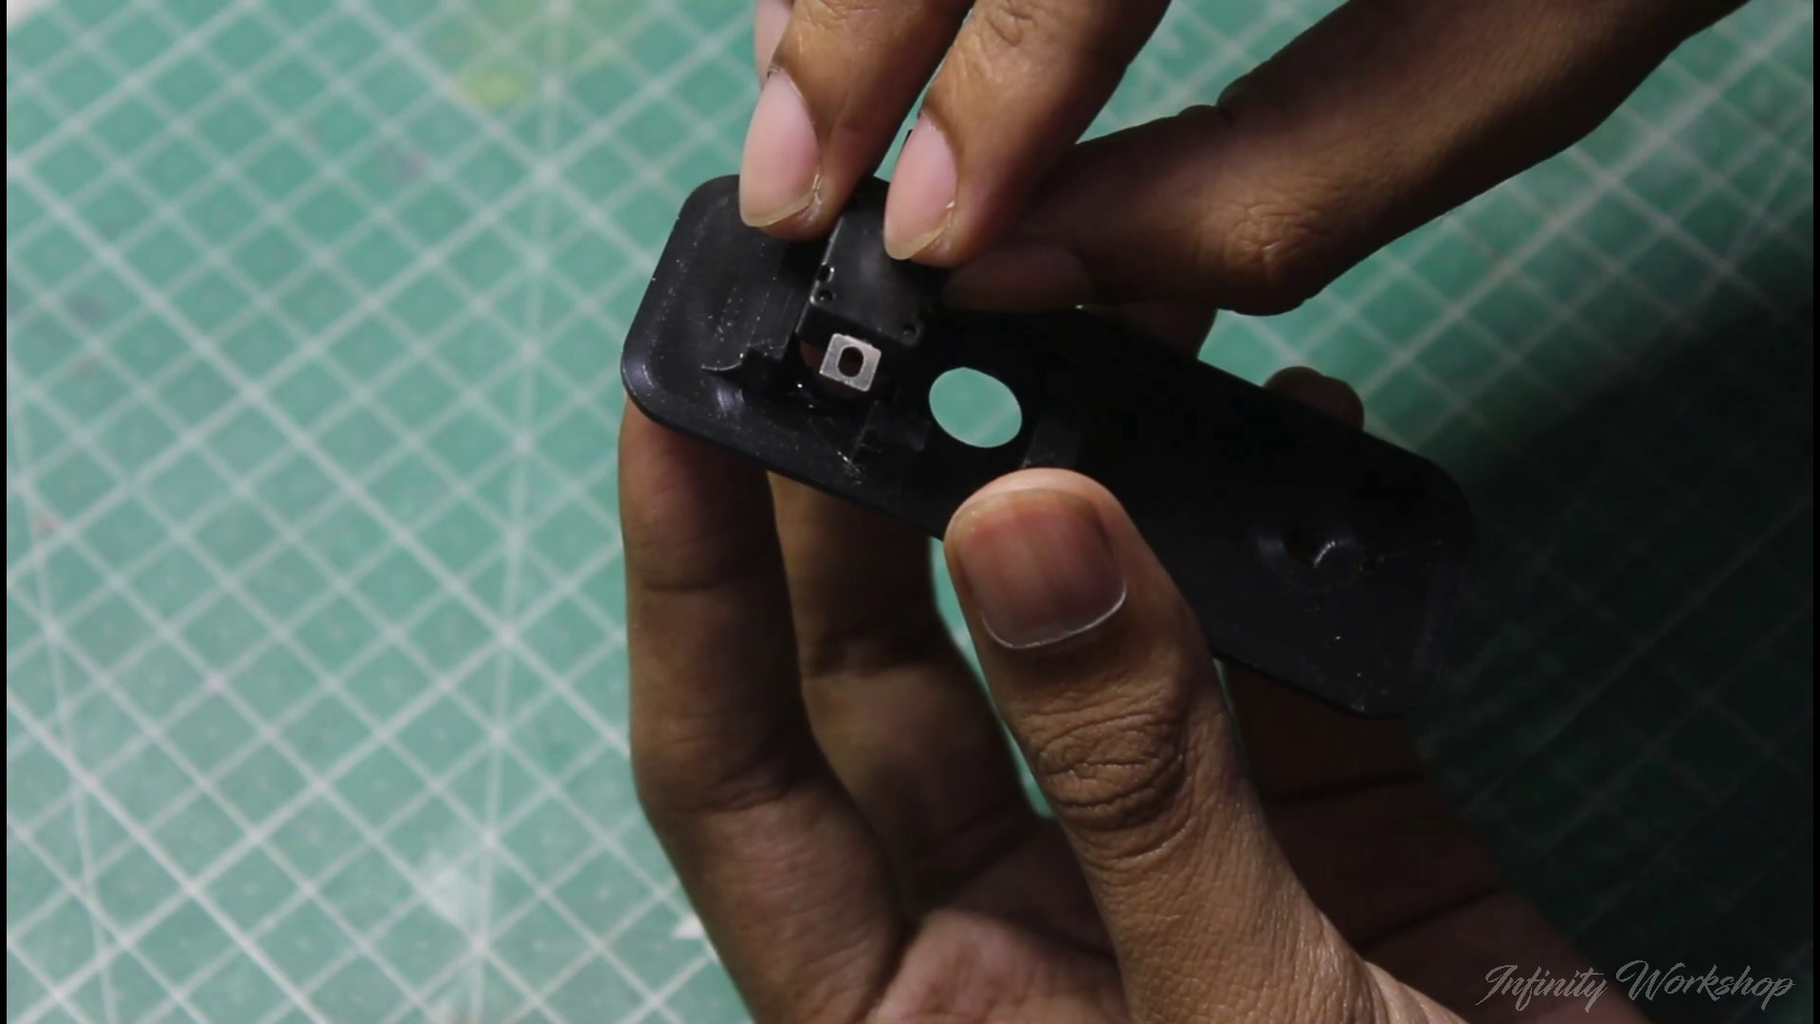
If you have access to a 3D printer, you can print a small piece to hold the switches and indicator LED in place, as the 3D model is provided in the bundle. Alternatively, you can use an extra cardboard piece to hold the switches in place. Carefully follow the steps shown in the video and attach the buttons in their place.
To install the electrical components, drill two holes at the right side of the box and add the 12 volt DC barrel connector and the potentiometer knob in place. These components will allow you to adjust the brightness and control the power supply of the LED strips, giving you complete control over the light output of the lightbox.
Step 7: Prepare the Electronics

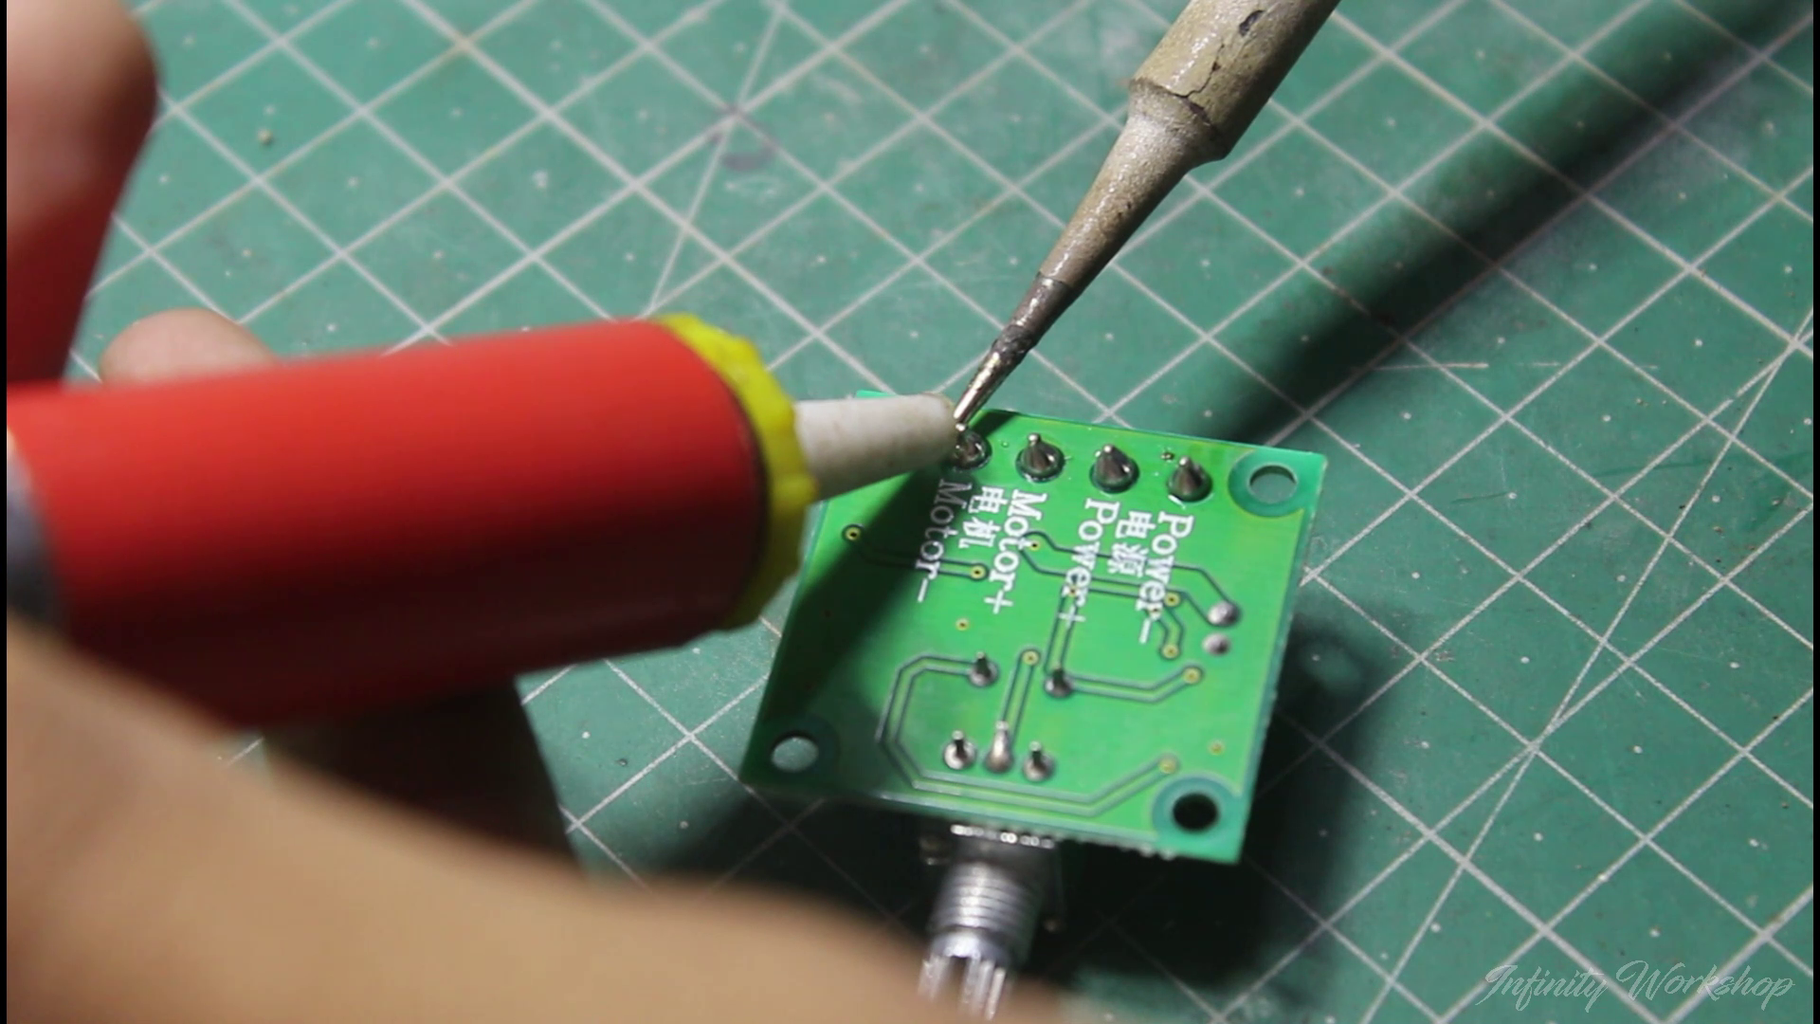
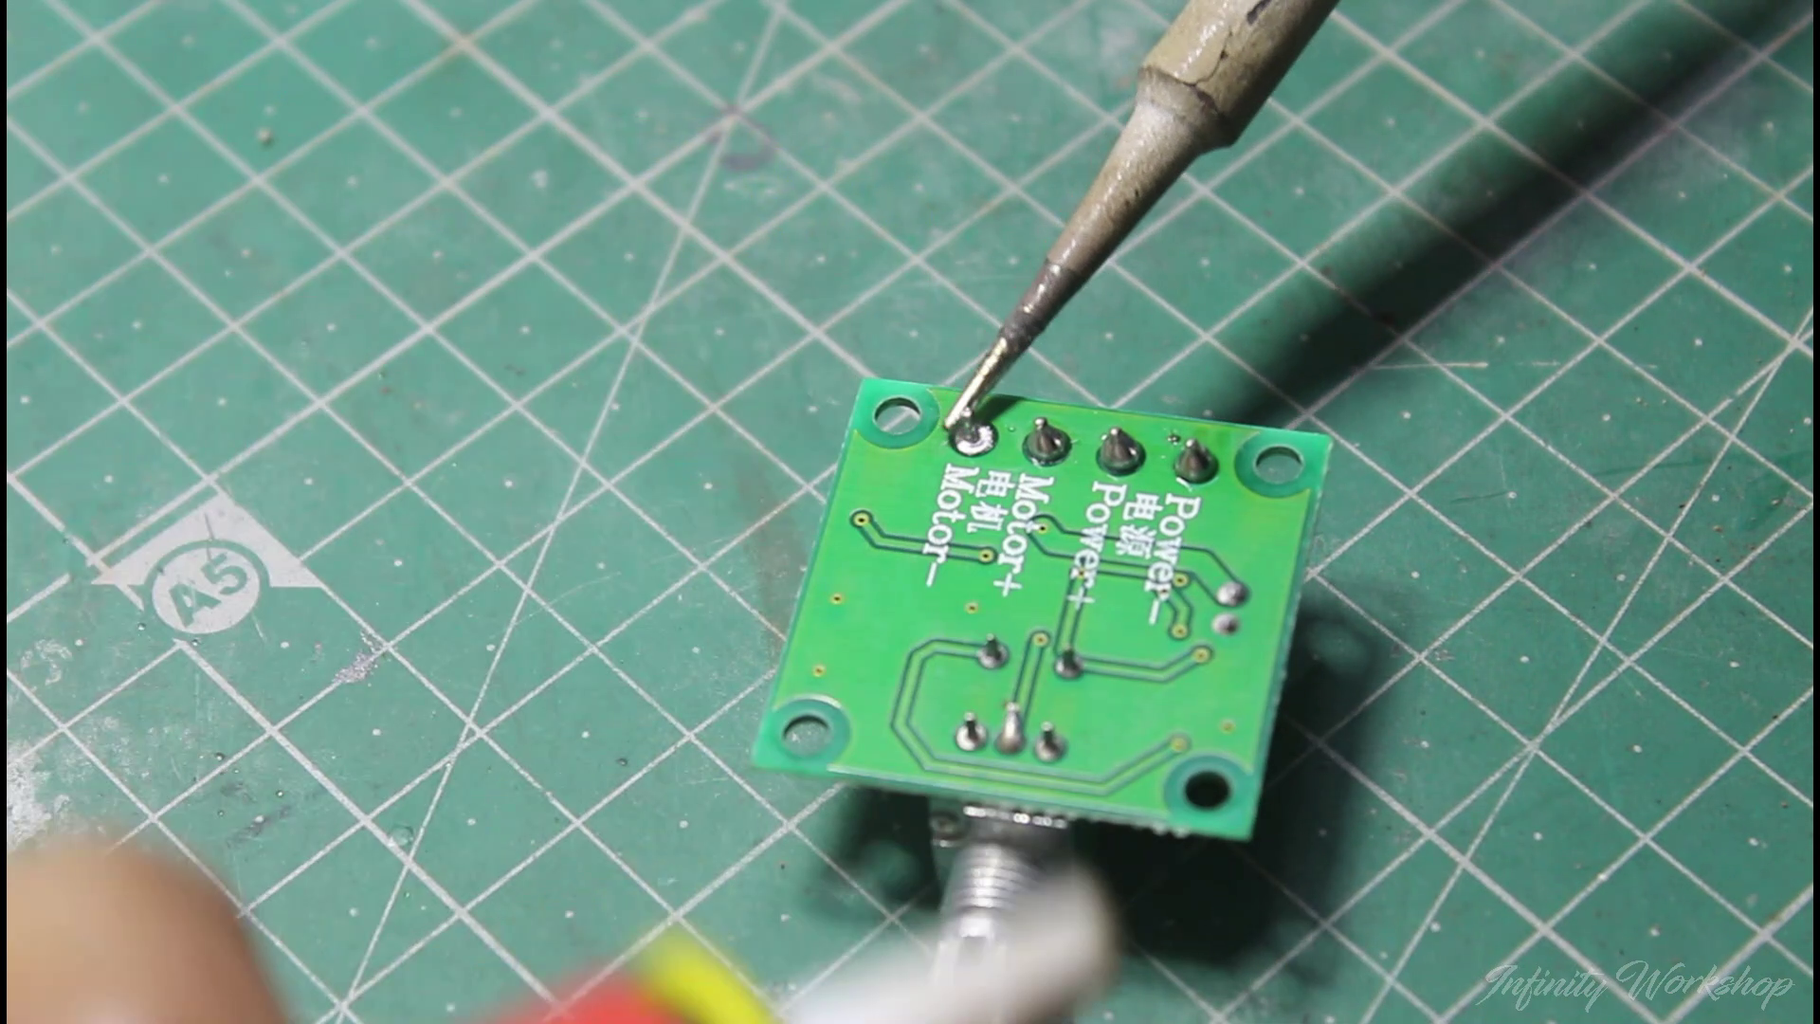
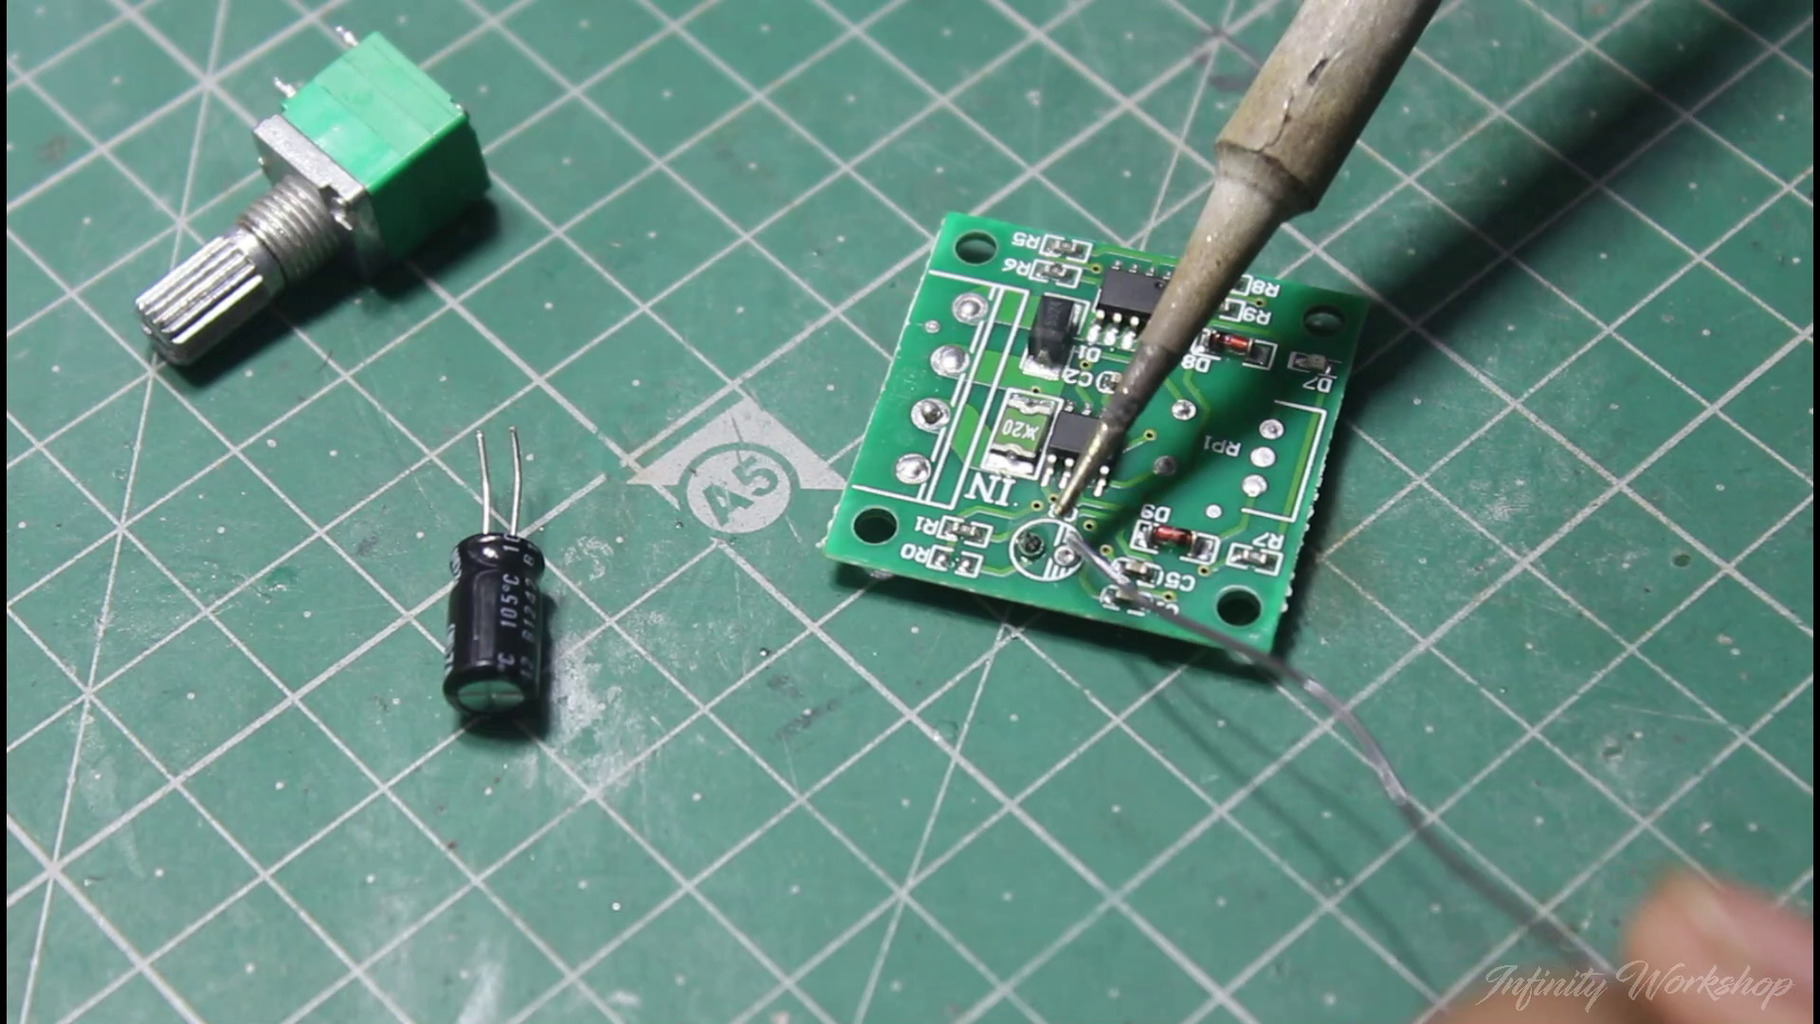


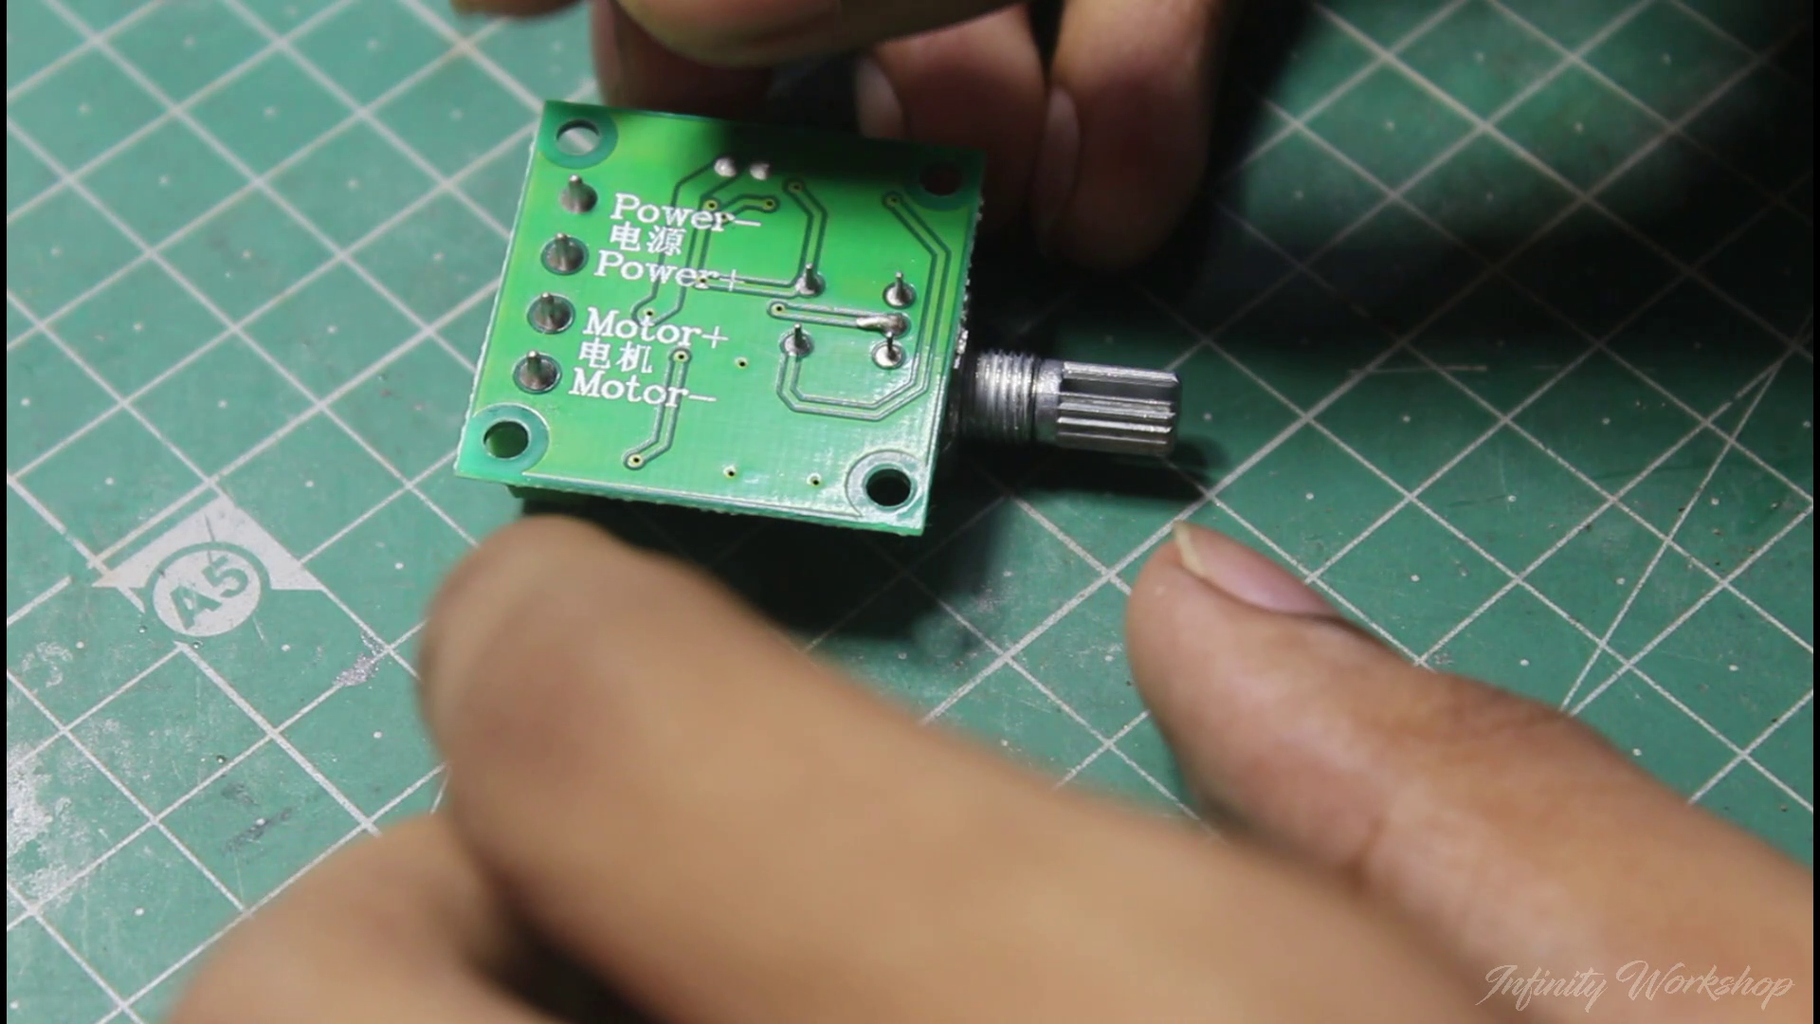
For regulating the brightness of my lightbox, I have used the commonly available '1.8V – 12V/2A DC Motor PWM Speed Regulator'.
A 12-volt motor speed controller is an electronic device used to control the speed of a motor by adjusting the amount of power supplied to it. It works by varying the voltage or current sent to the motor, thereby changing its speed. These controllers are commonly used in a variety of applications, including in automobiles, boats, and industrial machinery. They are available in various types, including analog and digital controllers, and can be easily integrated into existing systems. A motor speed controller is a useful tool for those looking to regulate the speed of their motor and improve its efficiency.
It's worth noting that a 12-volt motor speed controller can also be used to control the brightness of an LED, as it works by regulating the voltage and current supplied to the motor. By adjusting the output voltage using the potentiometer knob, you can effectively control the speed of the motor or the brightness of the LED. This can be particularly useful for DIY projects, such as building a lightbox, where precise control over the lighting intensity is desired.
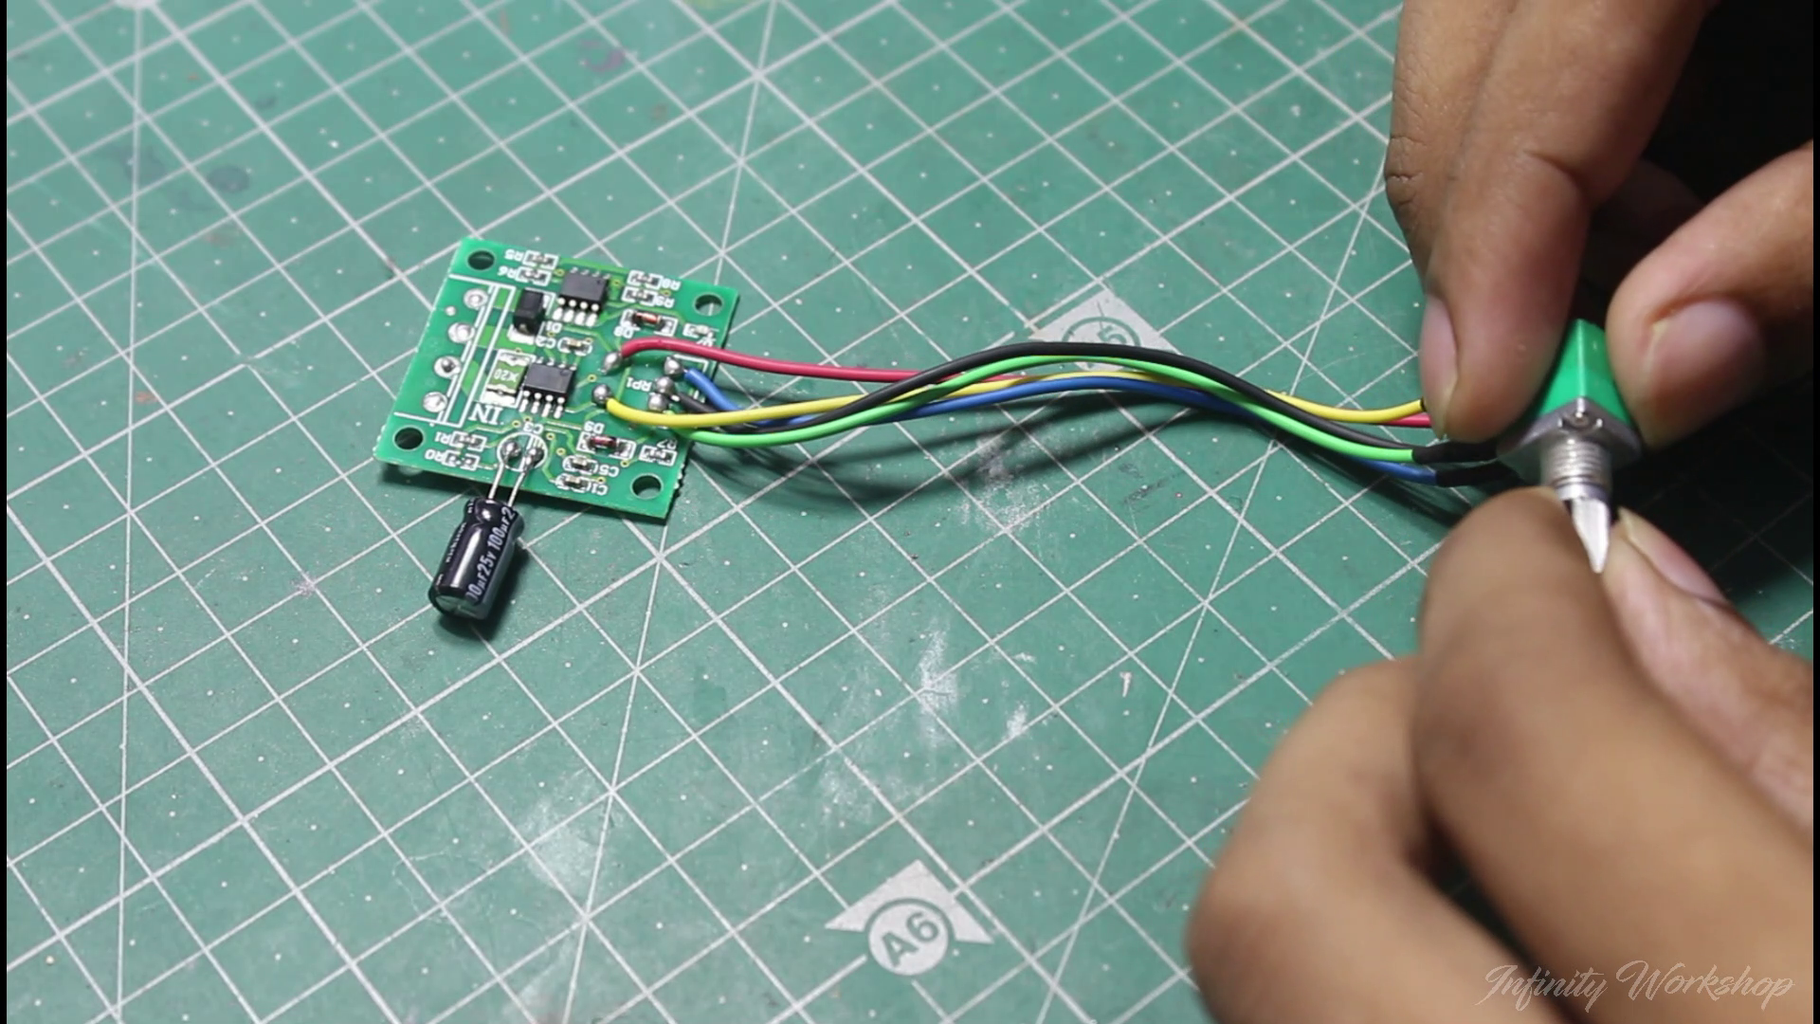
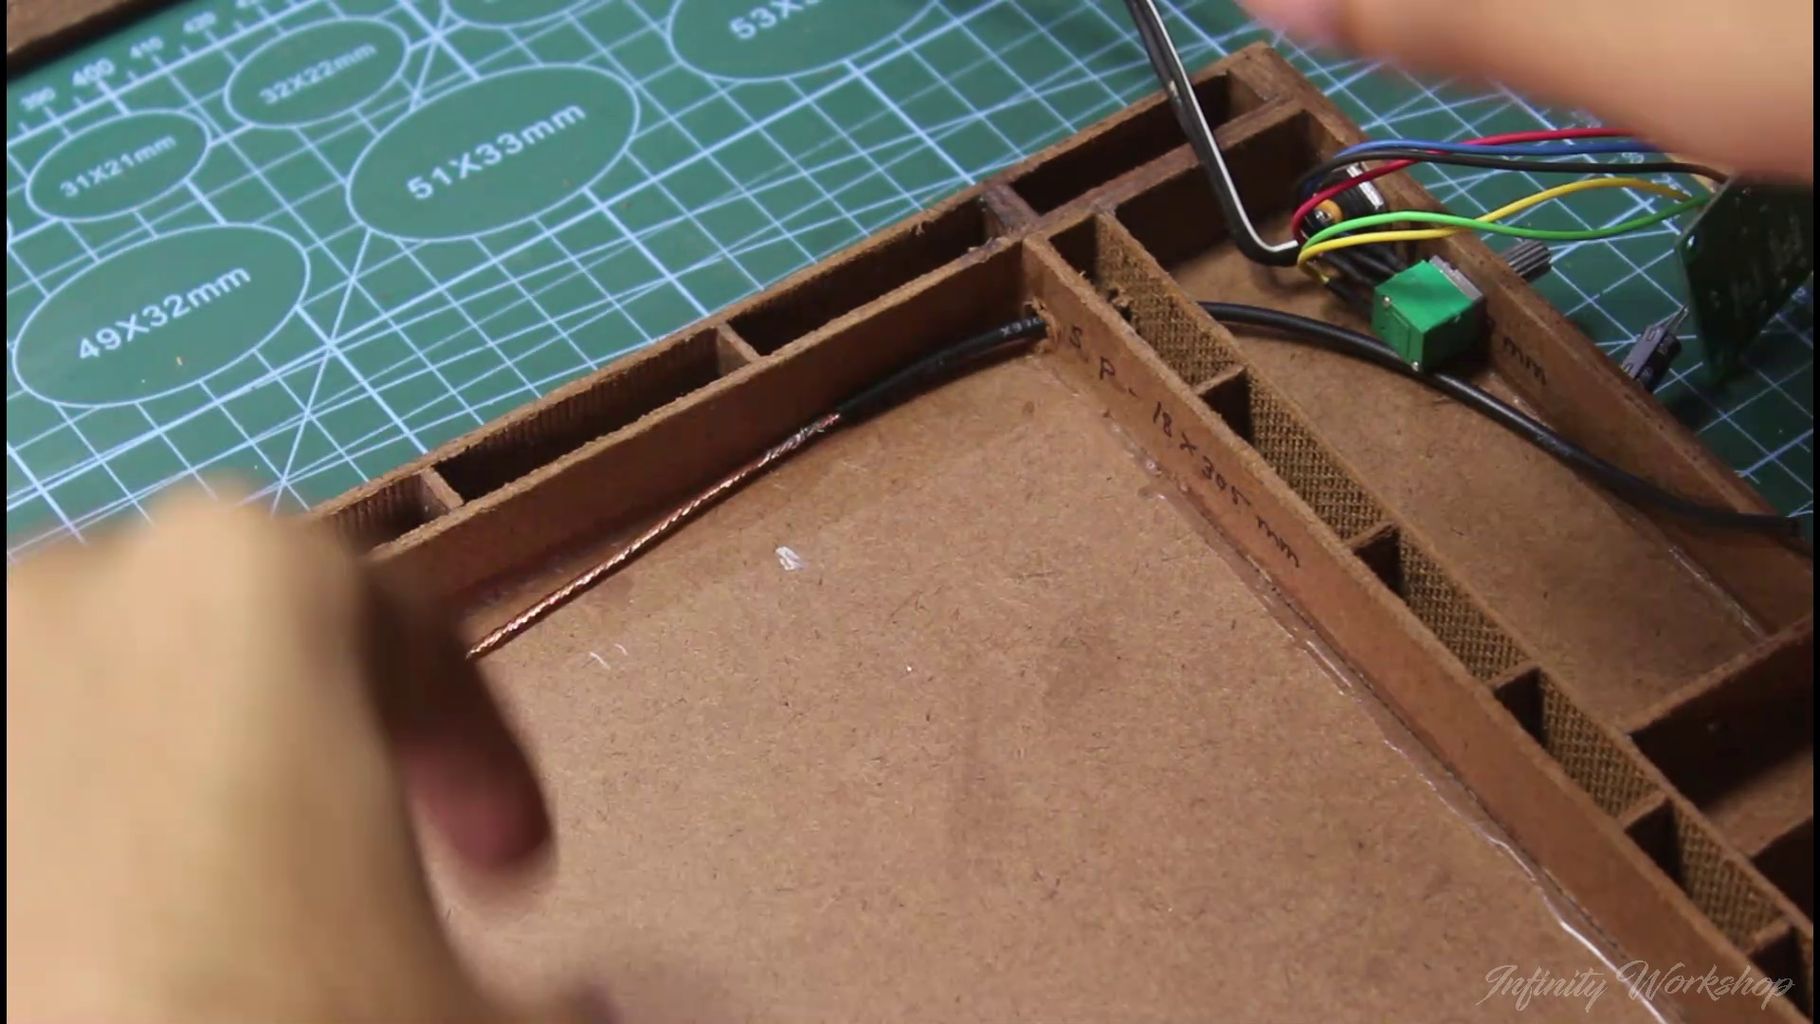
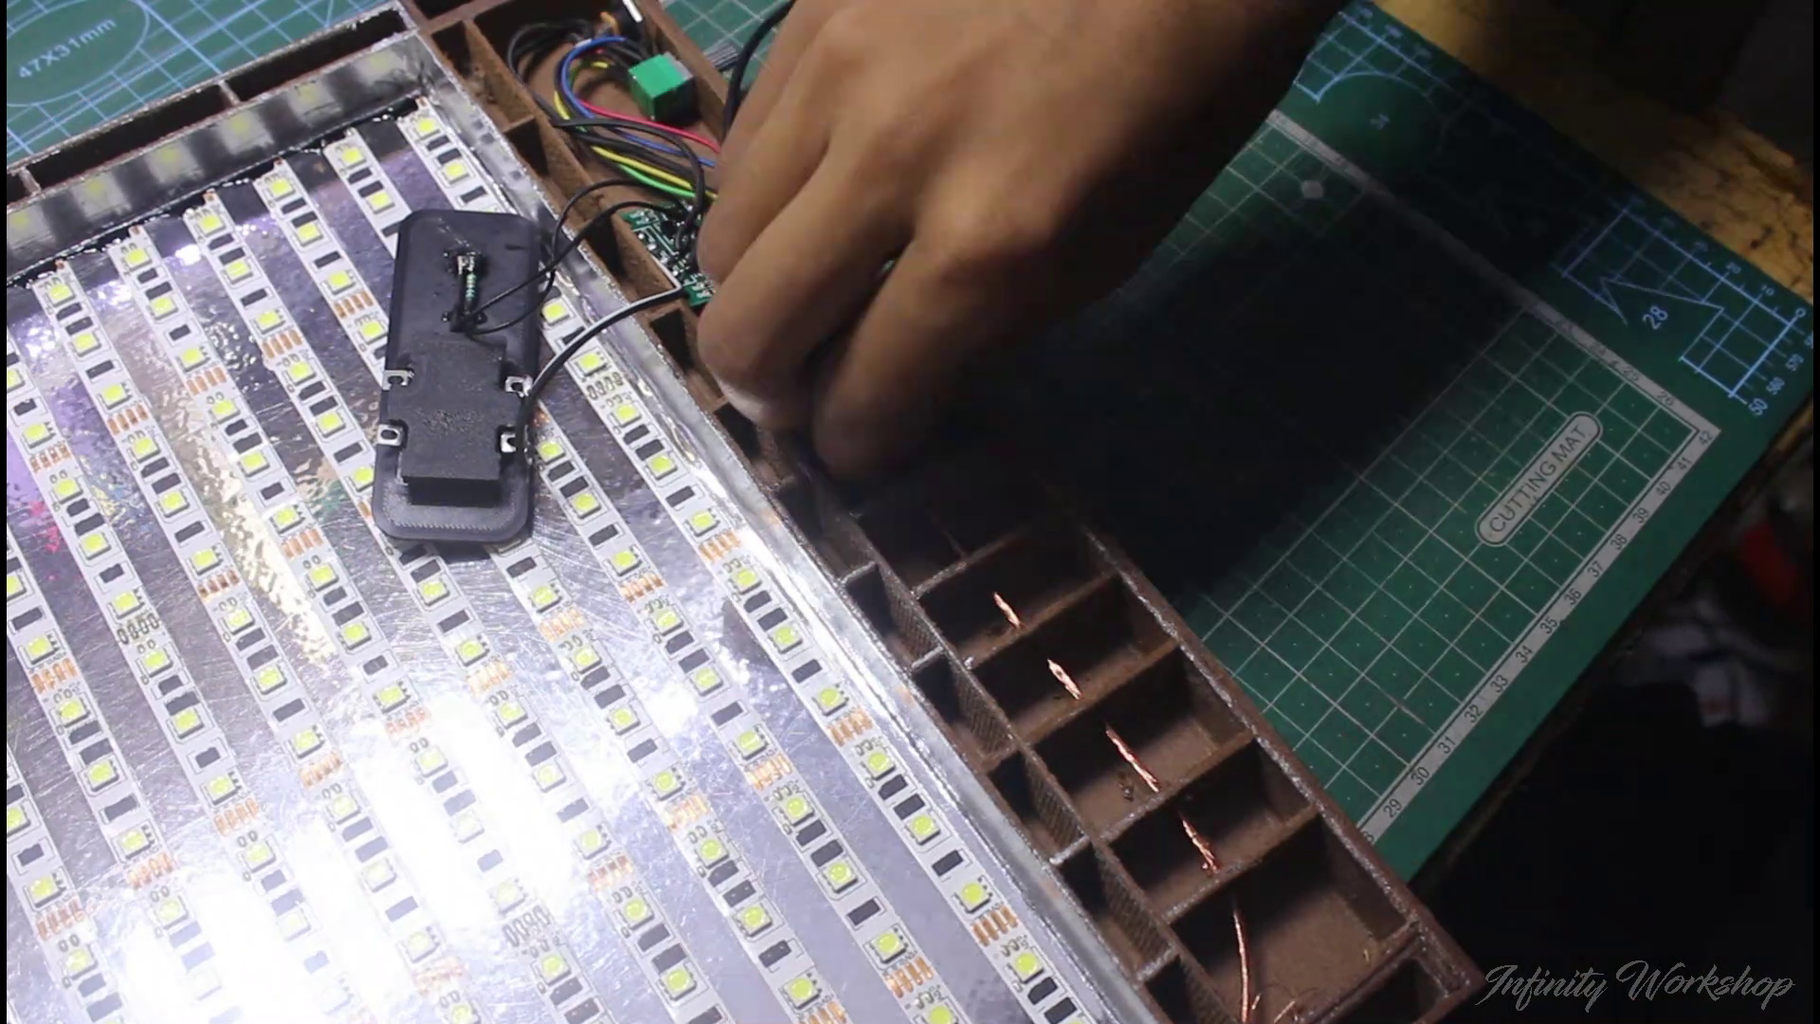
To ensure a neat and organized structure, I disassembled the voltage regulator and then extended the wires.
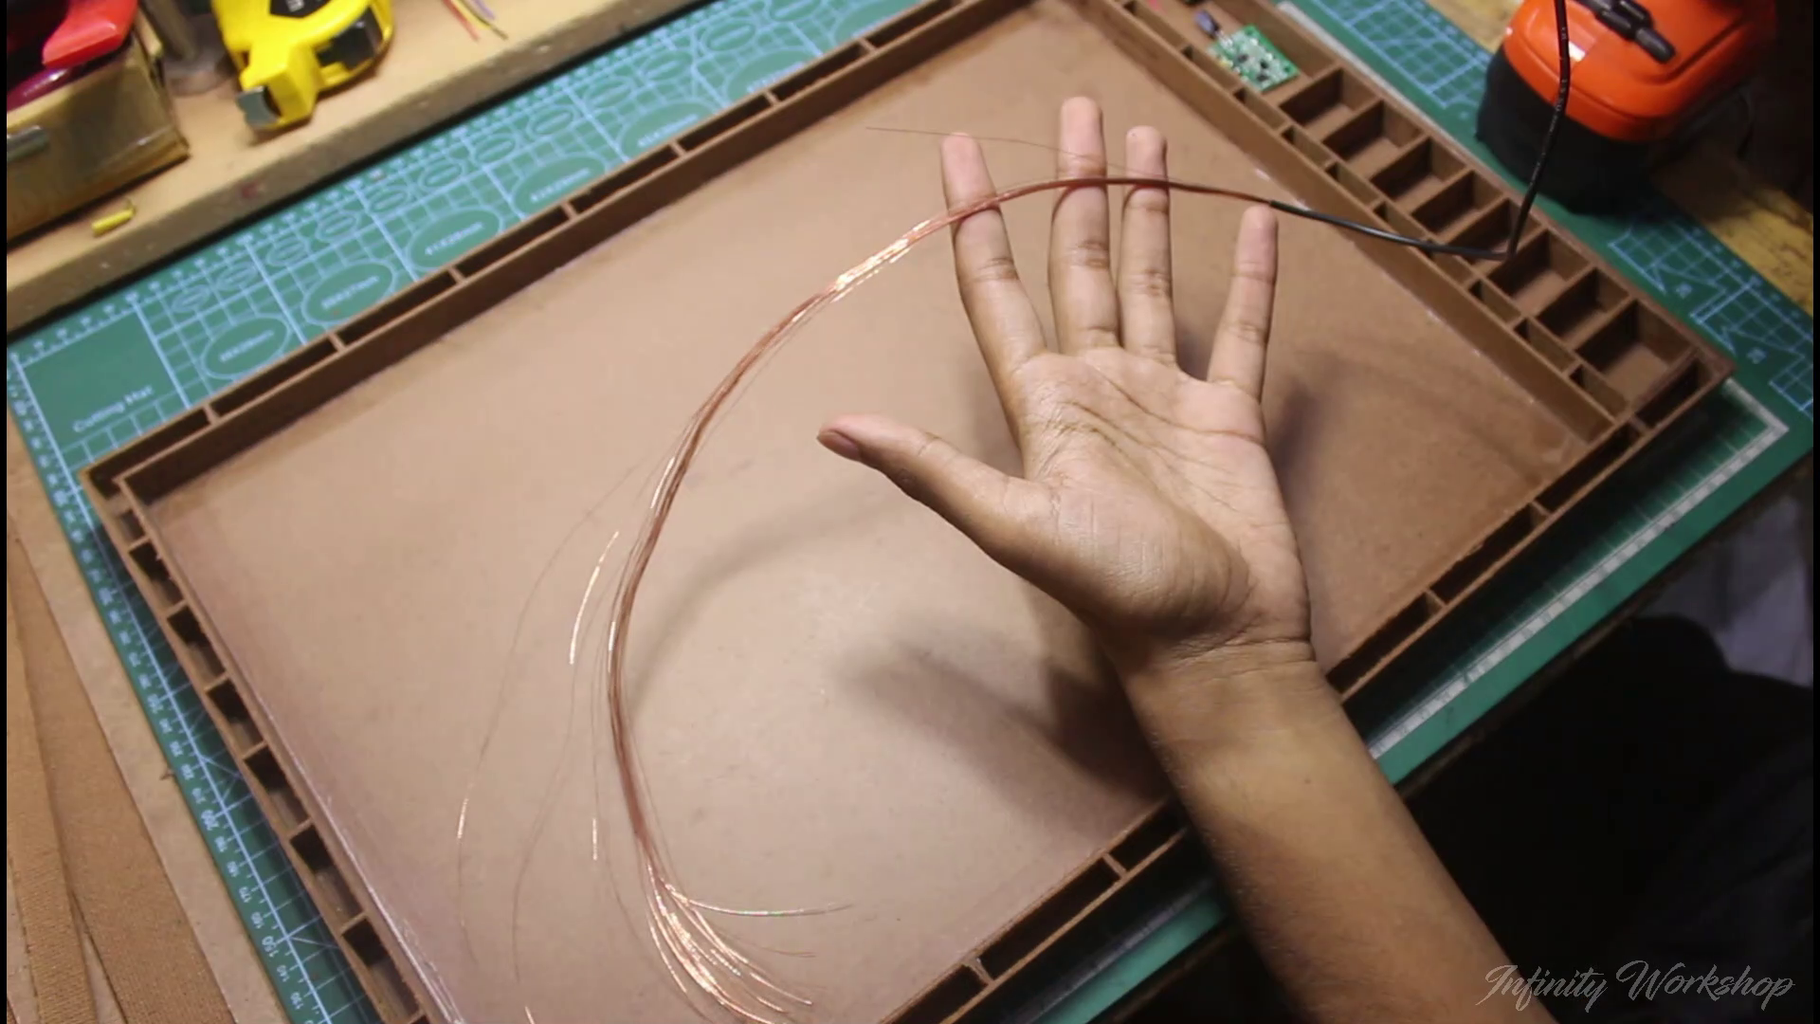
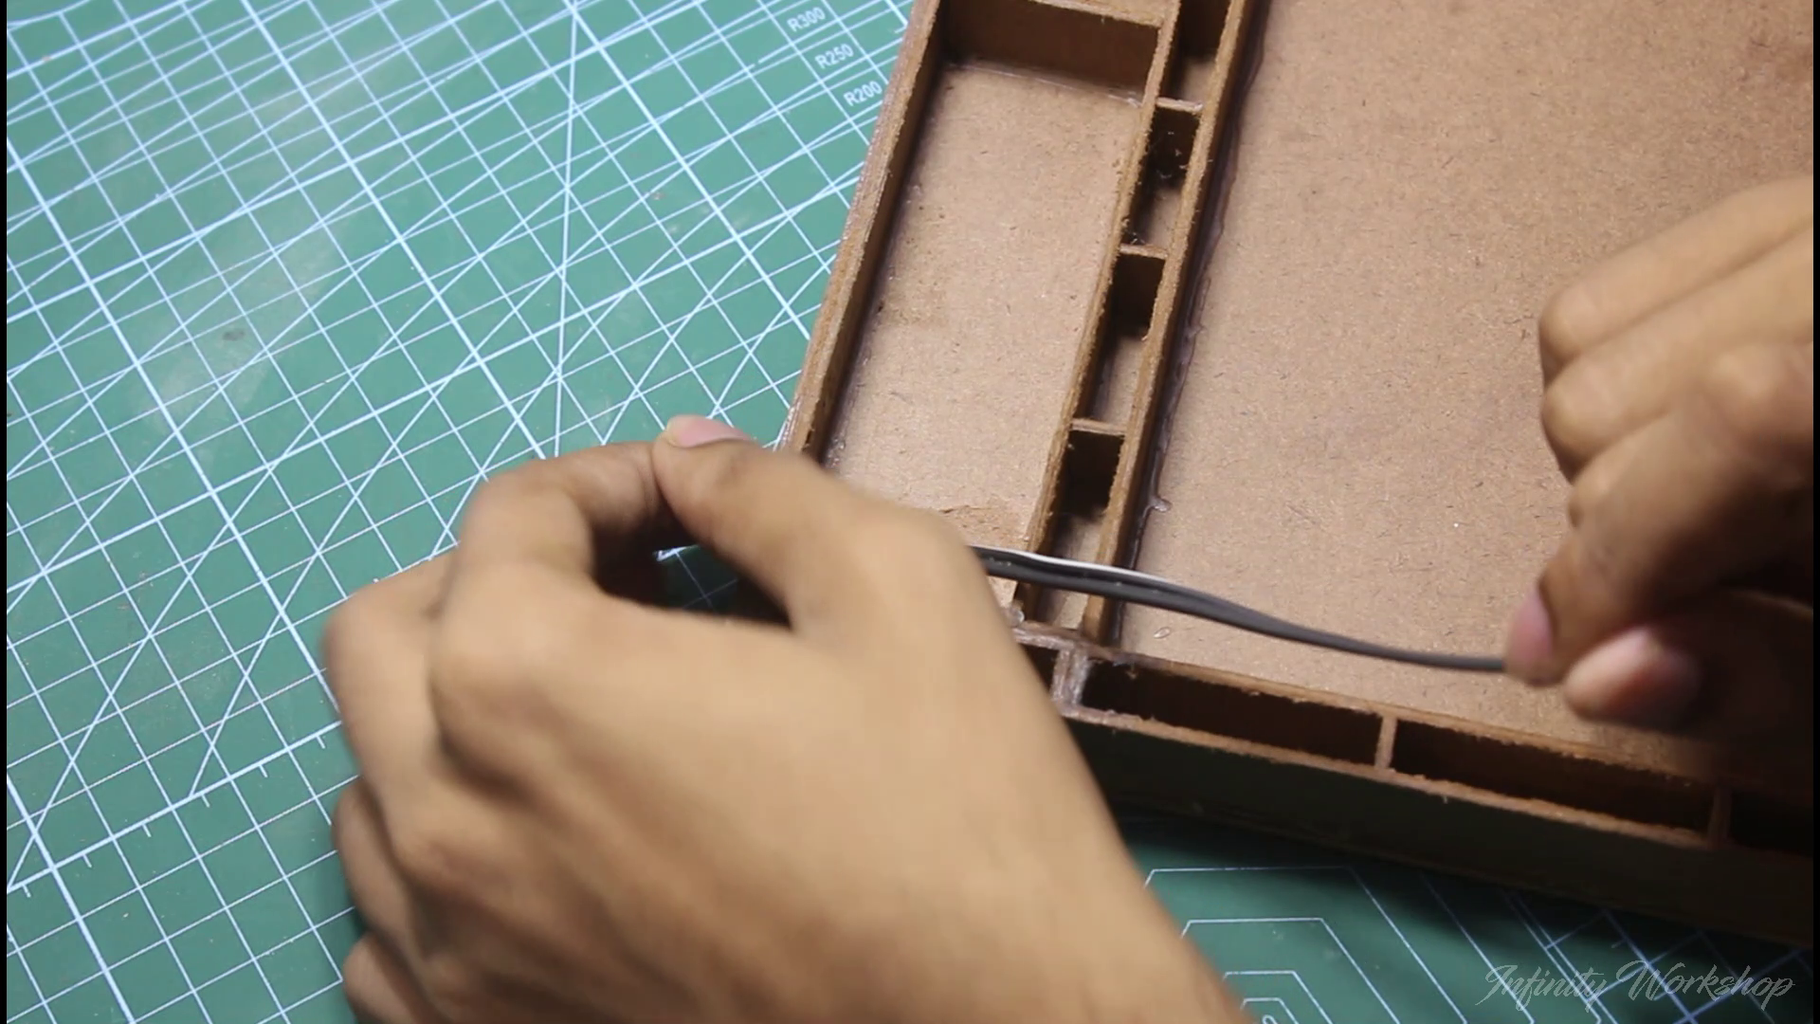
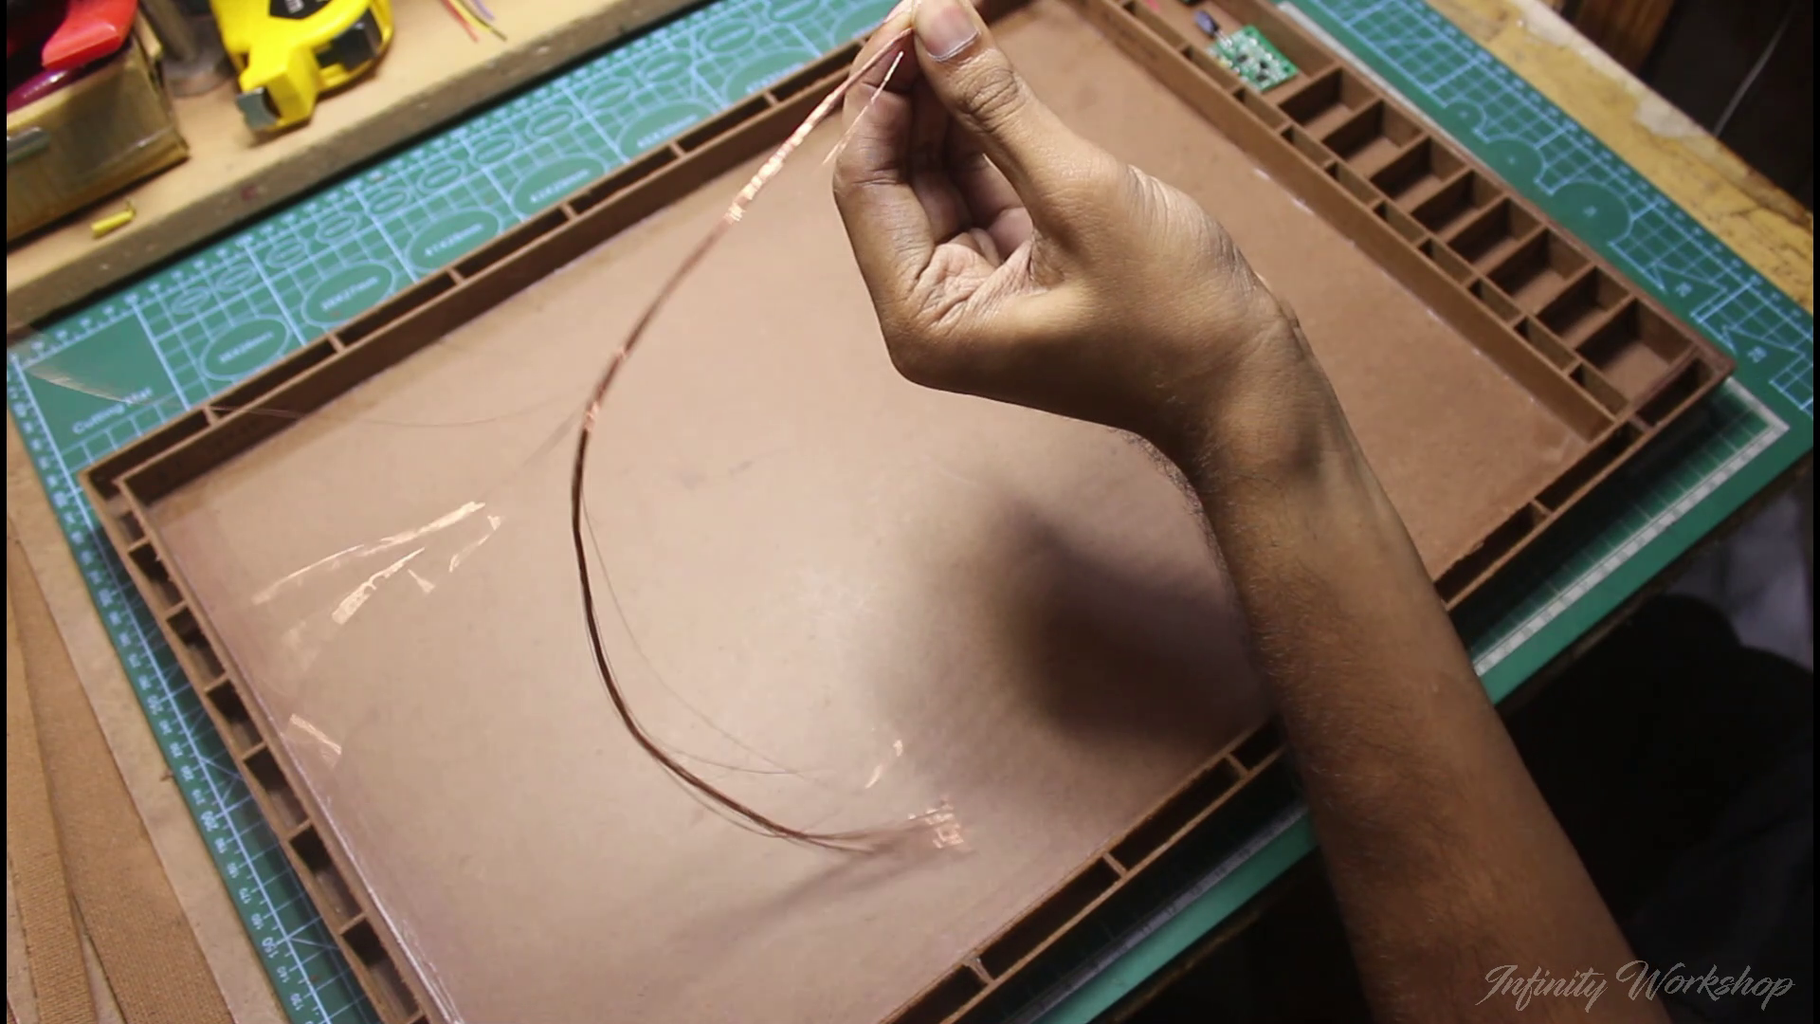
To create a stable structure for the Power(Positive and negative) wires, chop a sufficient amount of insulated copper wire and expose the wire to the entire length of the box.
I then used a hand drill machine to wind the wire around and keep it securely in place.
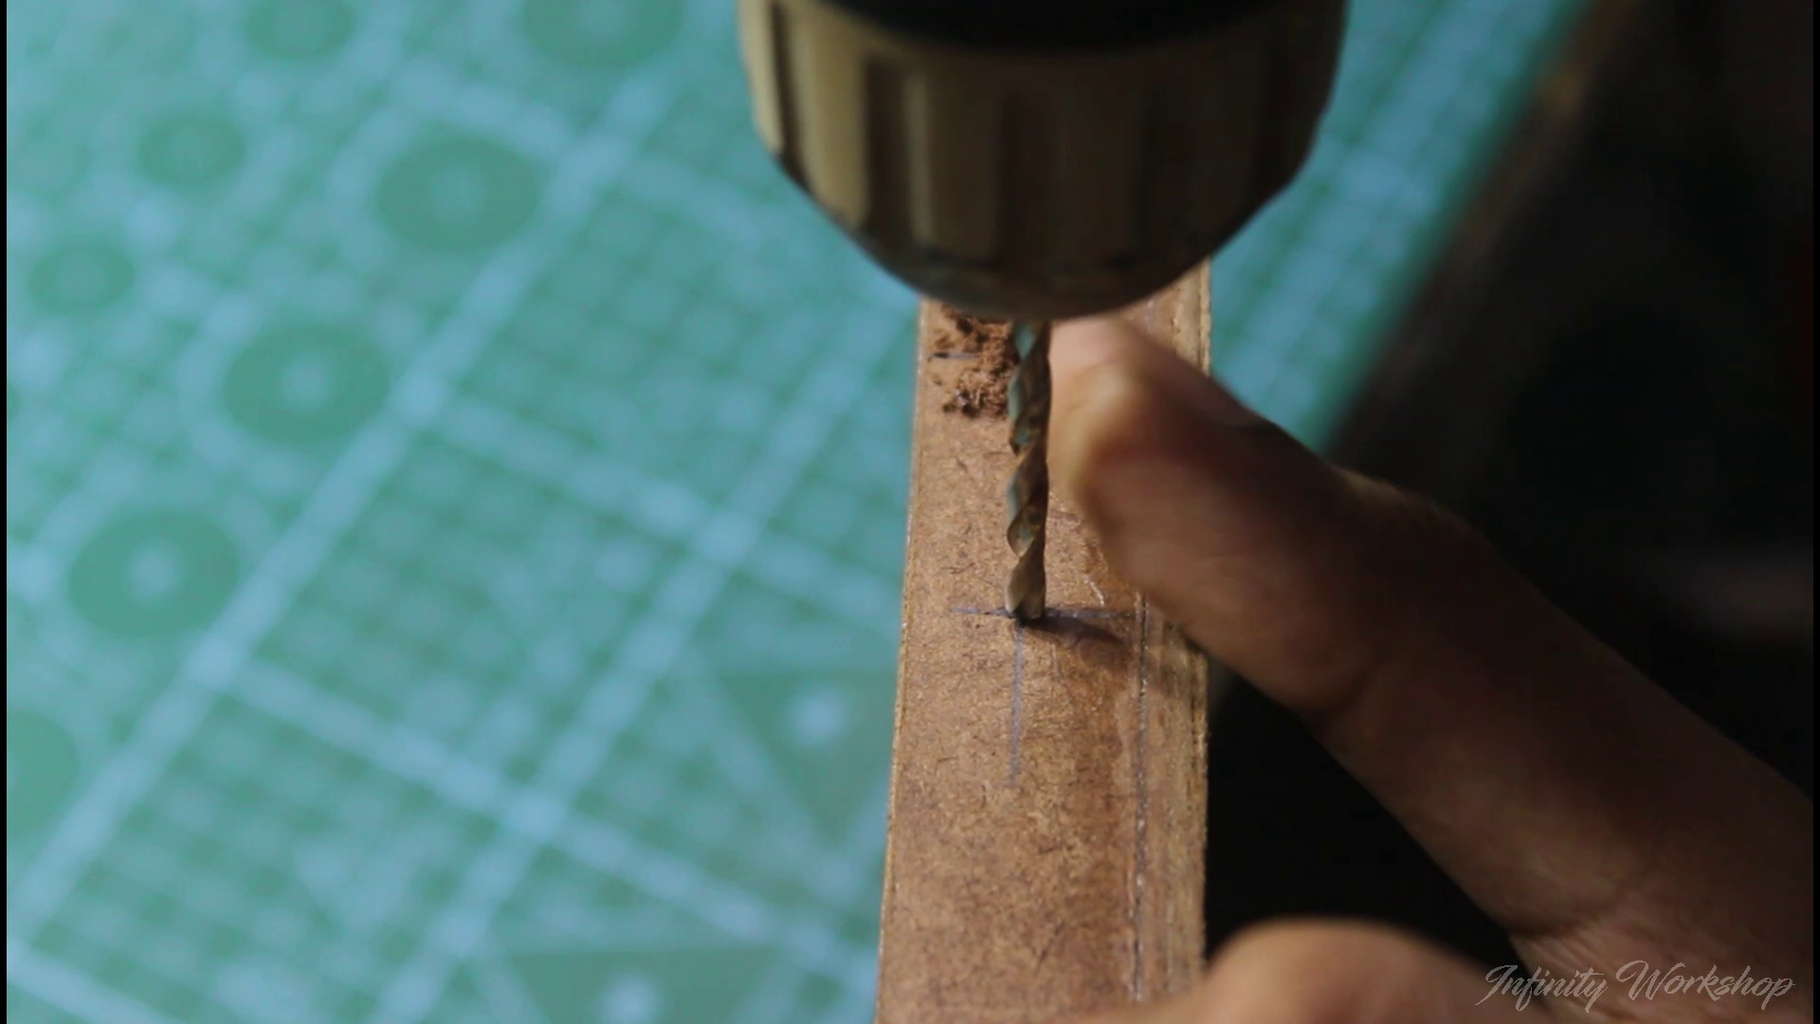
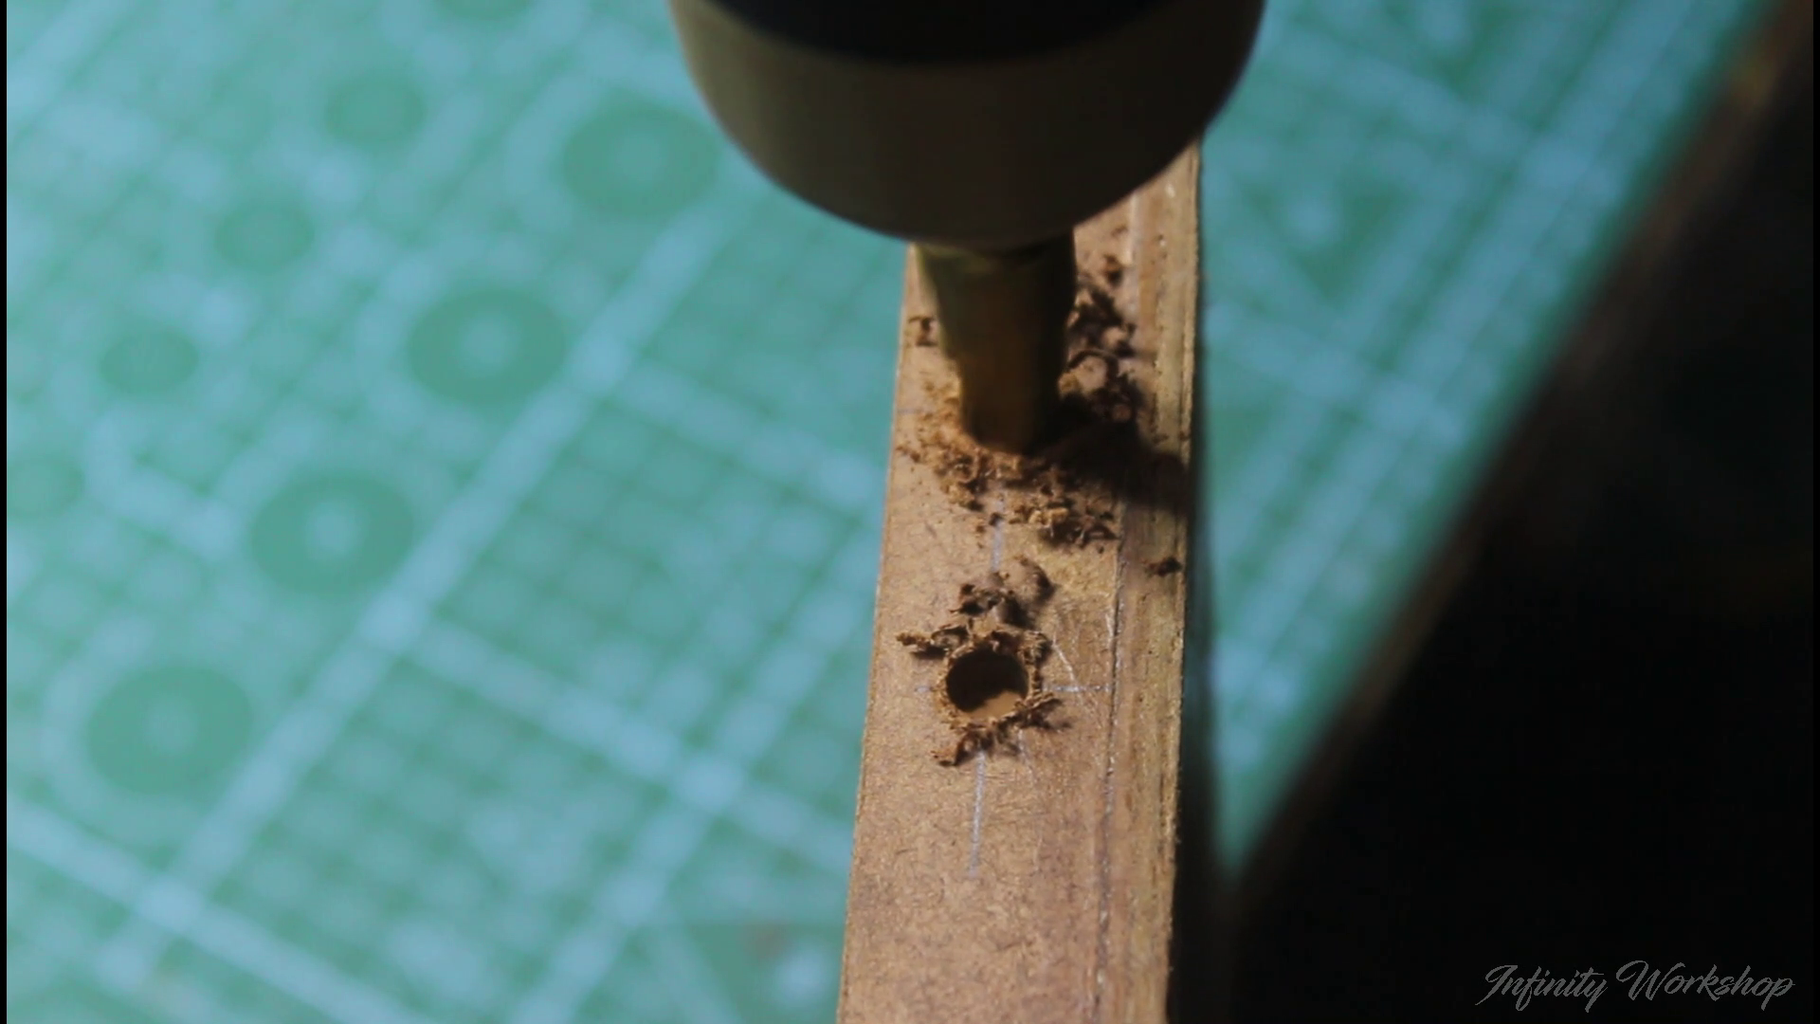
Next, I made two holes at specific points in the box using a drill machine for later wire feeding. This process will ensure that the wires remain organized and won't cause any complications in the final product.
Step 8: Prepare the Inside of the Box
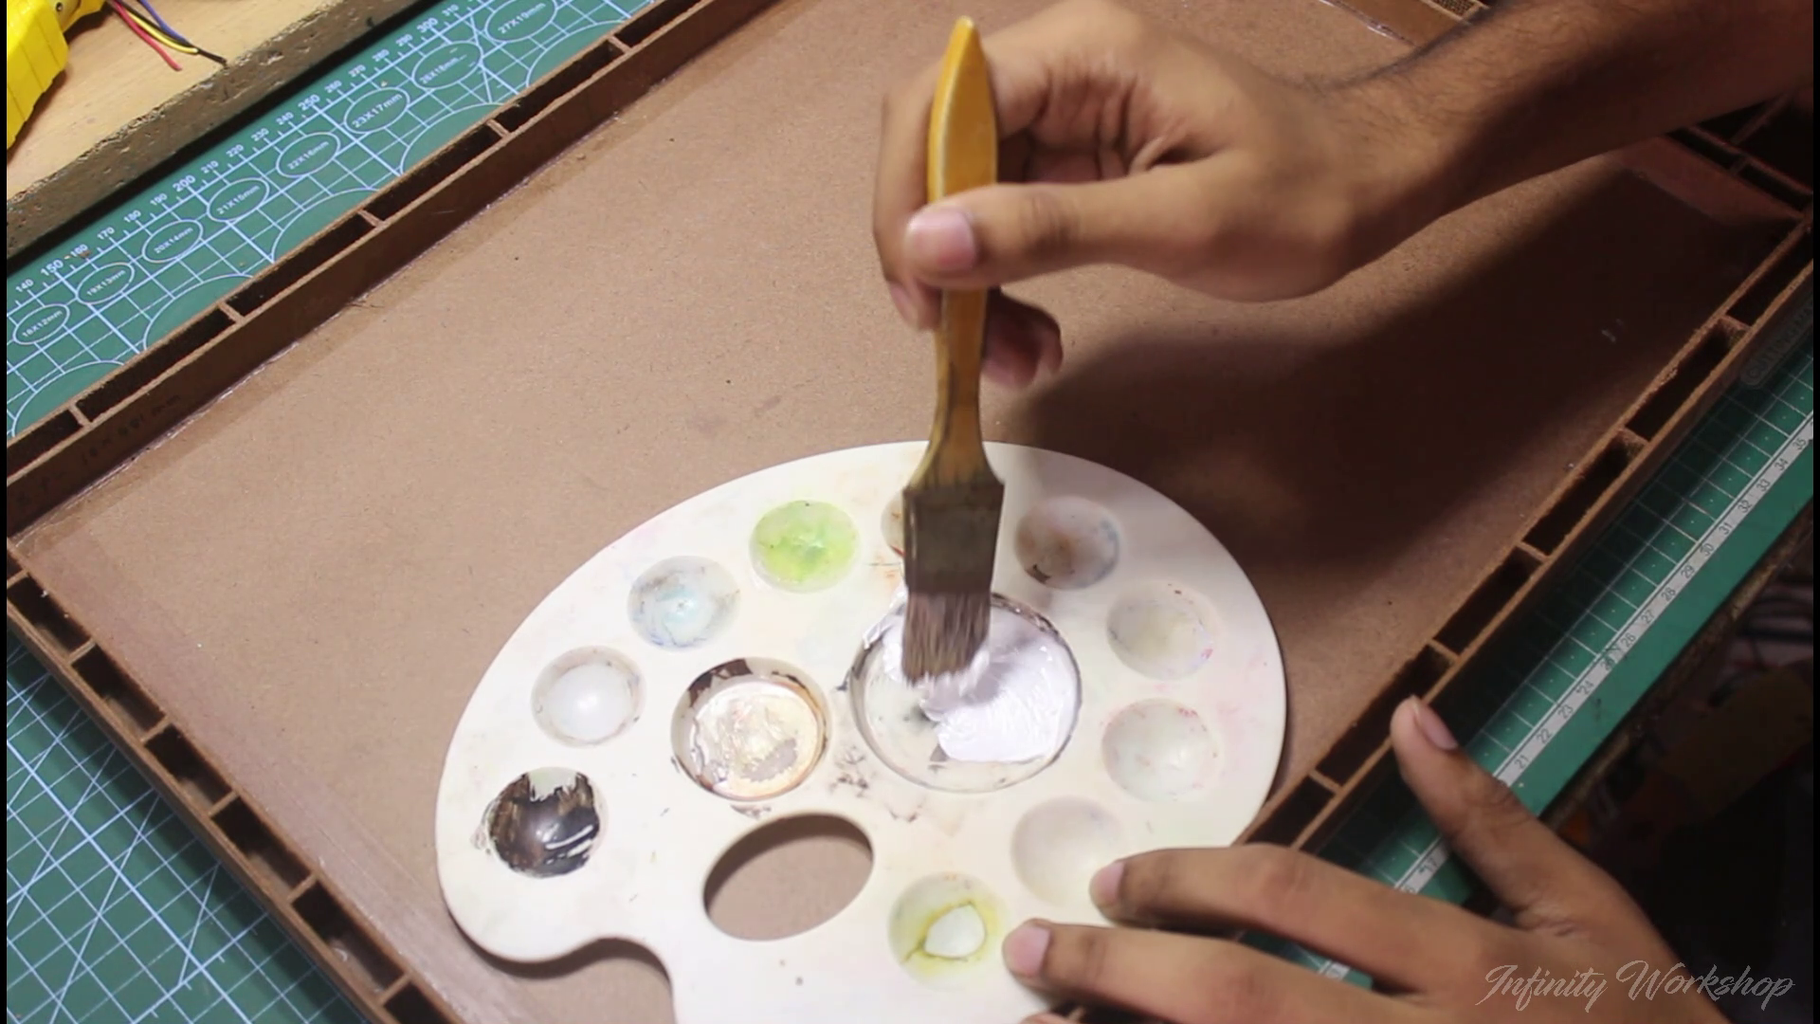
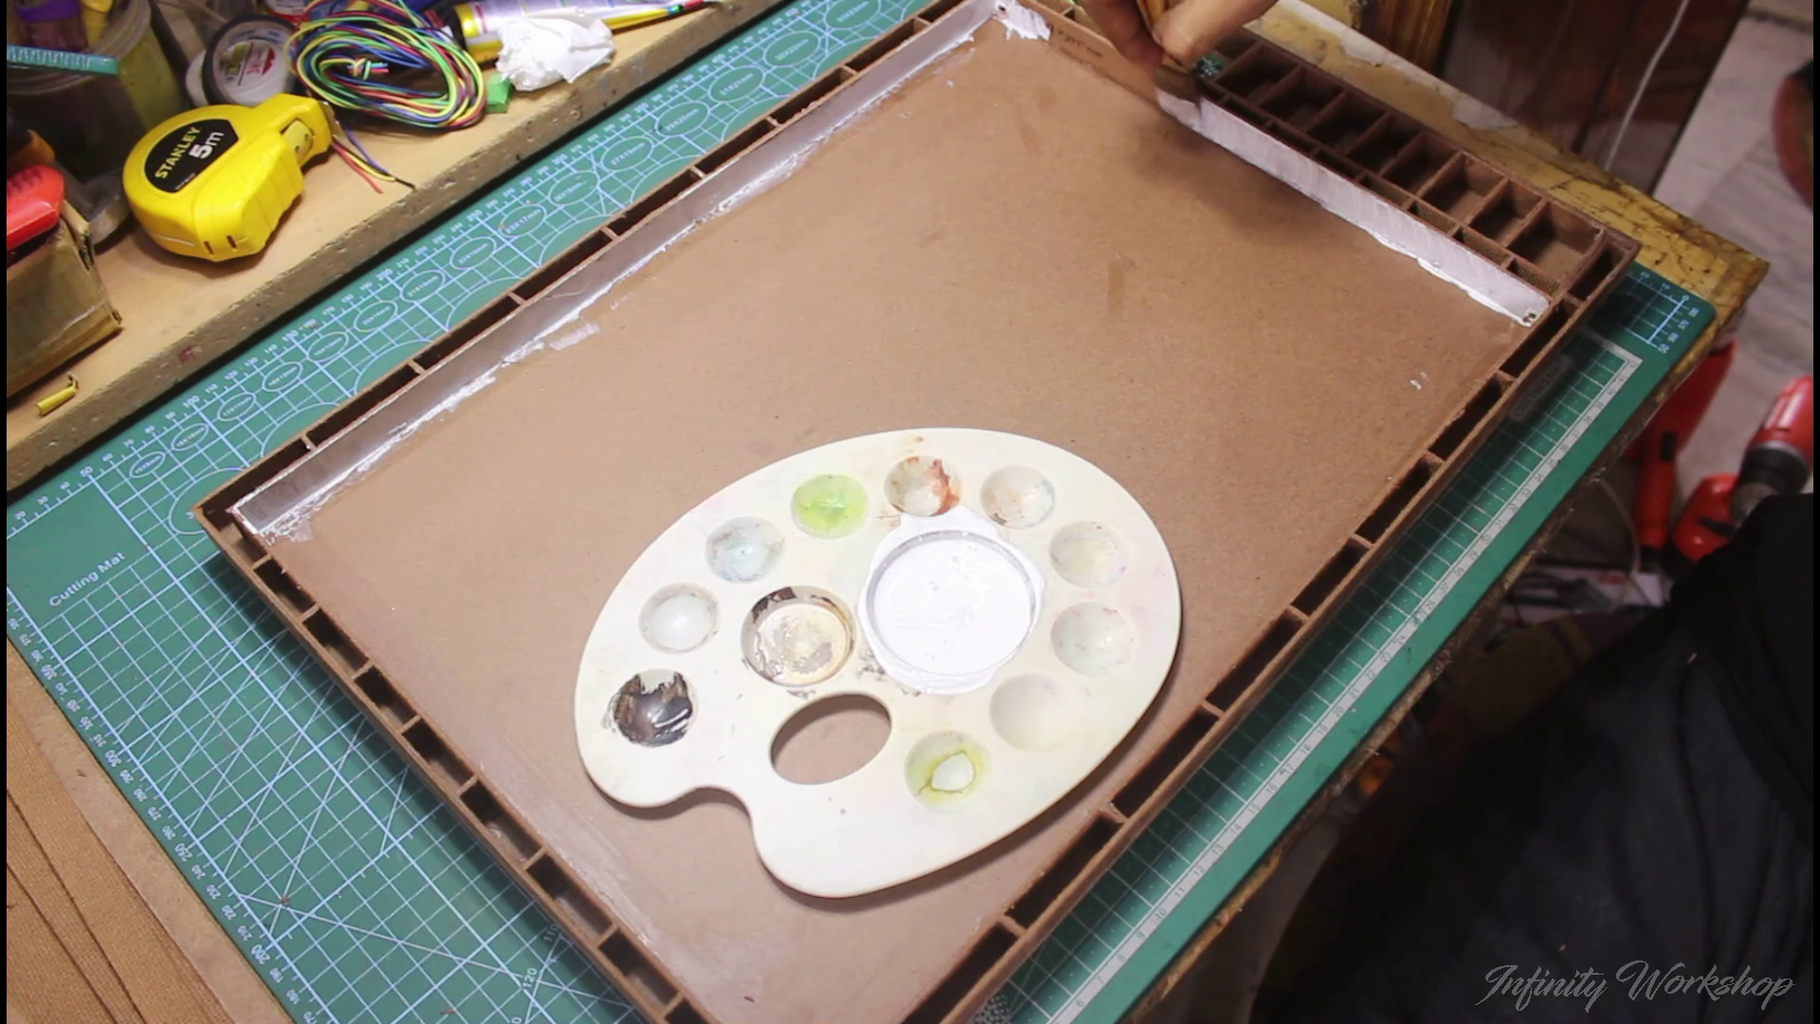

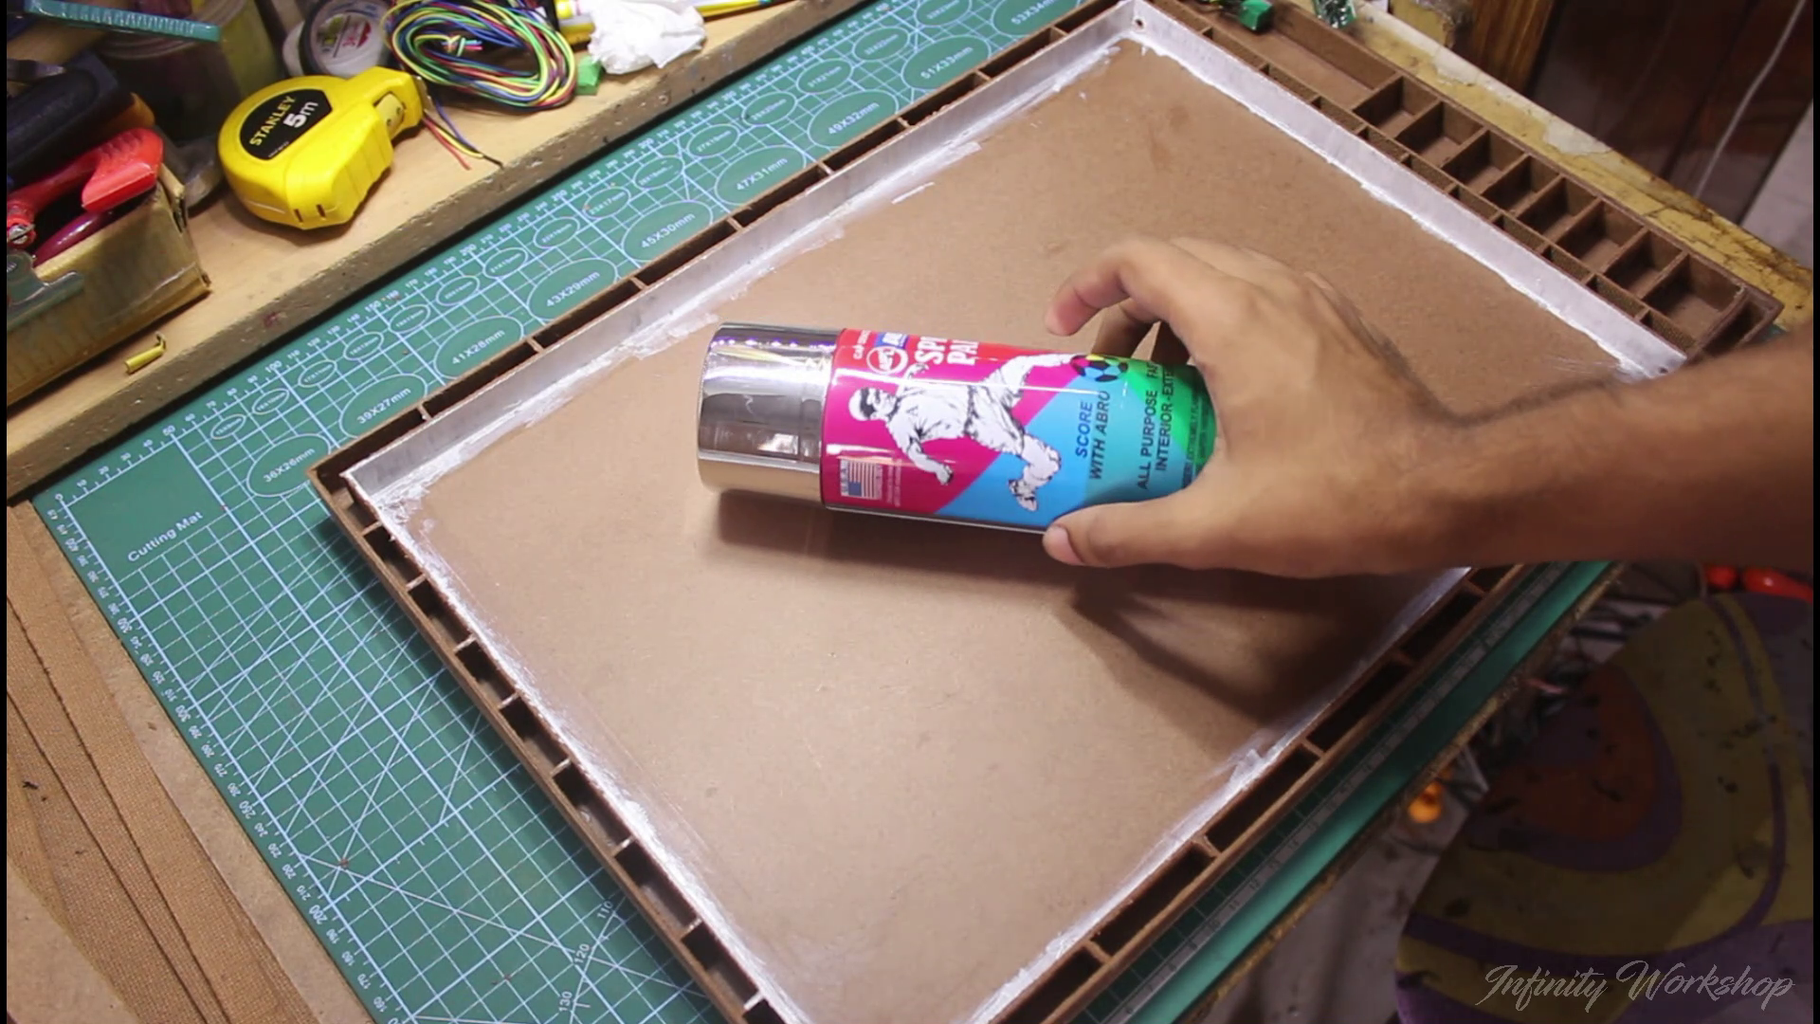
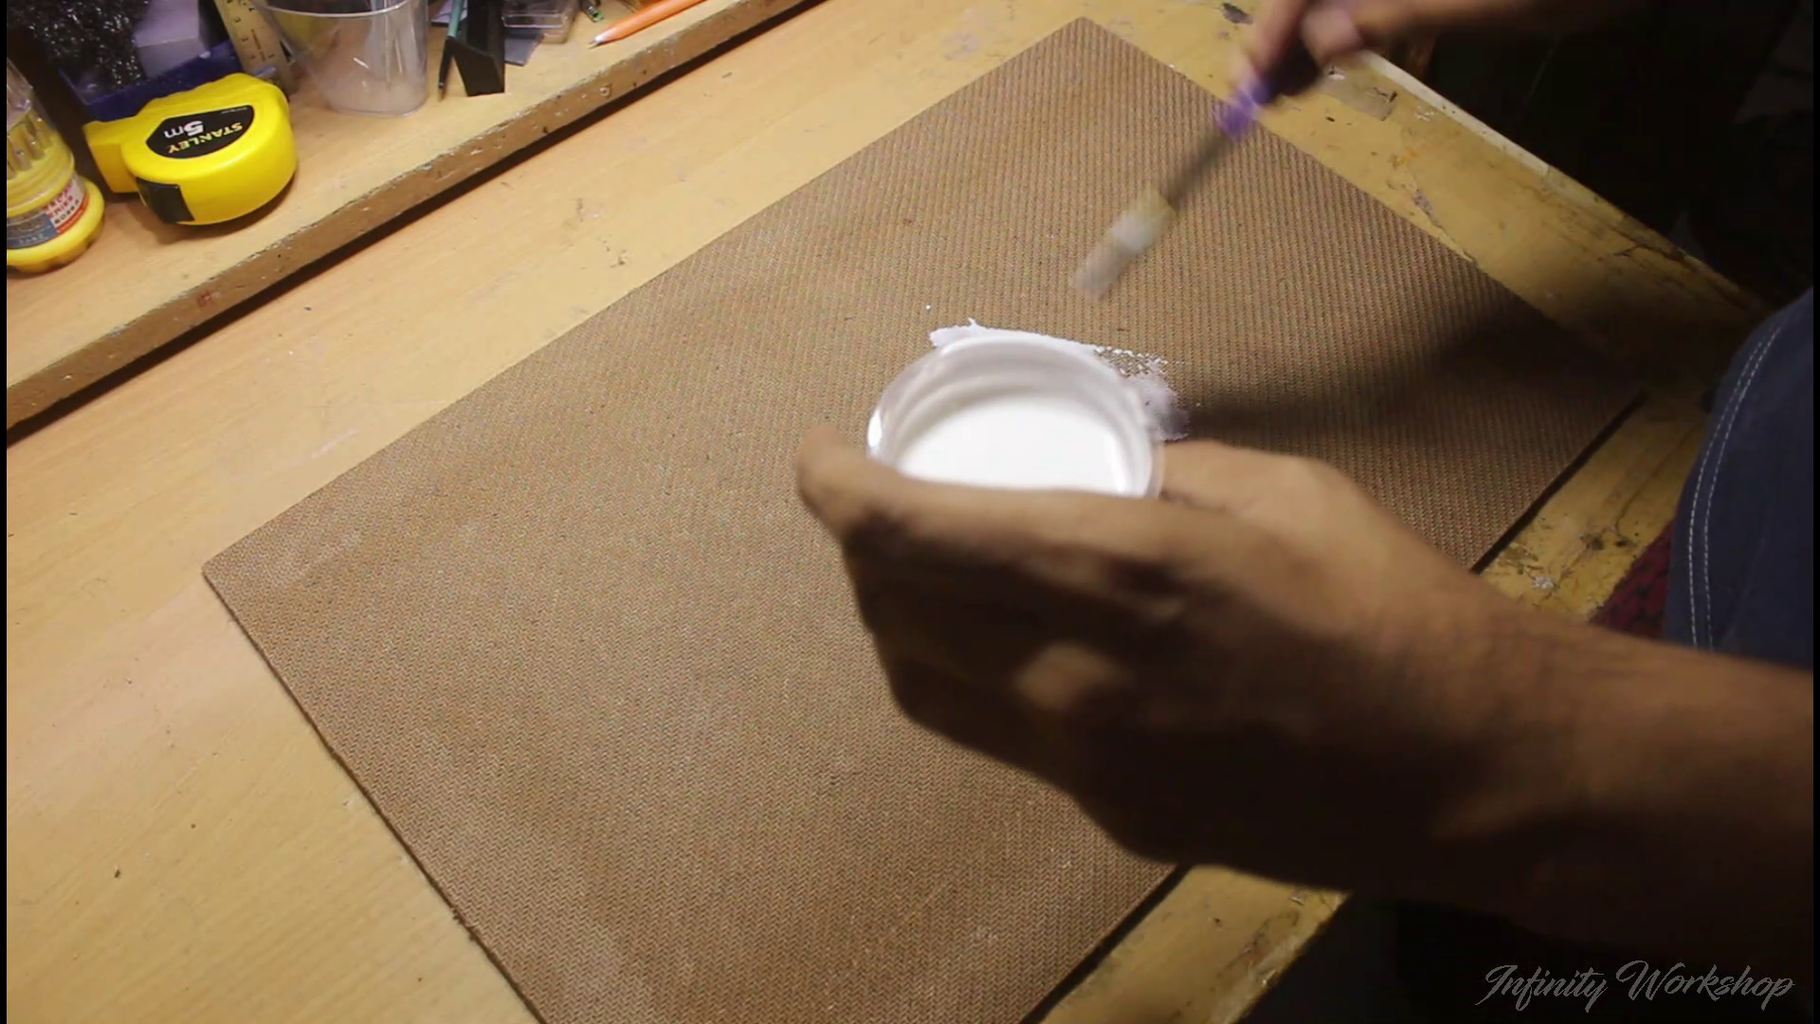
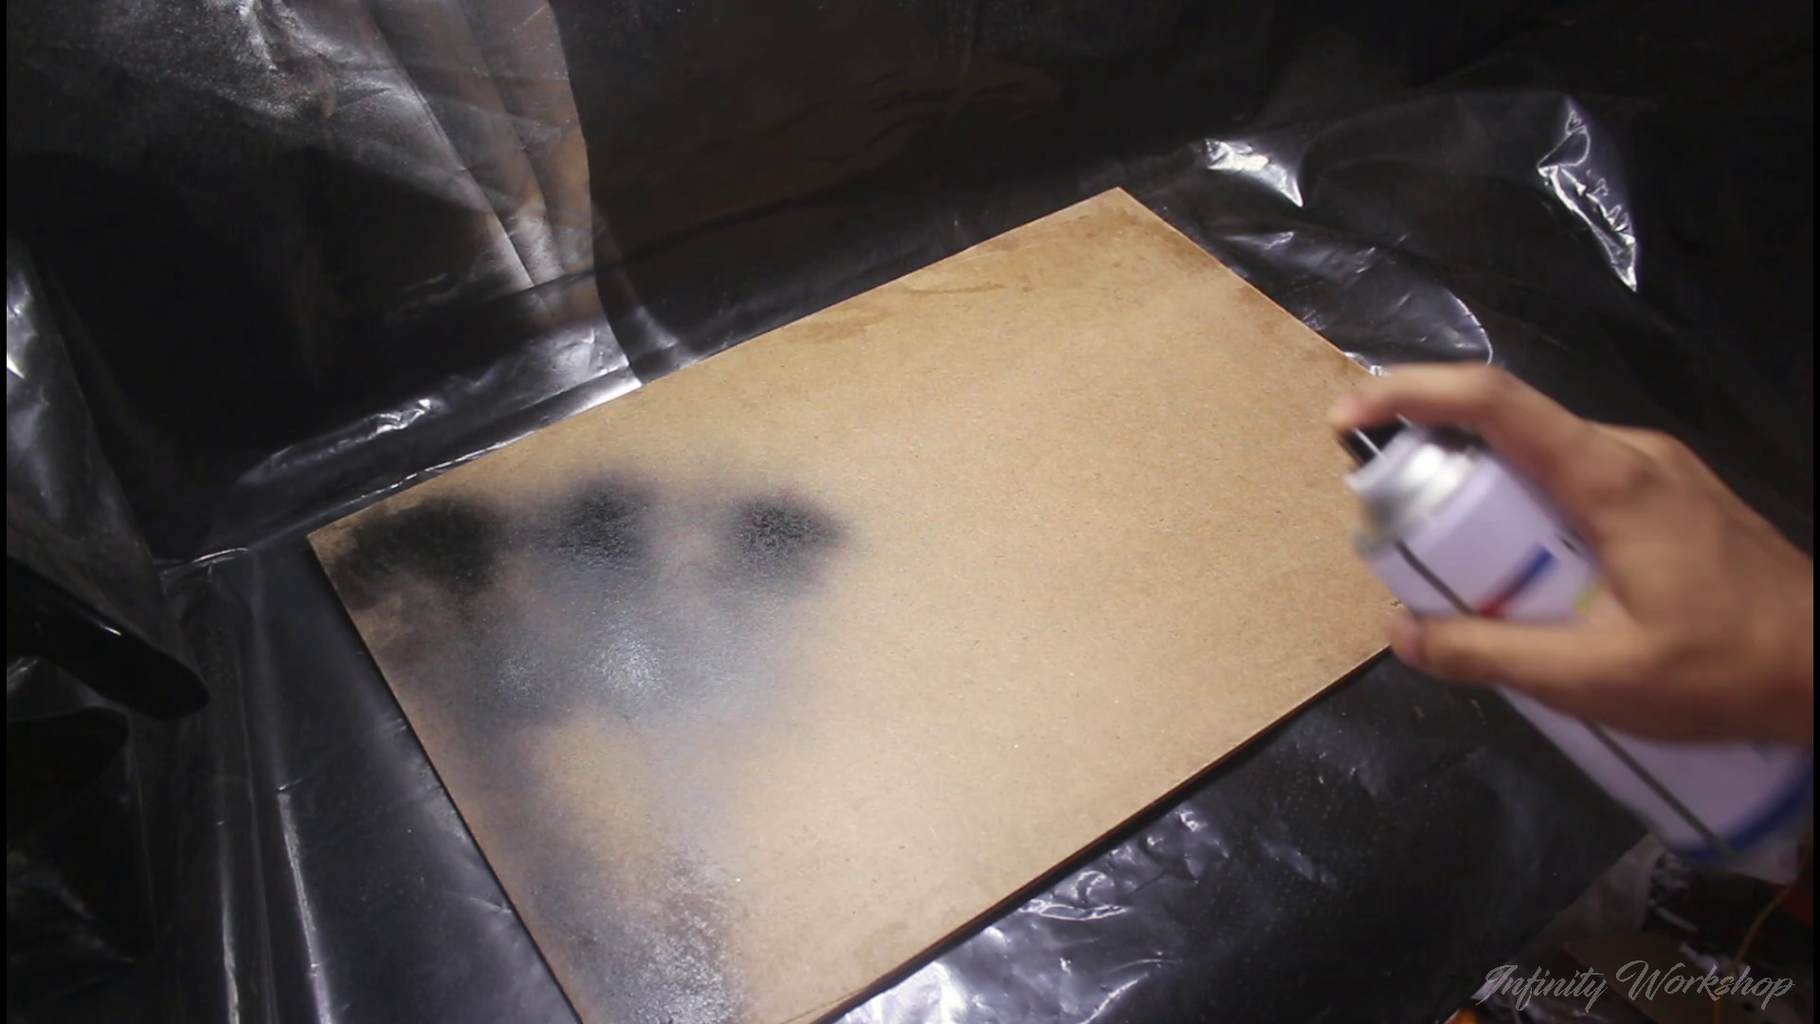
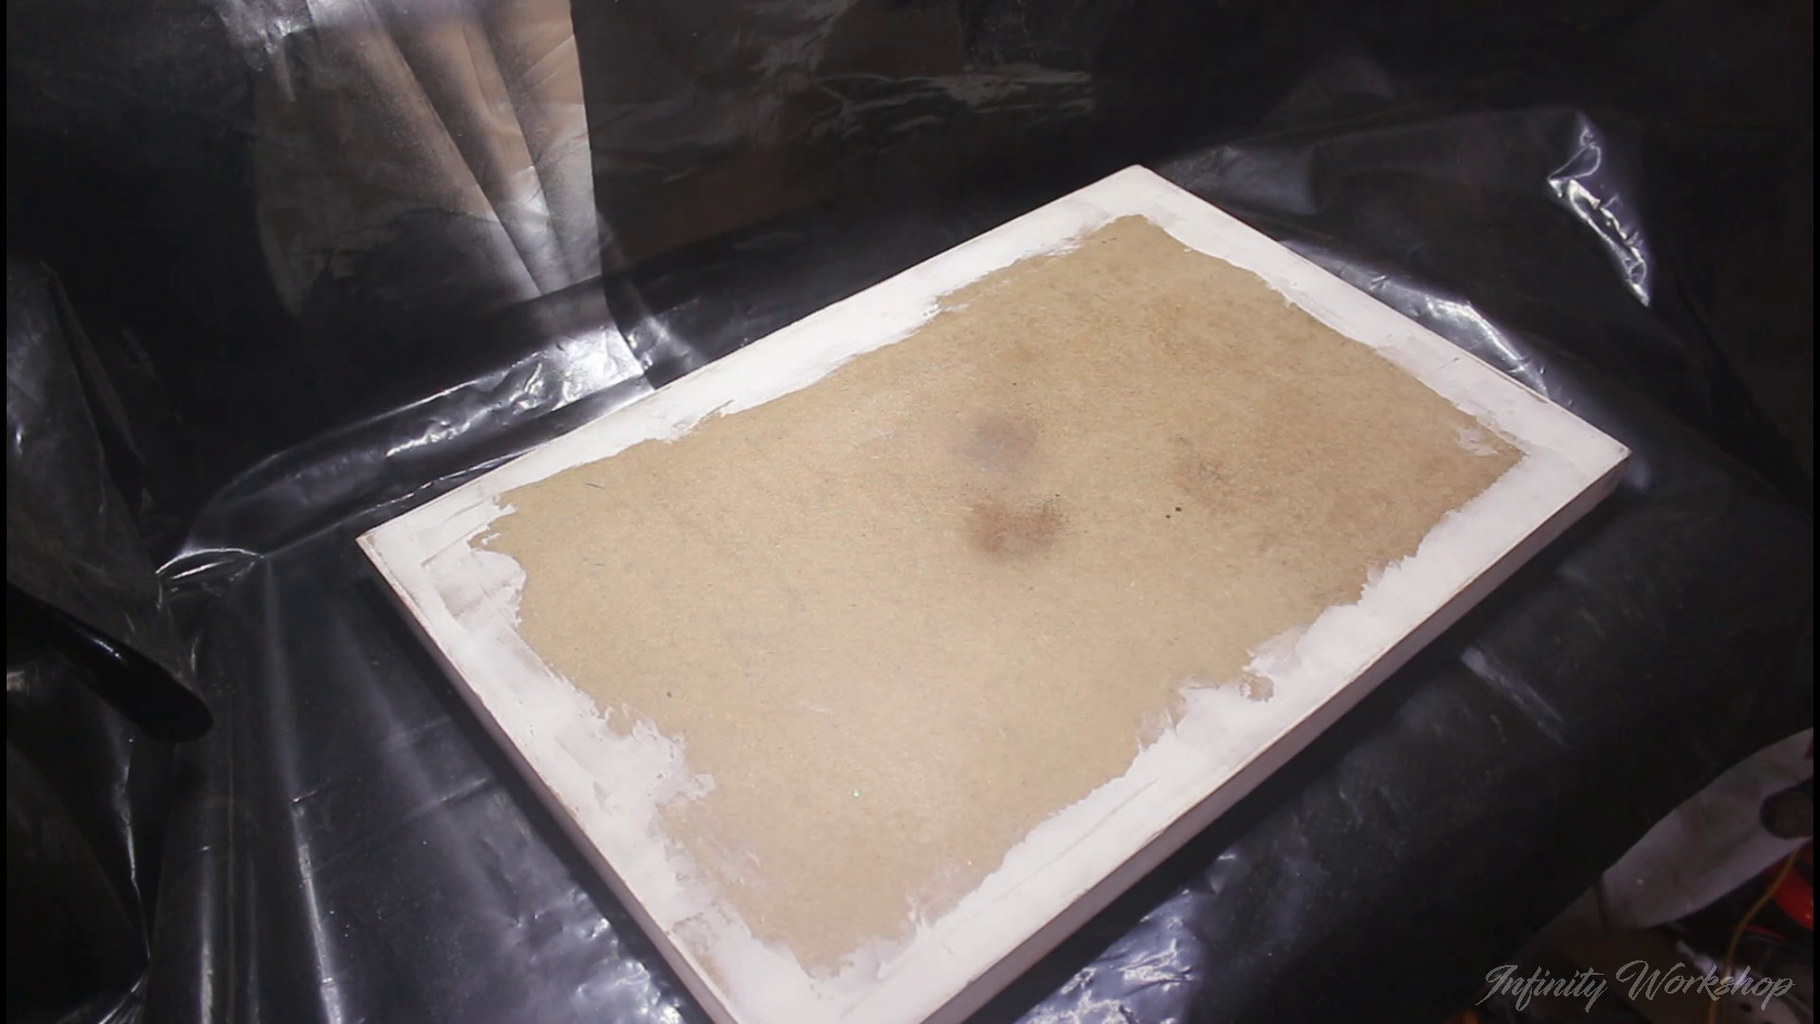
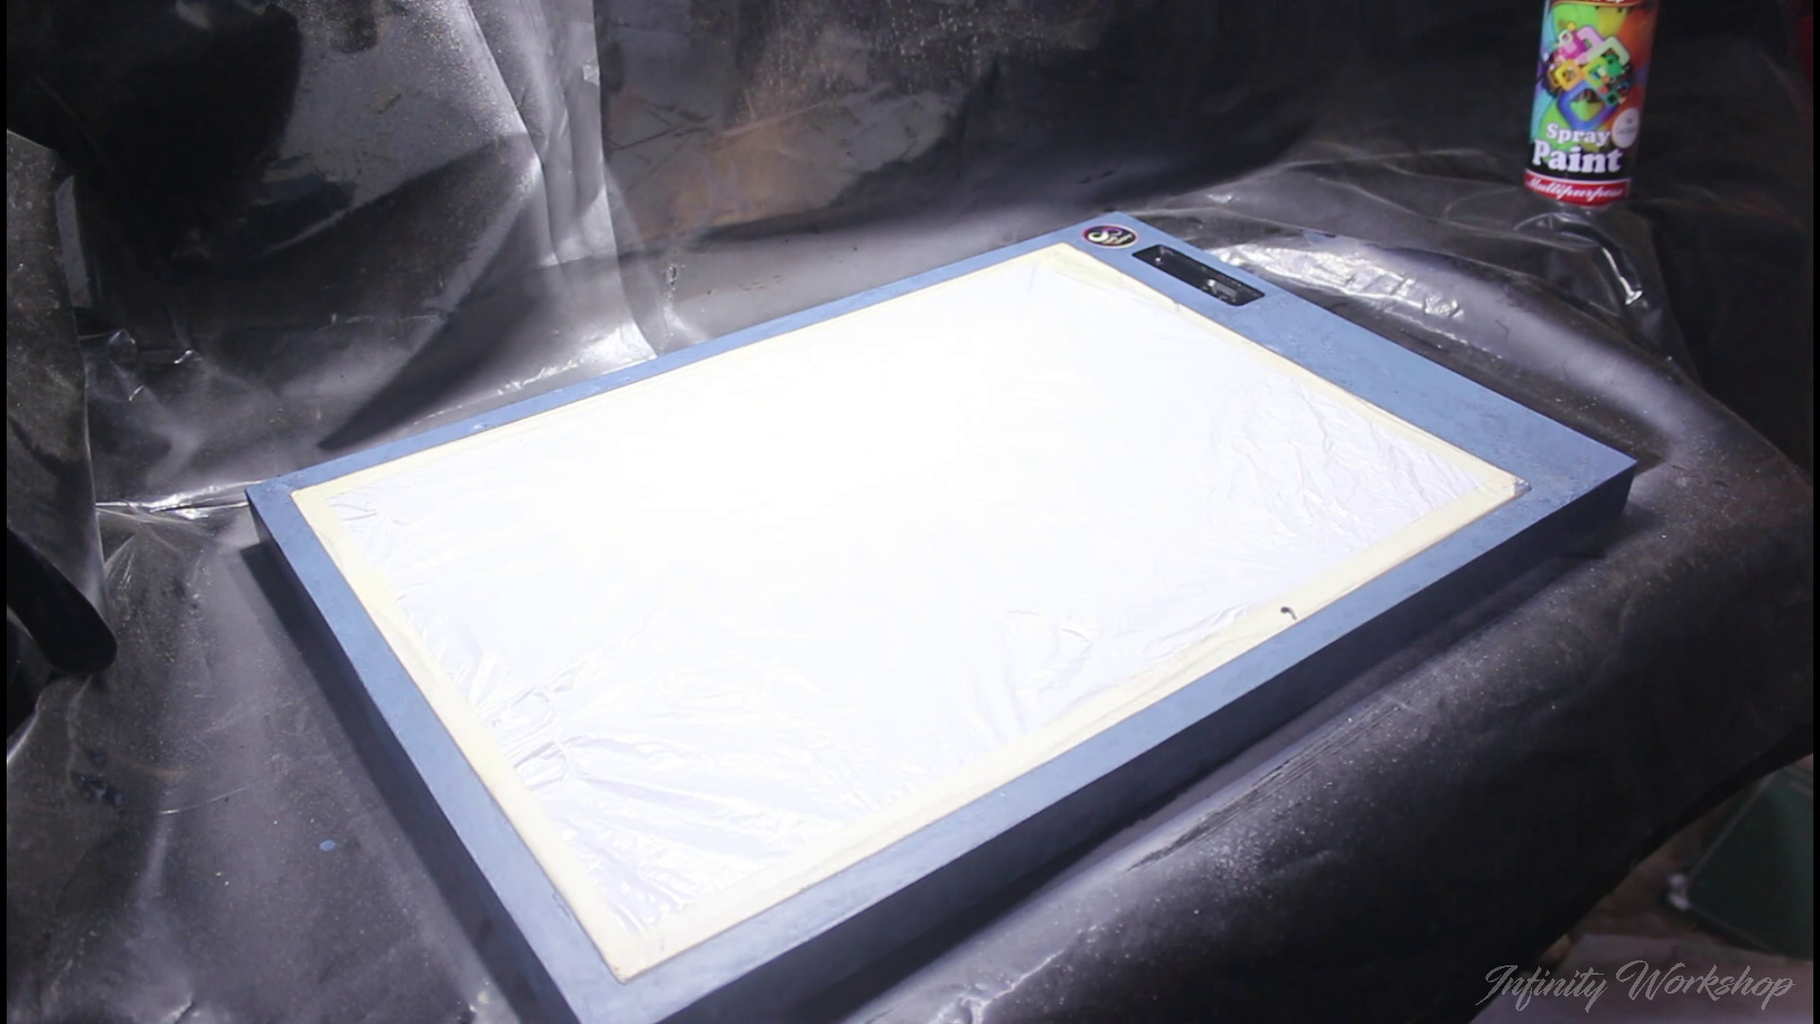
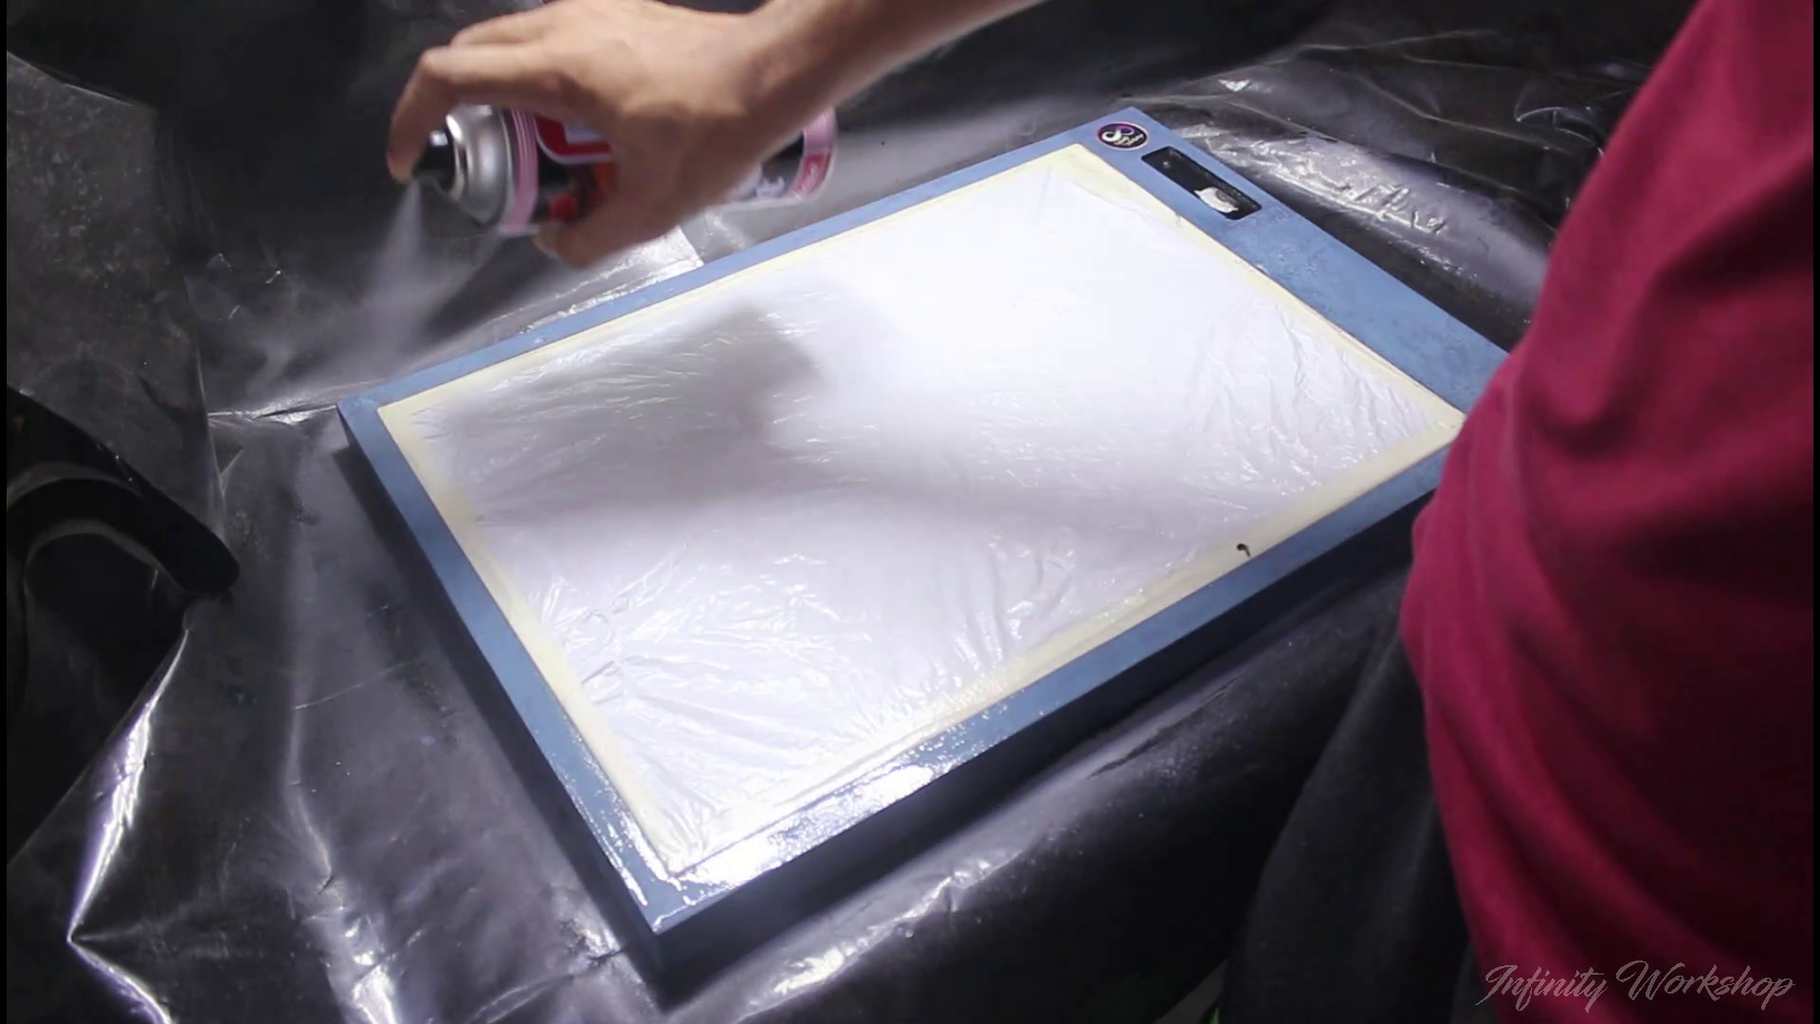
To make sure that the lightbox provides an optimal level of brightness, it's important to paint the interior properly. Begin by applying a white base coat on the inside of the box, ensuring that all sides are evenly coated.
Once that has dried, use silver spray paint to enhance light reflection. This will provide better overall illumination and make your images look more vibrant.
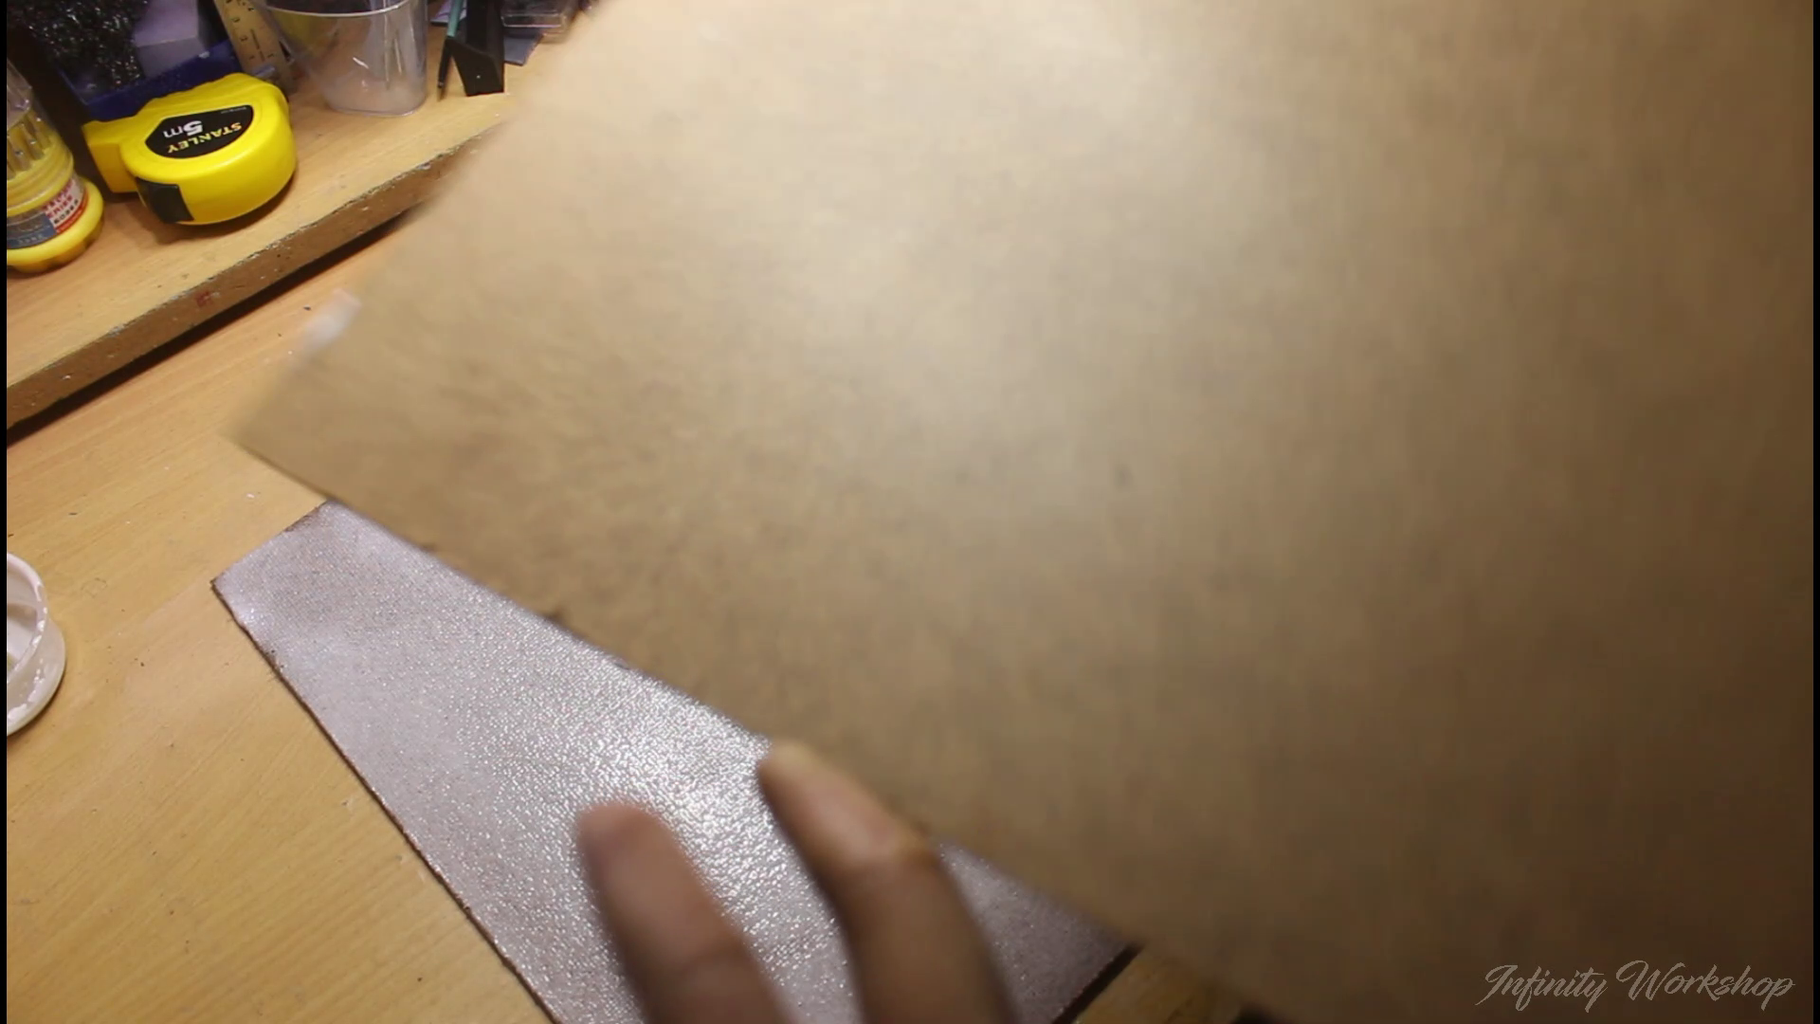
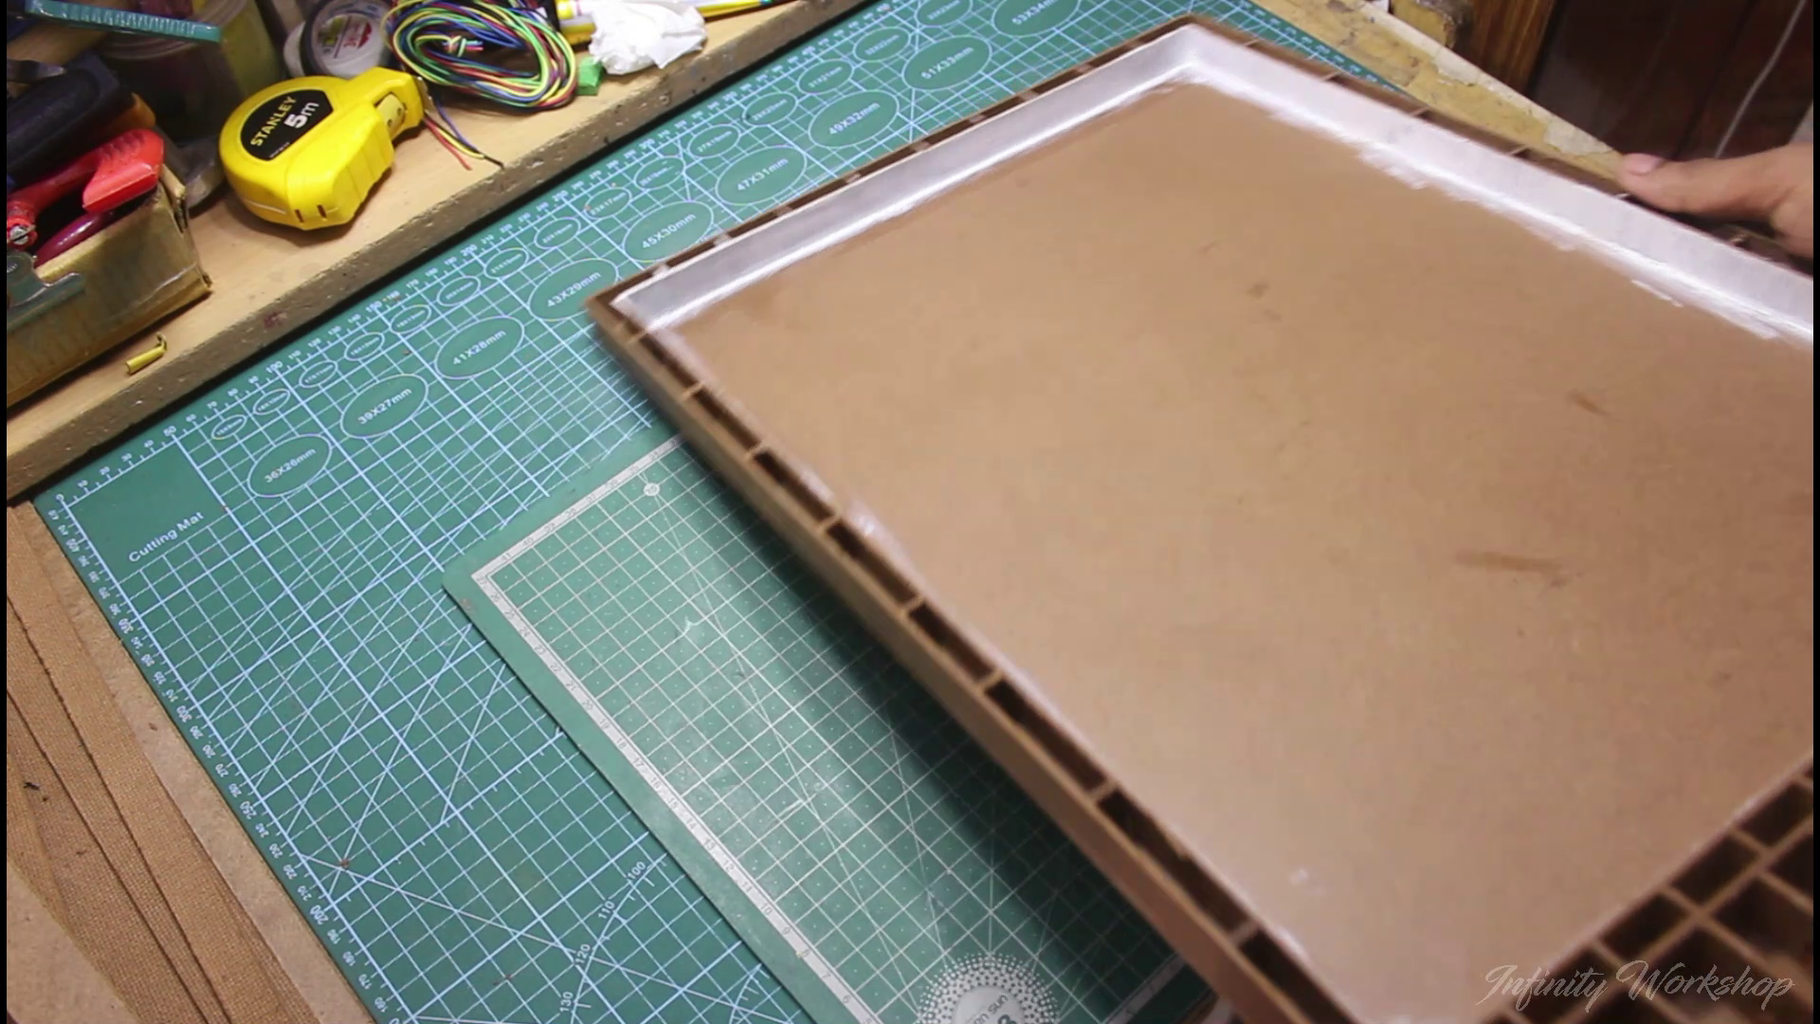
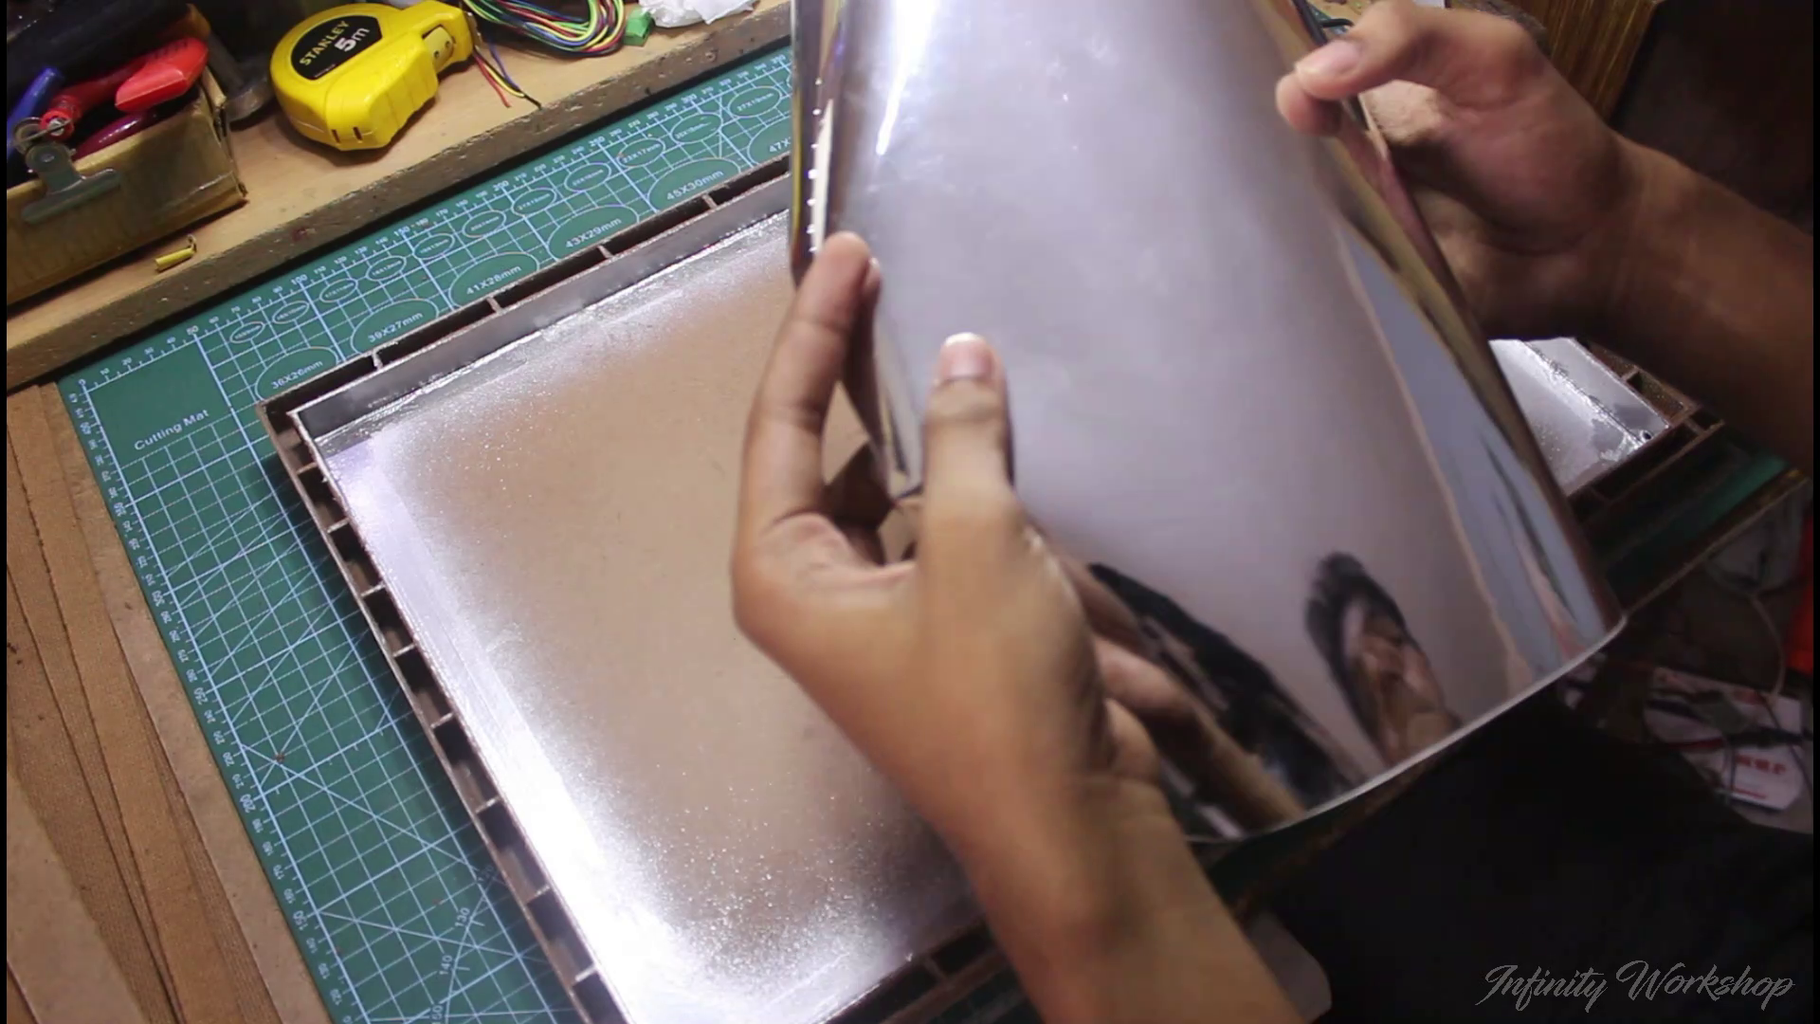
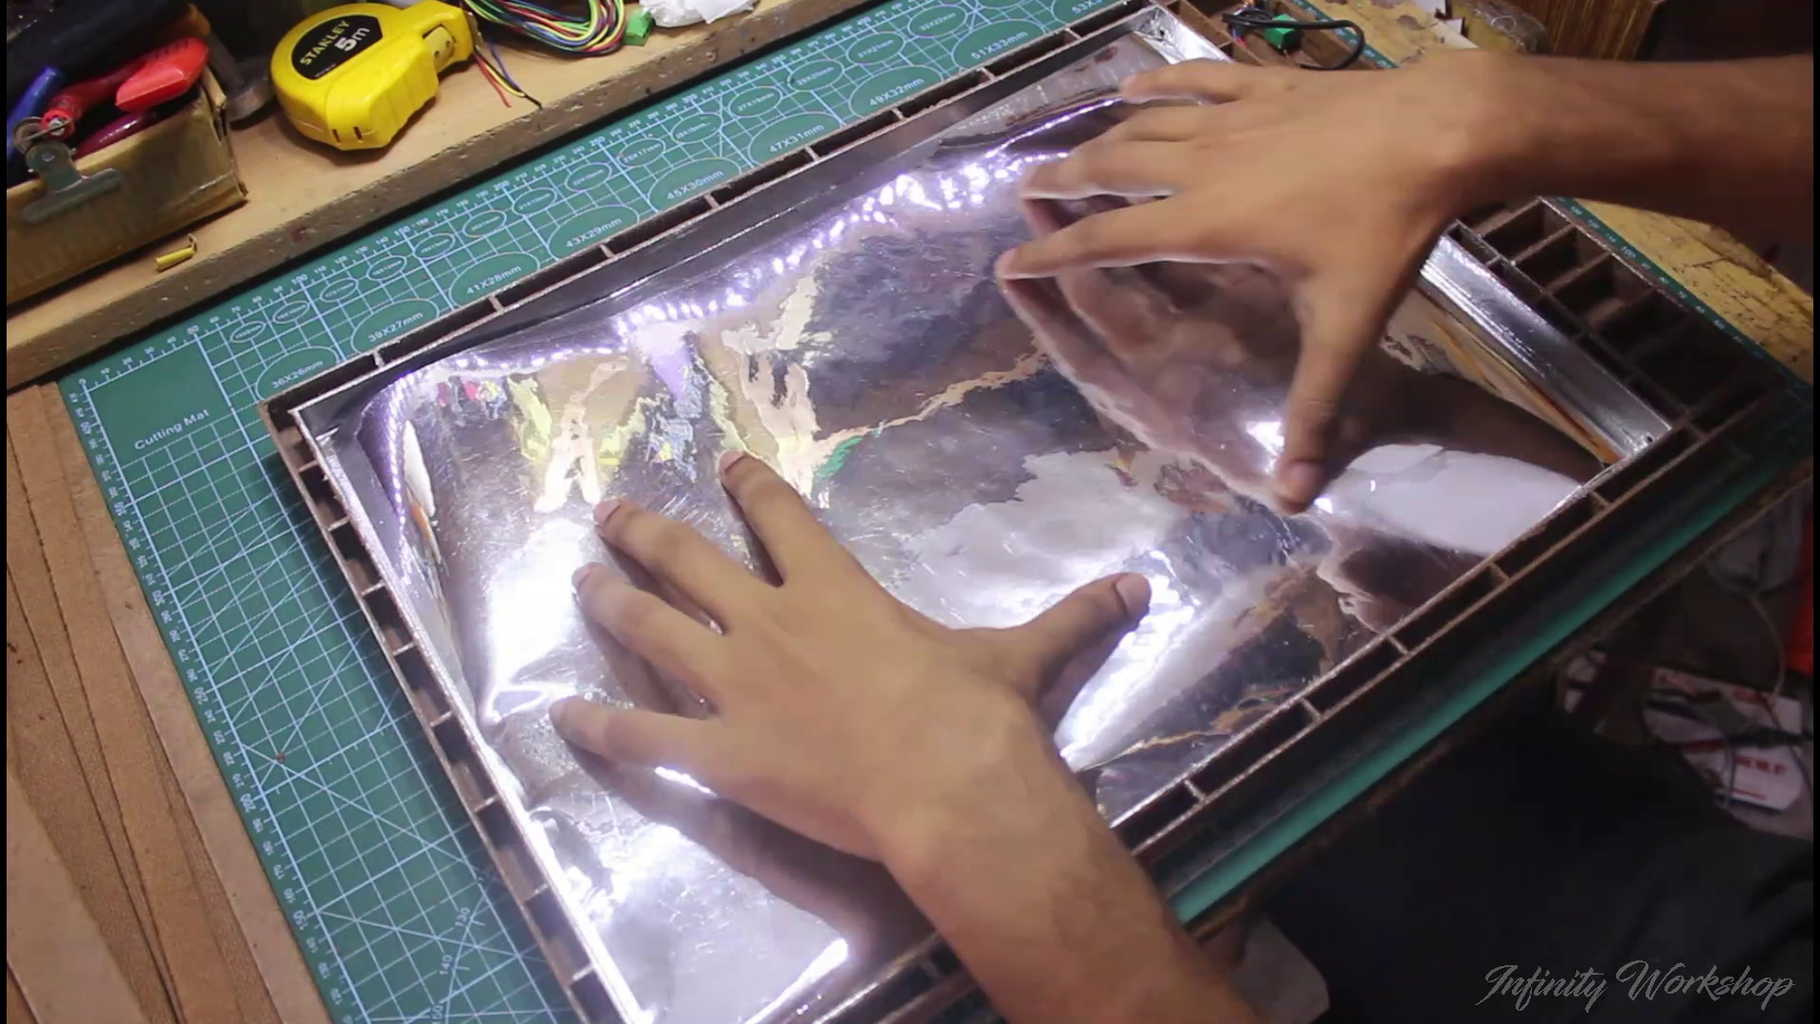
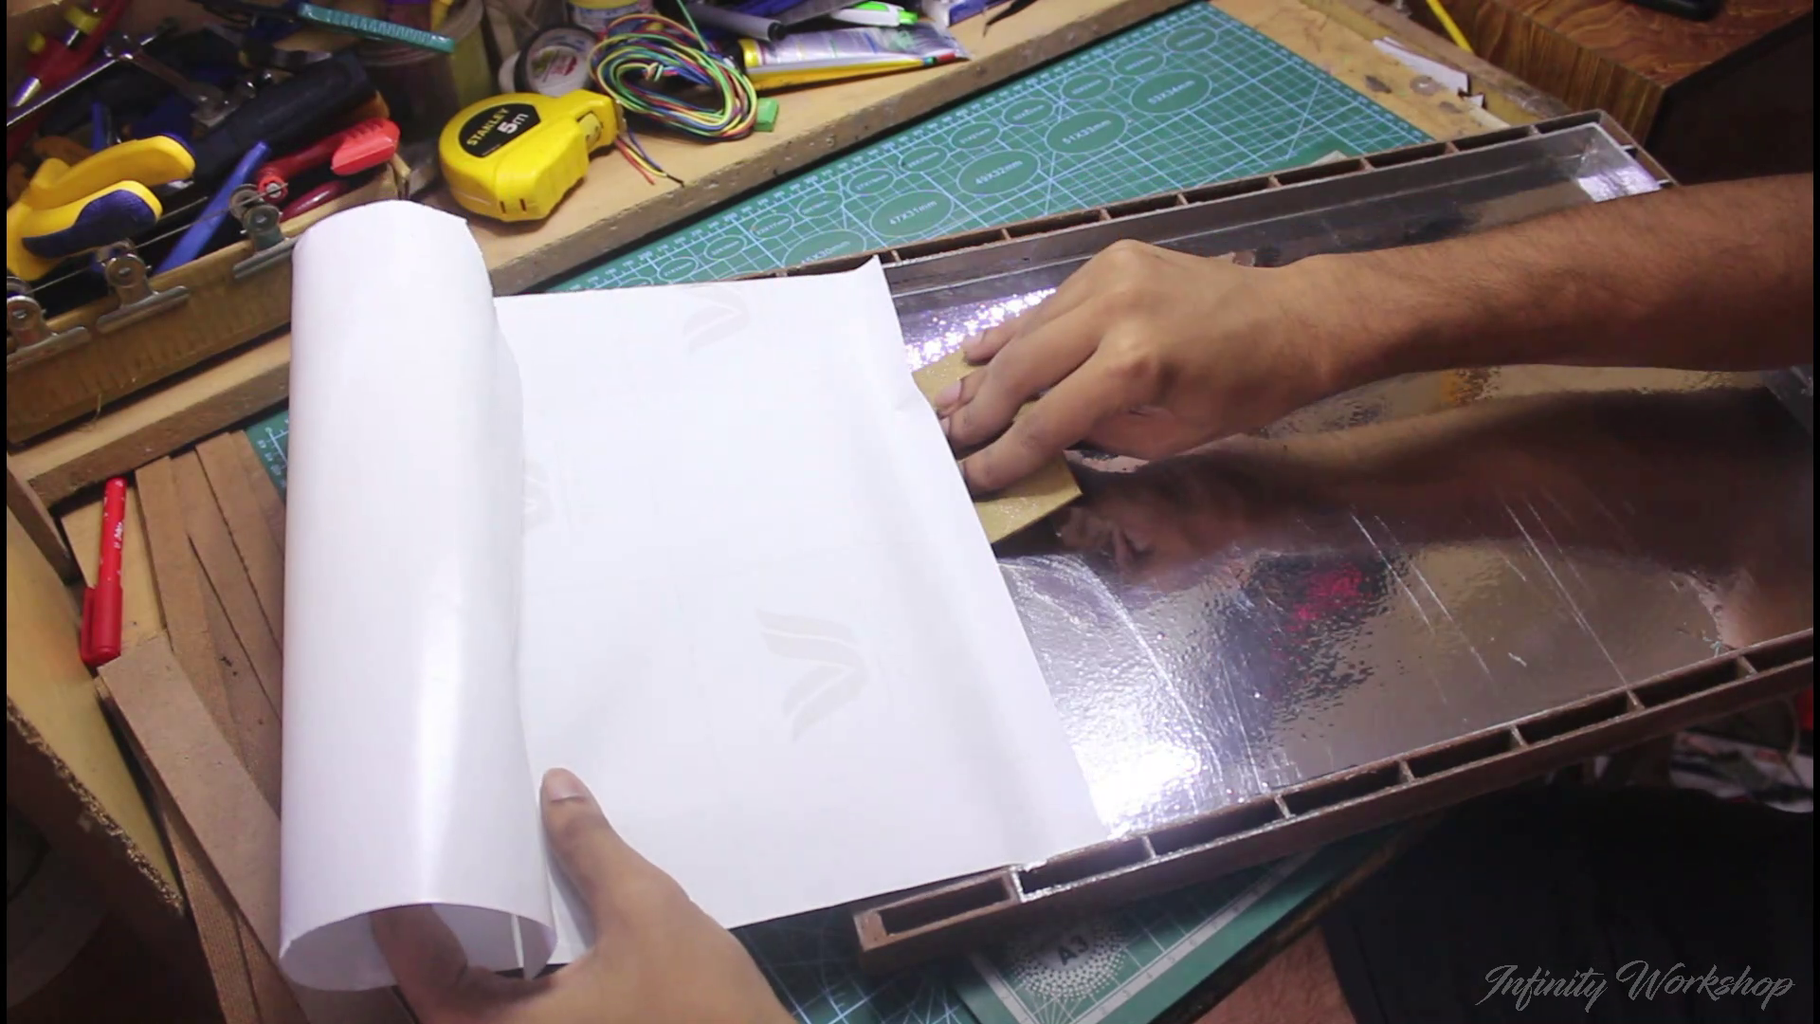
To ensure that the reflective surface is as smooth as possible, use a same-size reflective vinyl paper and stick it on the interior surface of the box. Make sure to apply the paper completely flat against the surface, without any creases or air bubbles.
This will maximize the amount of light that is reflected and give your photographs a professional look.
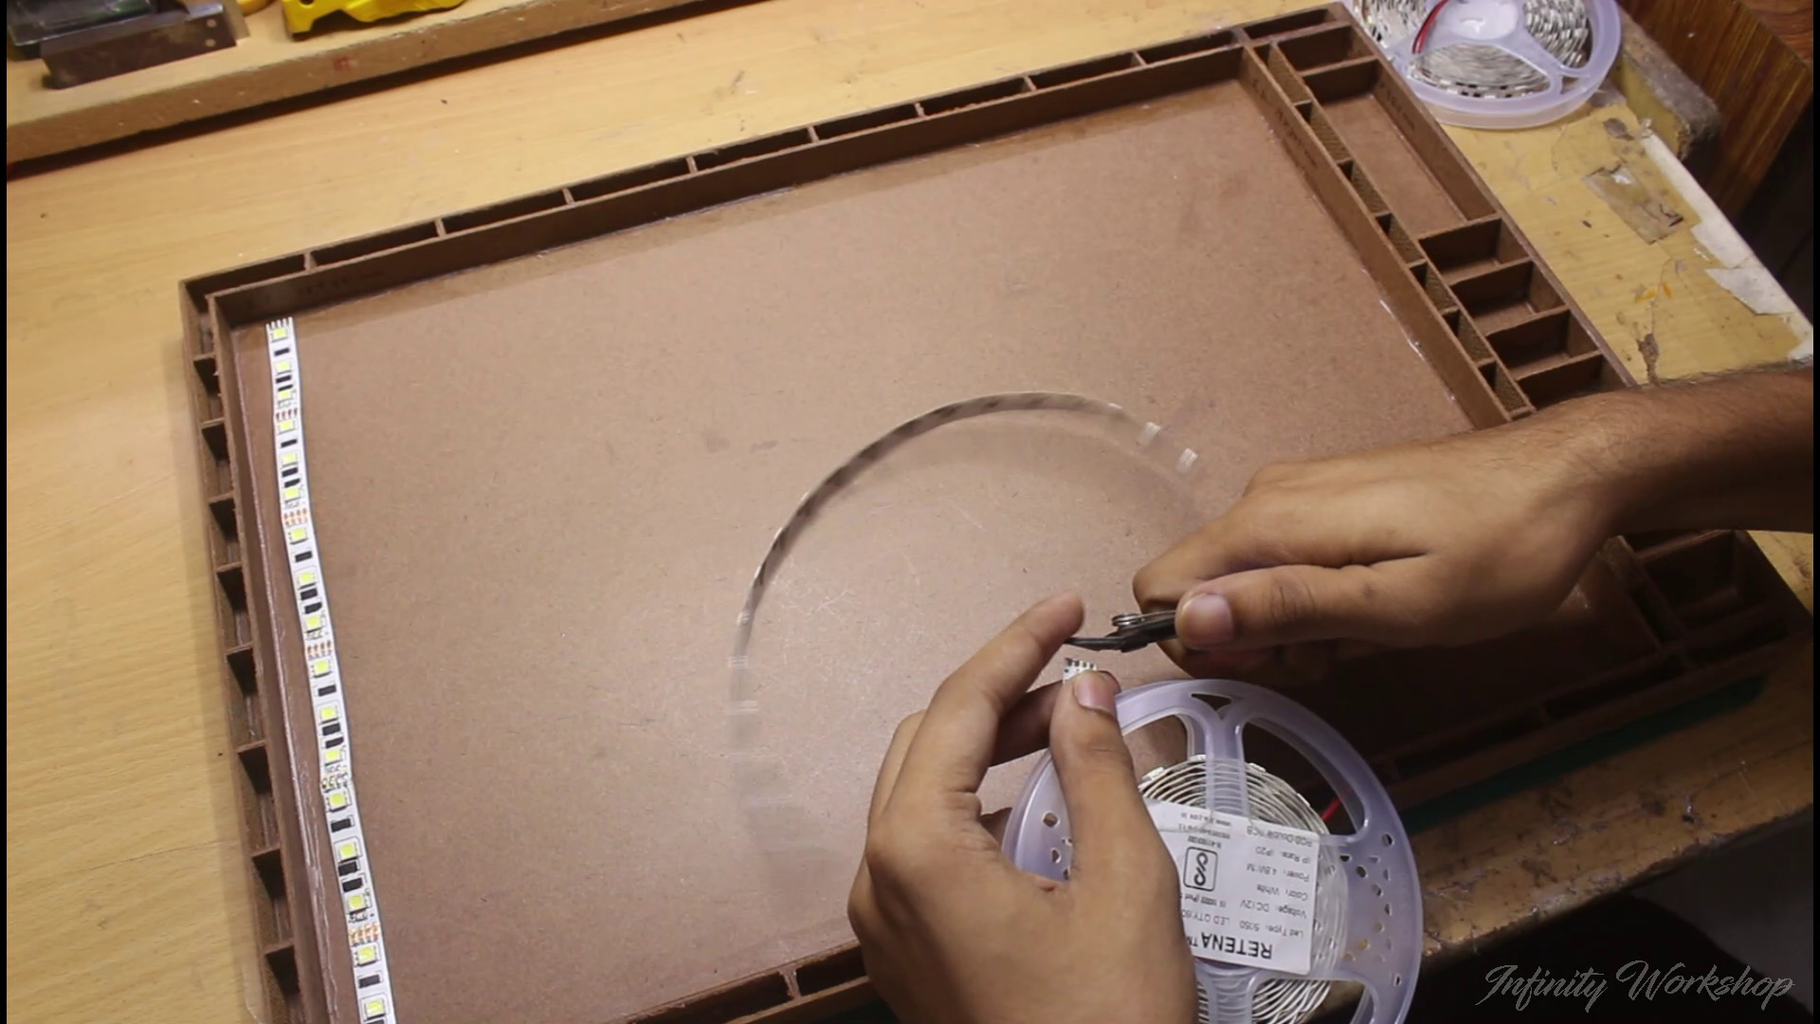
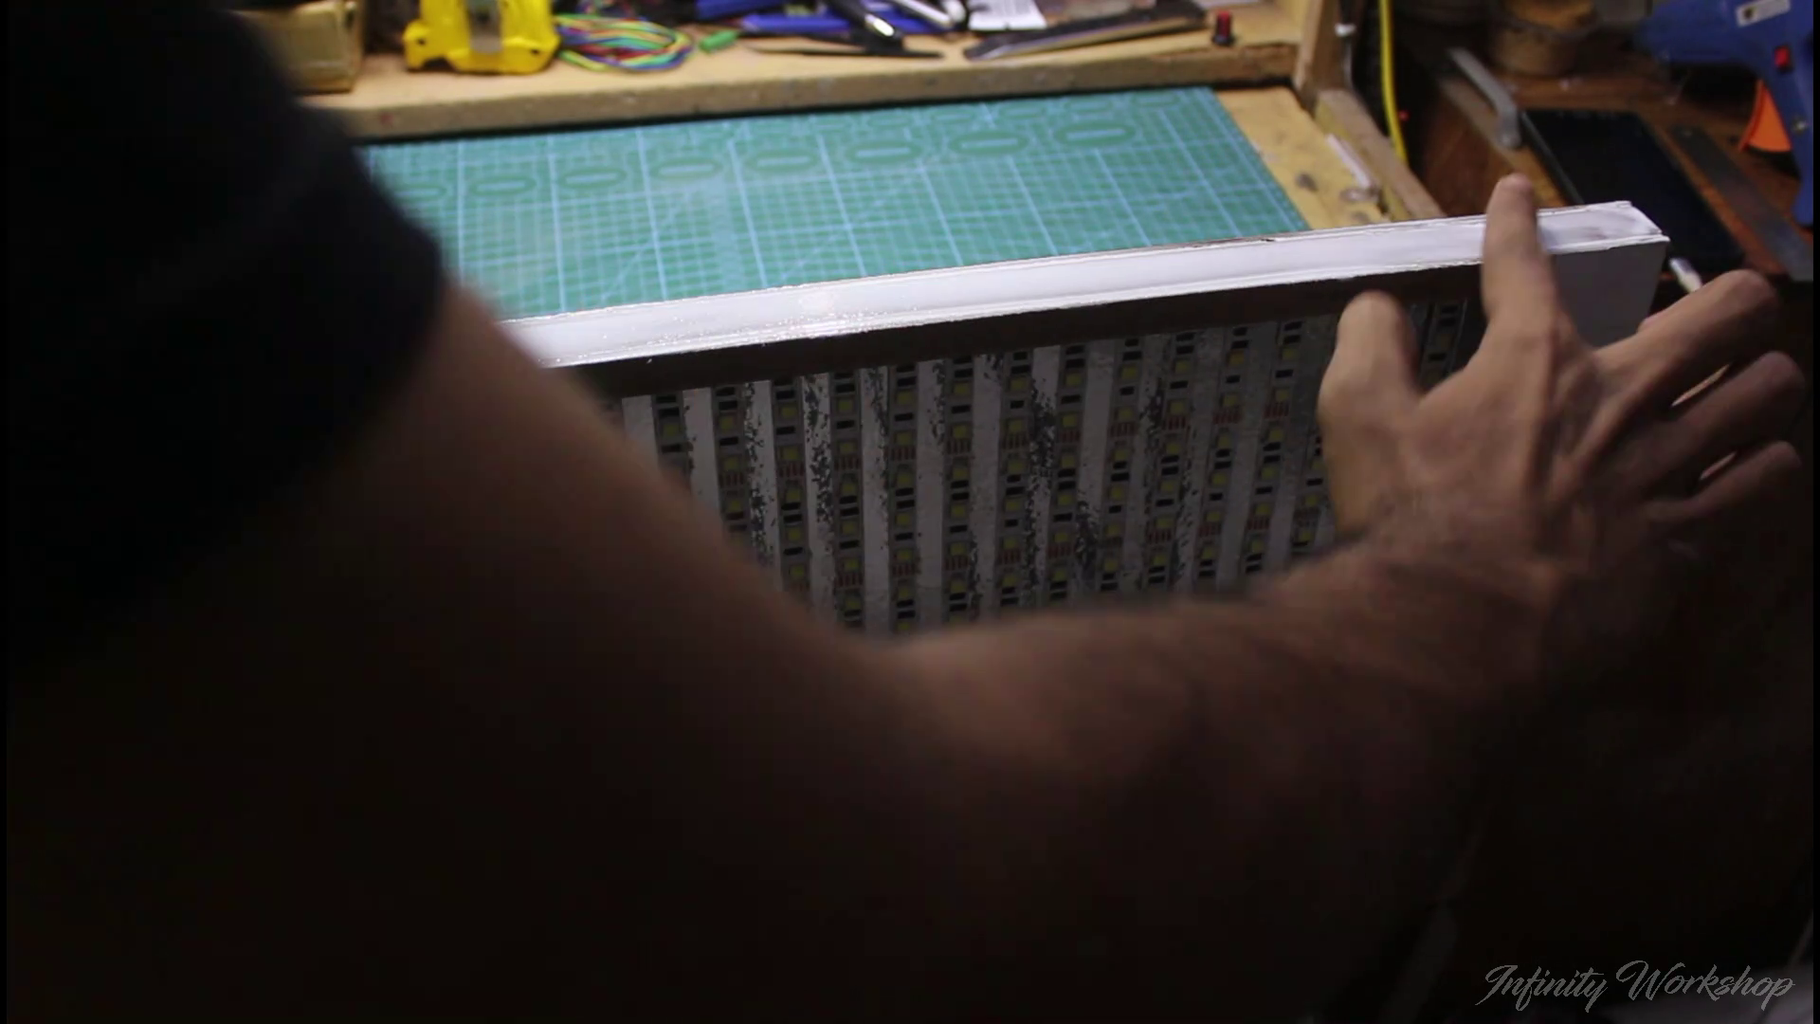
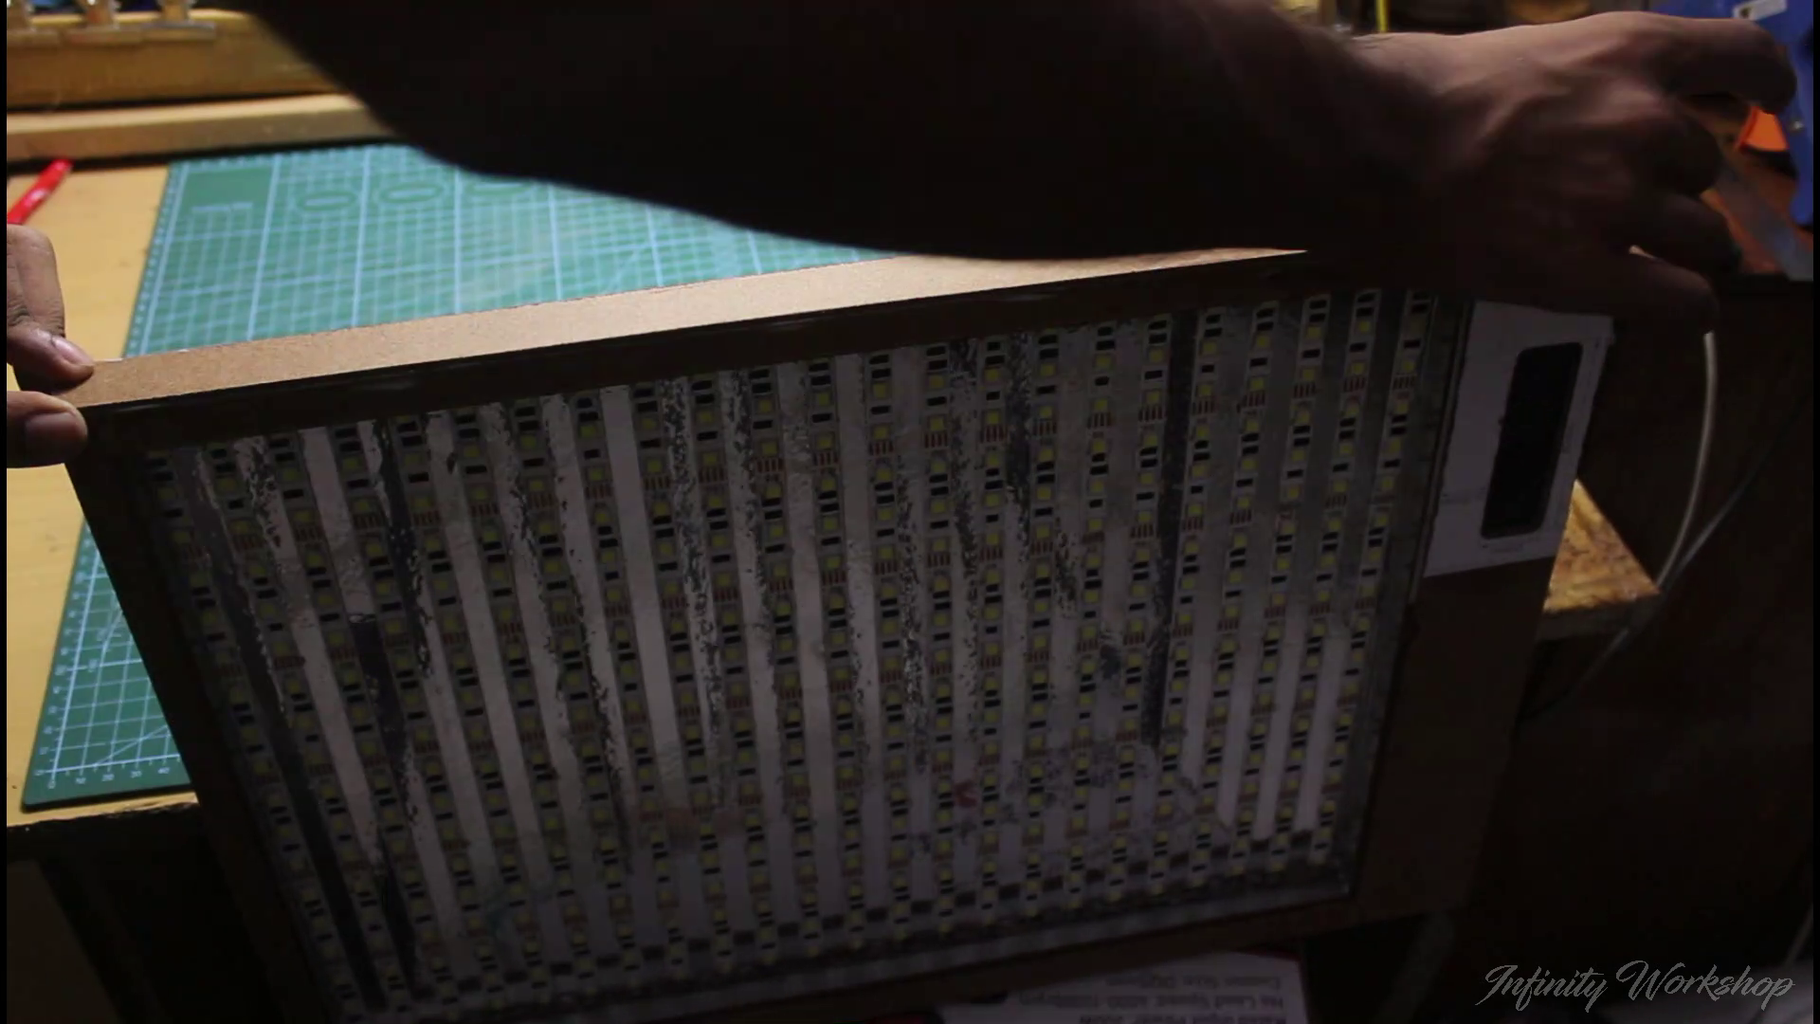
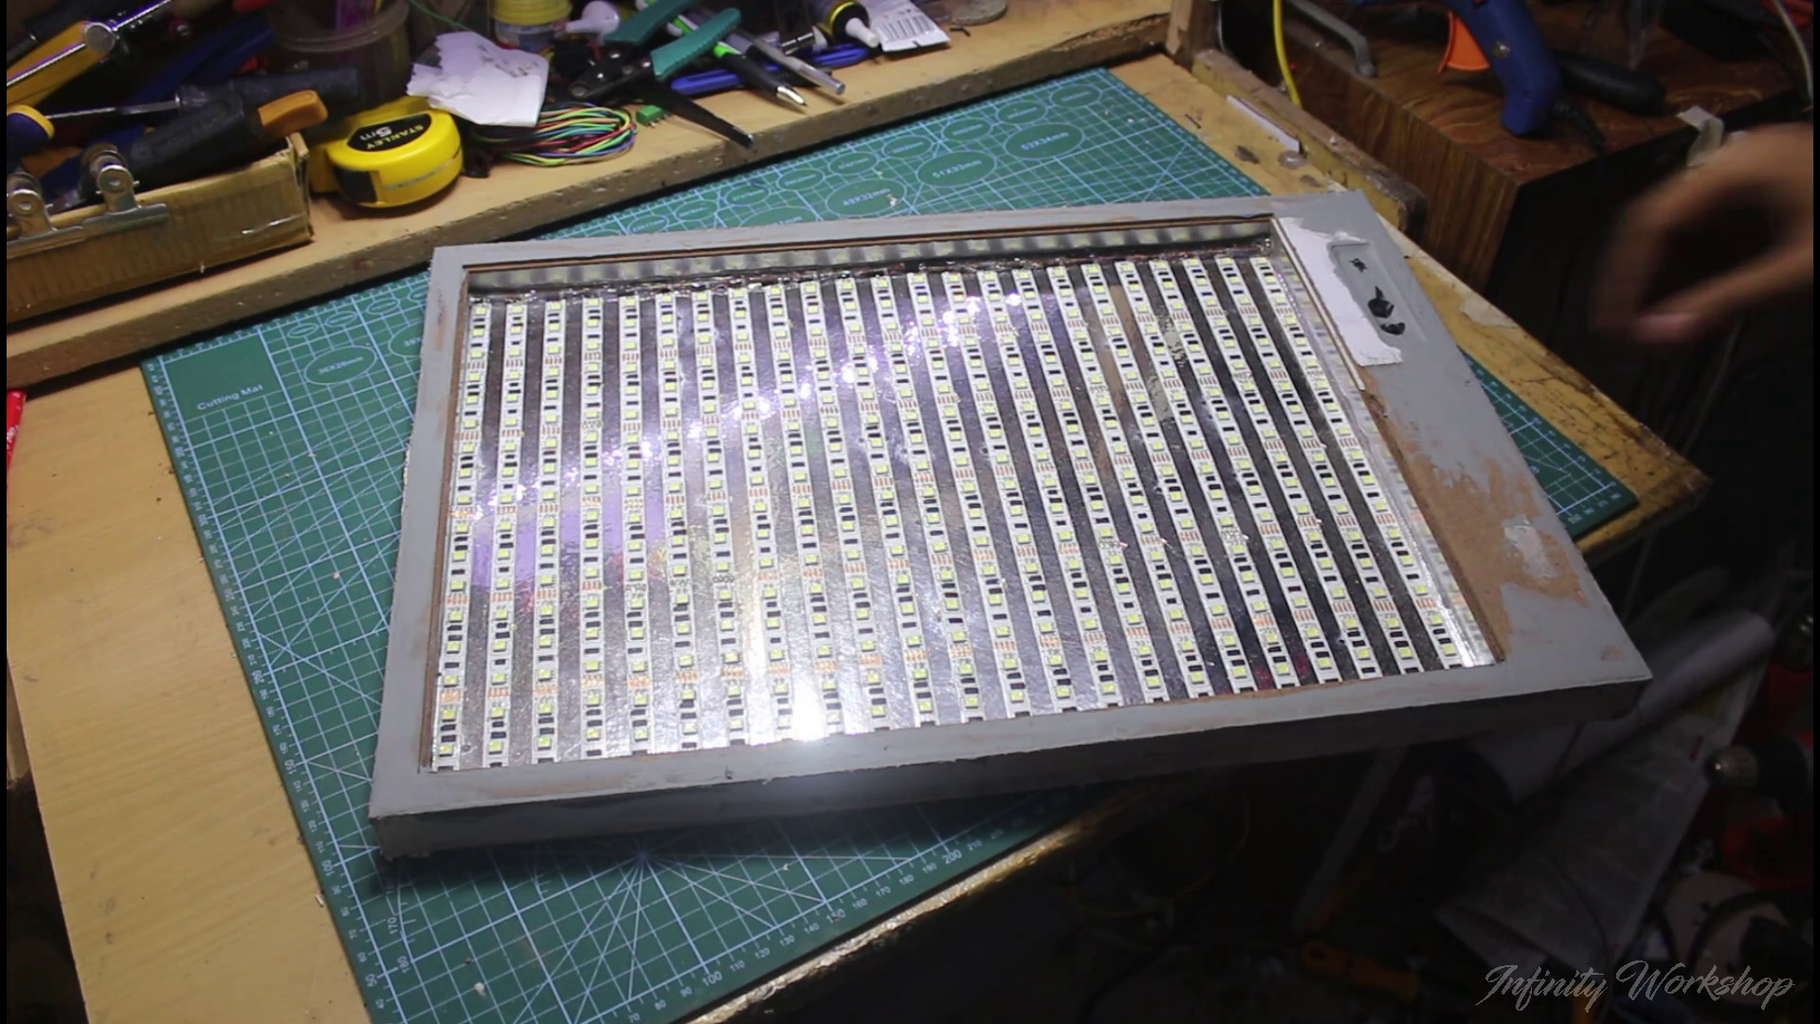
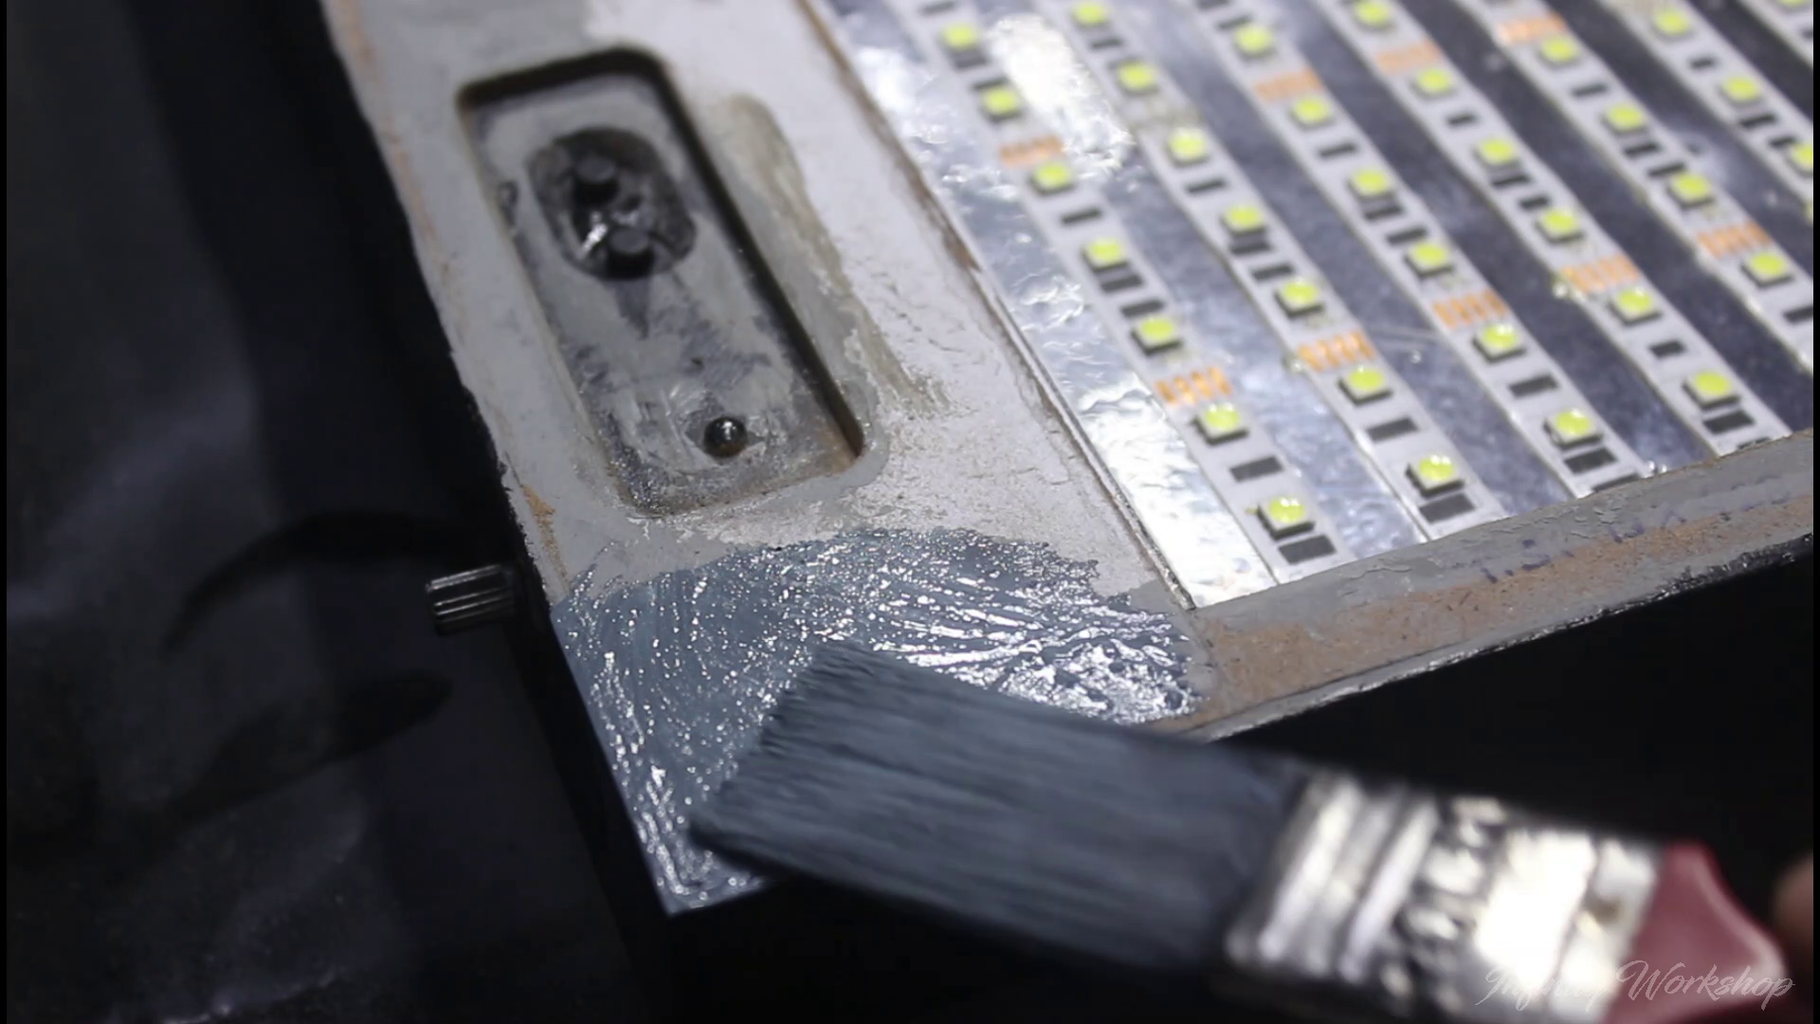
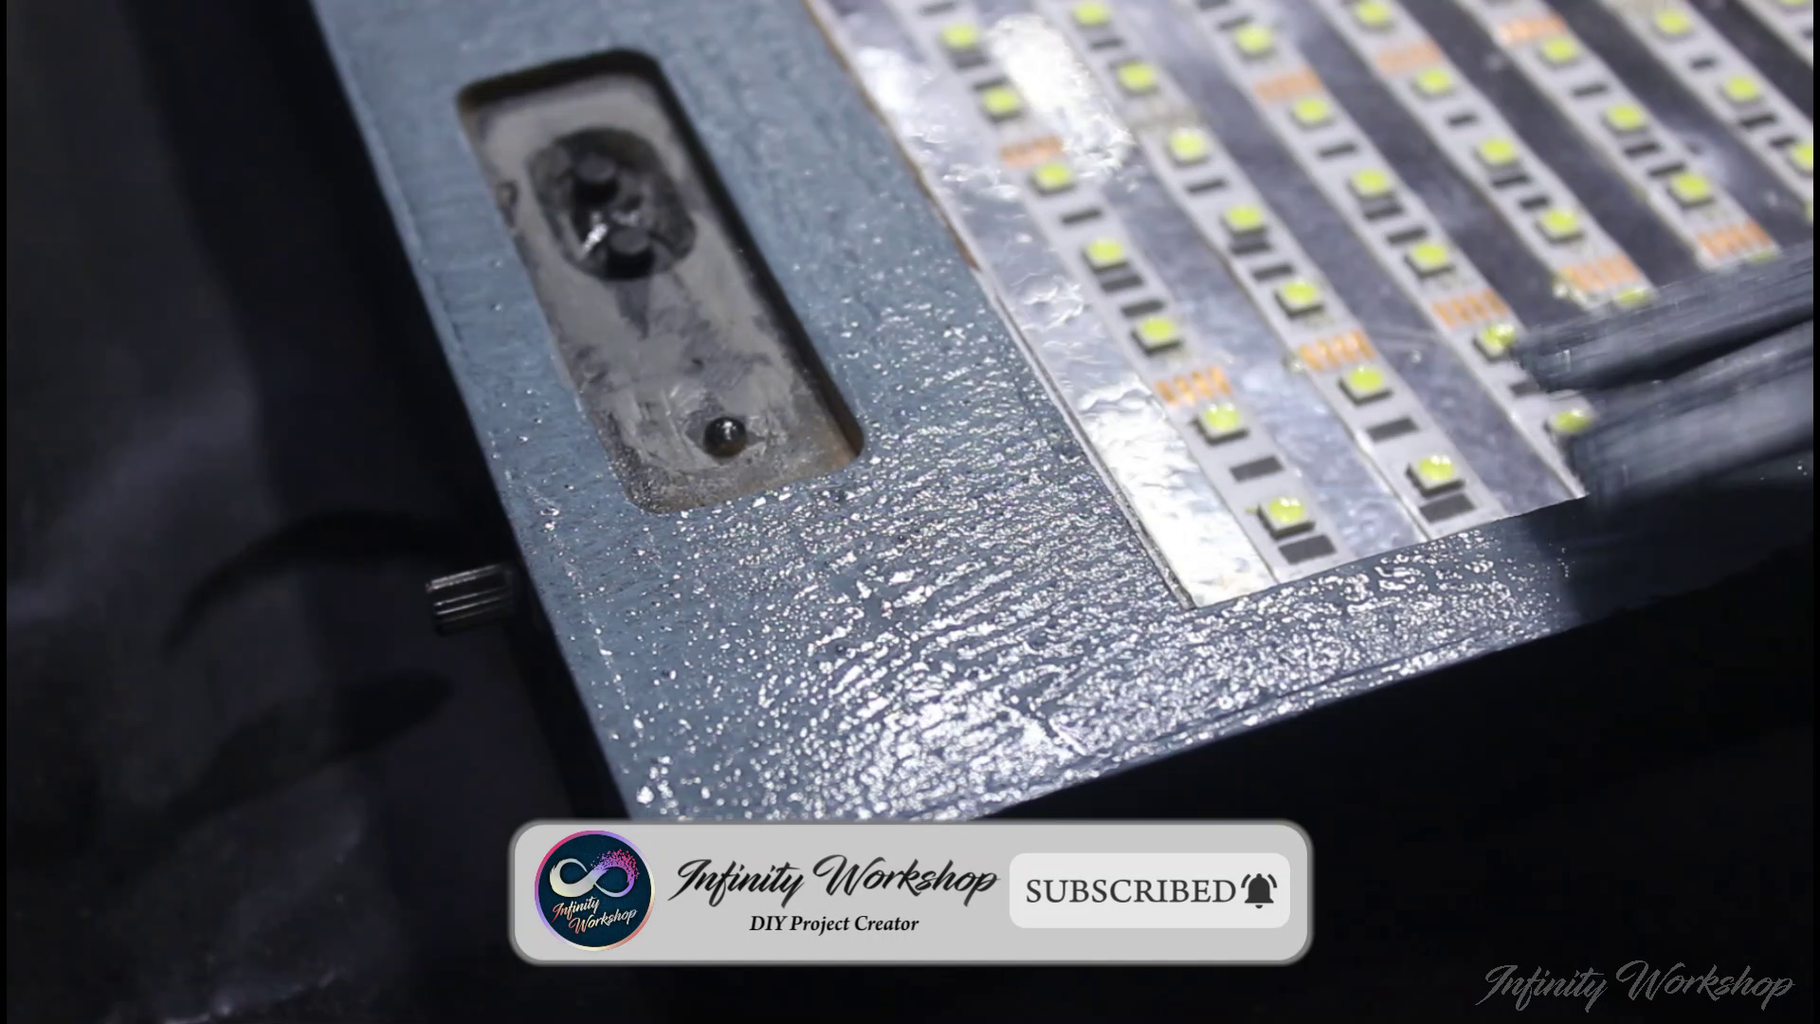
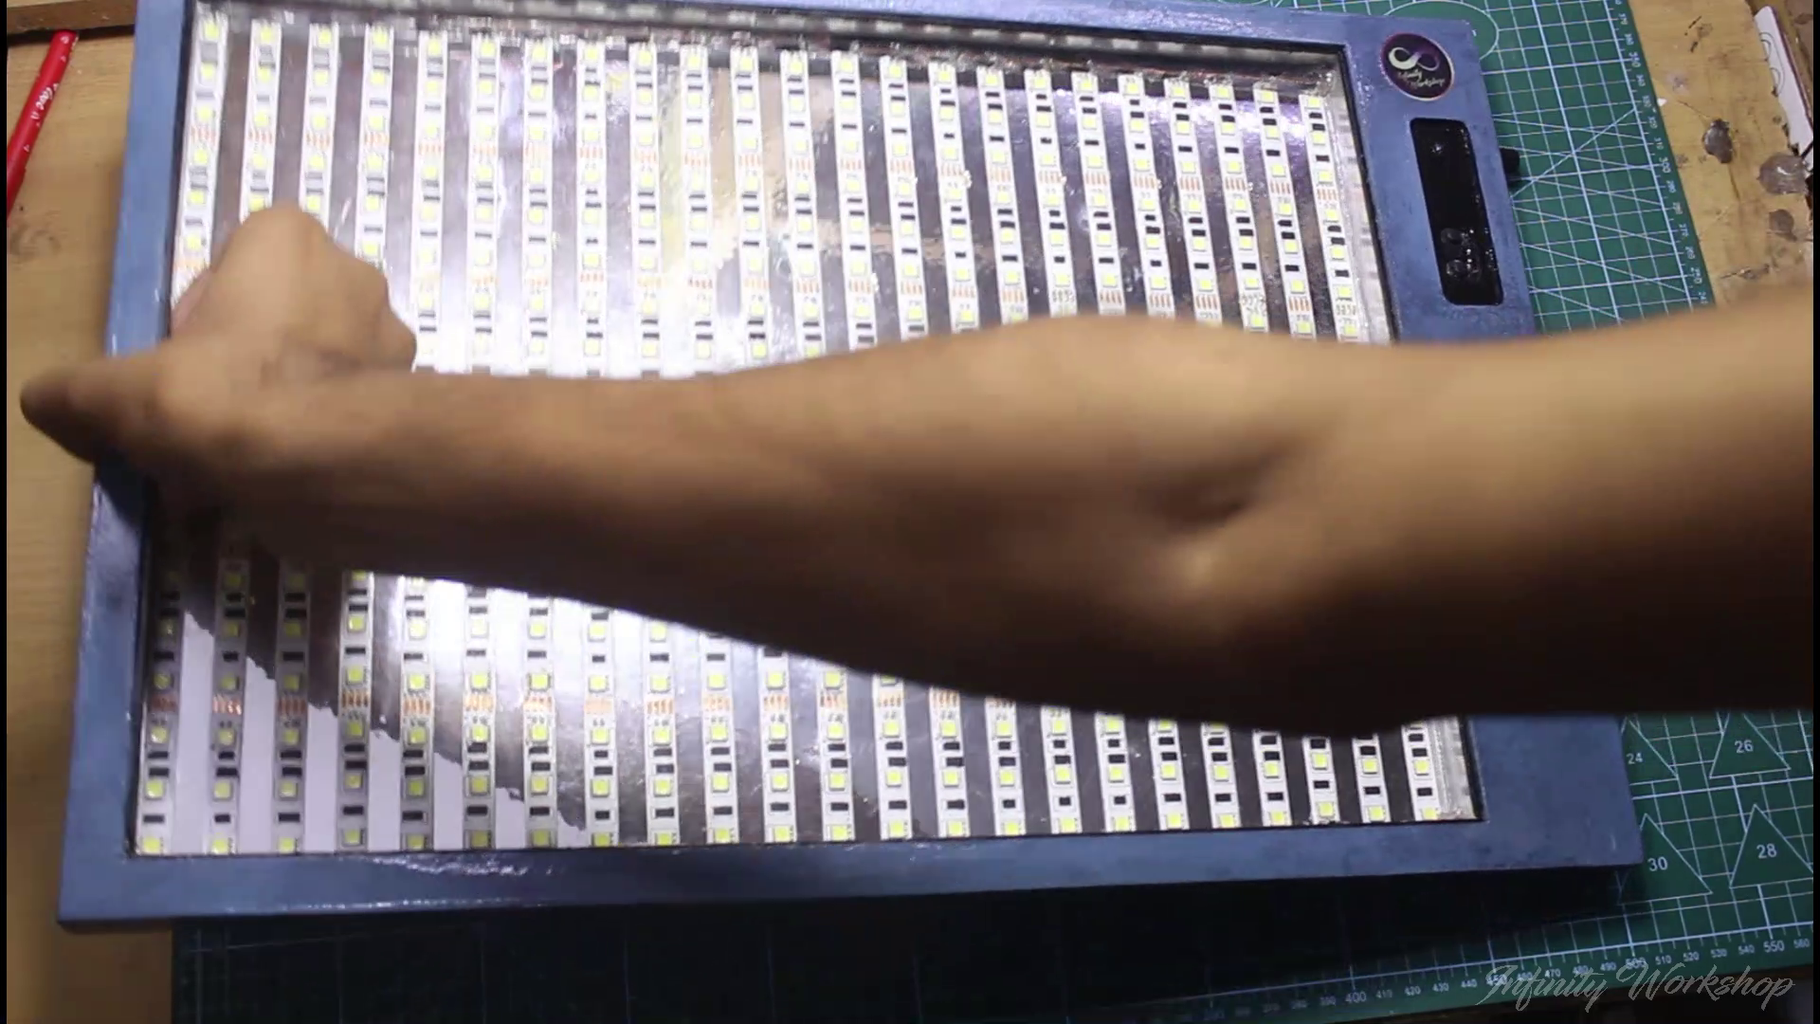
Step 9: Attach the LED Strips and Wireup
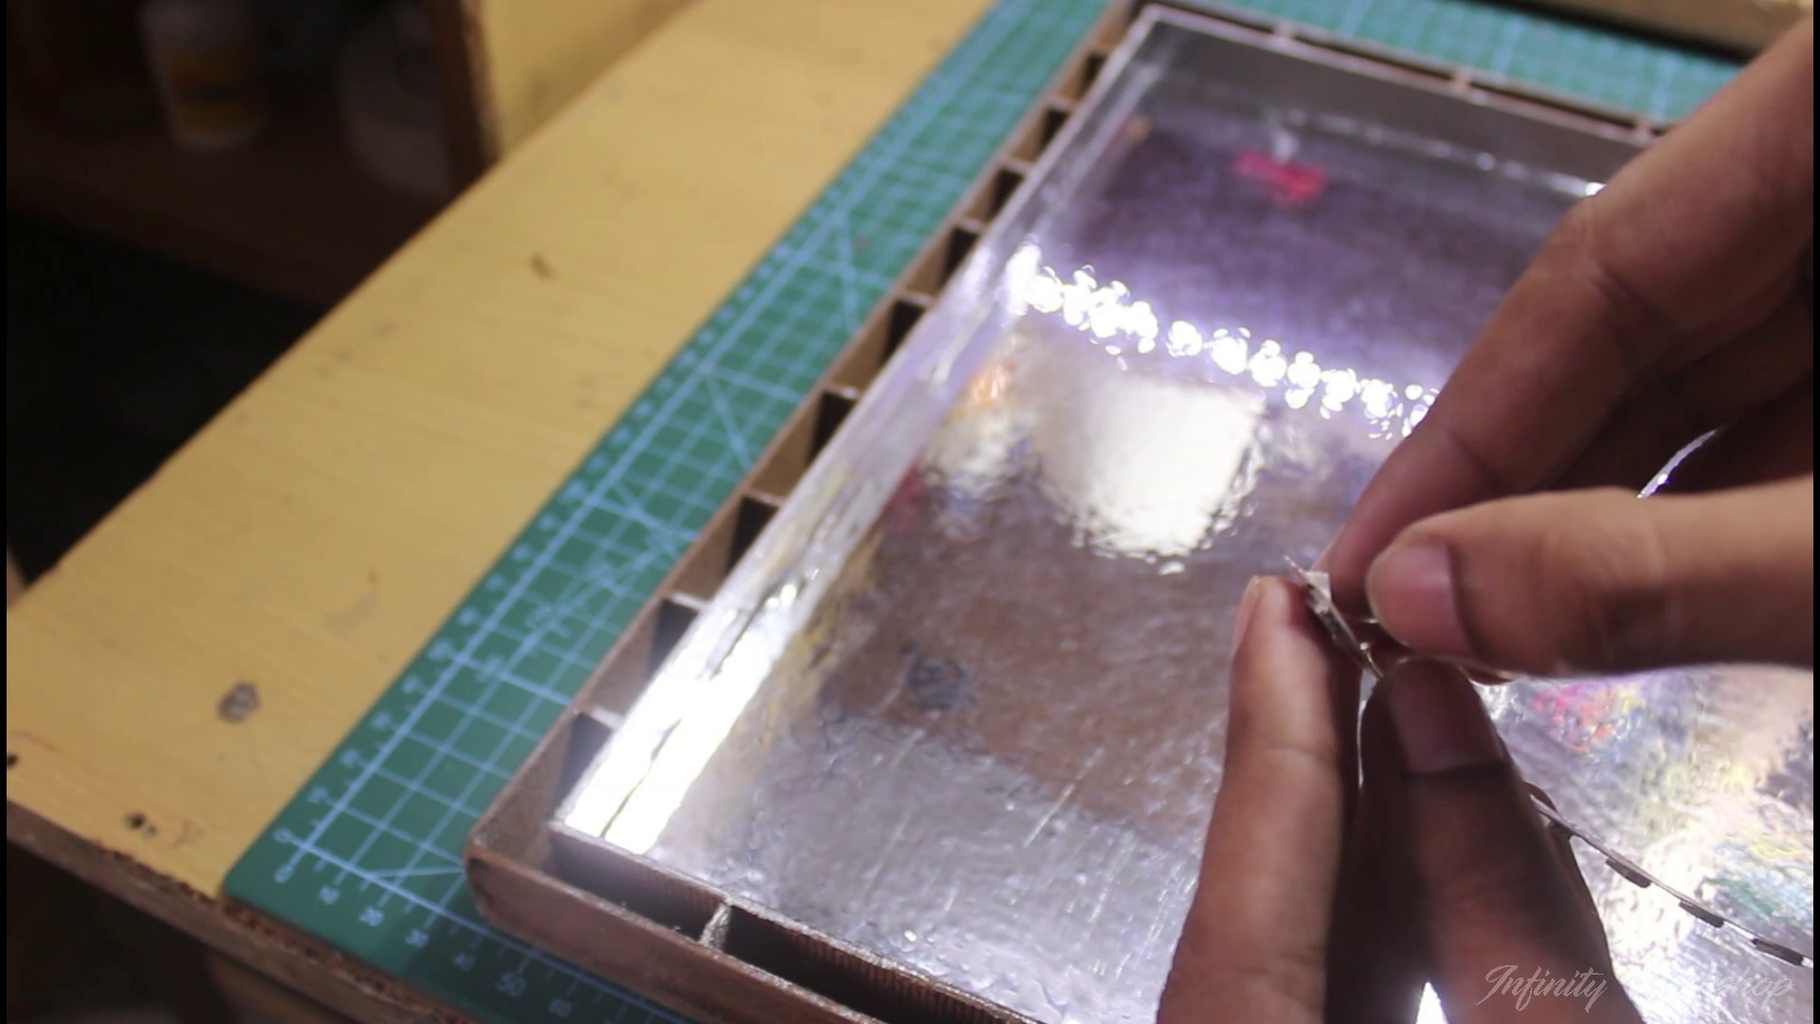
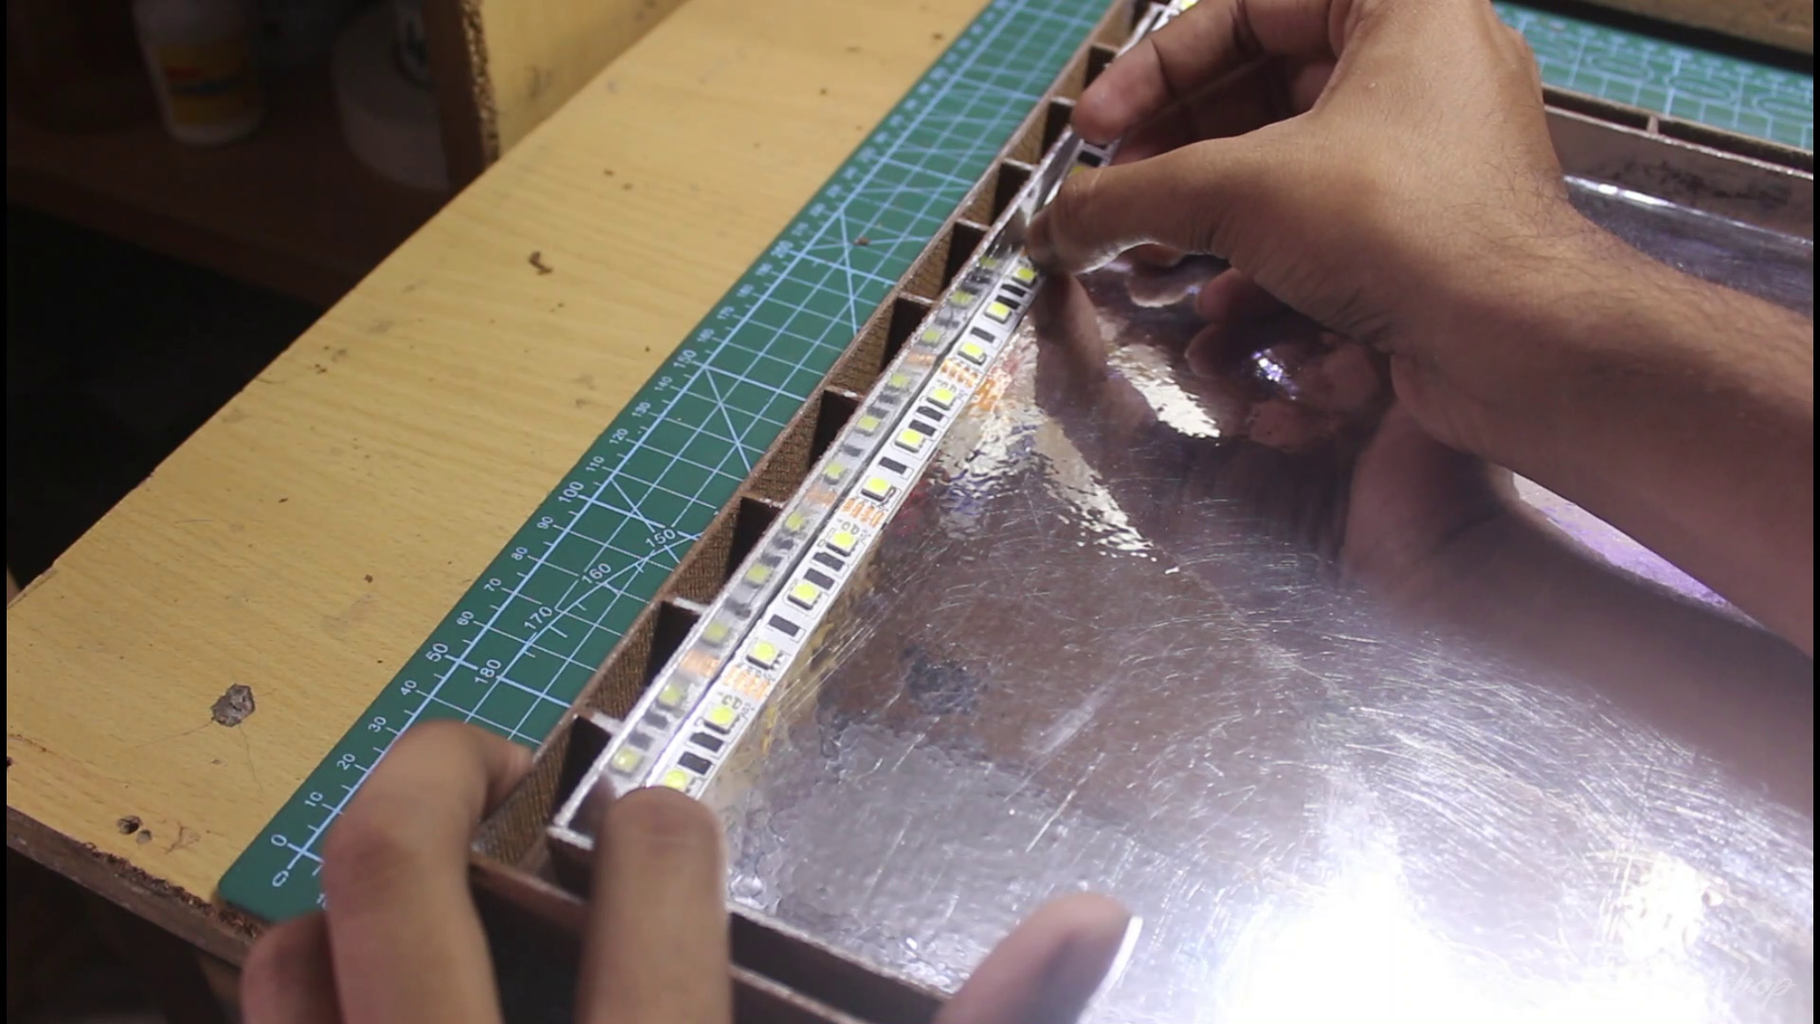
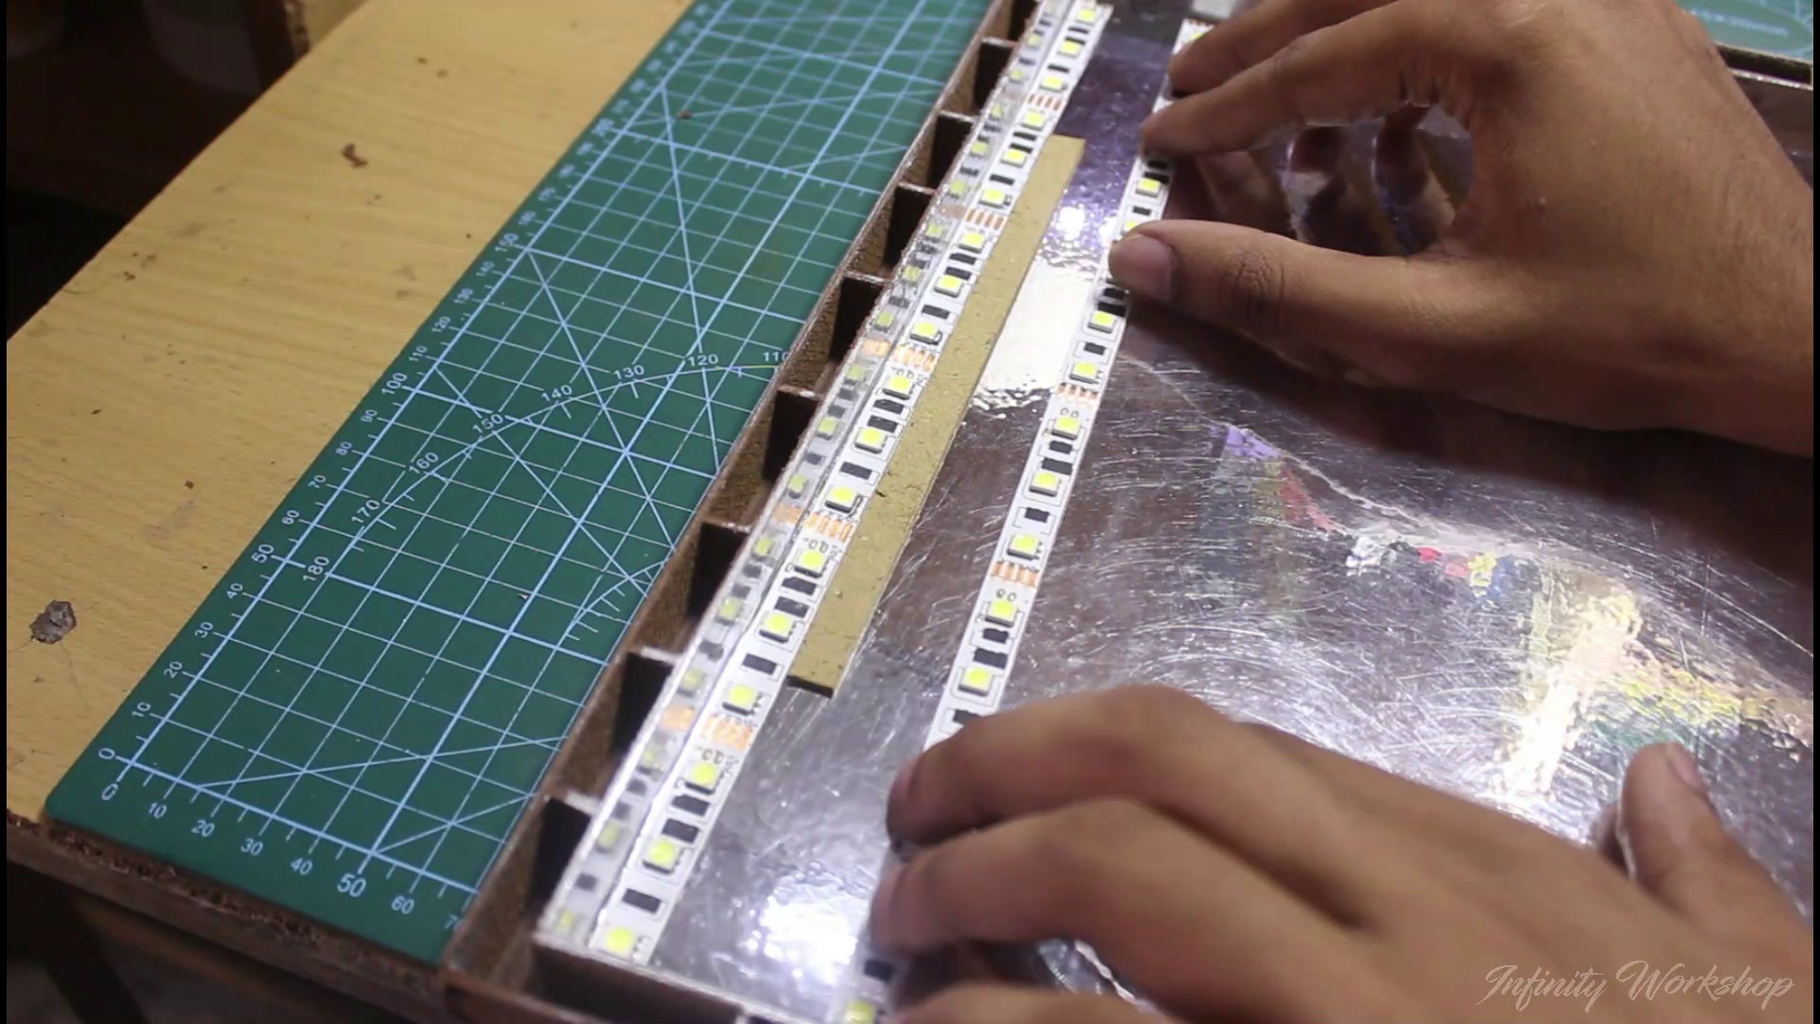
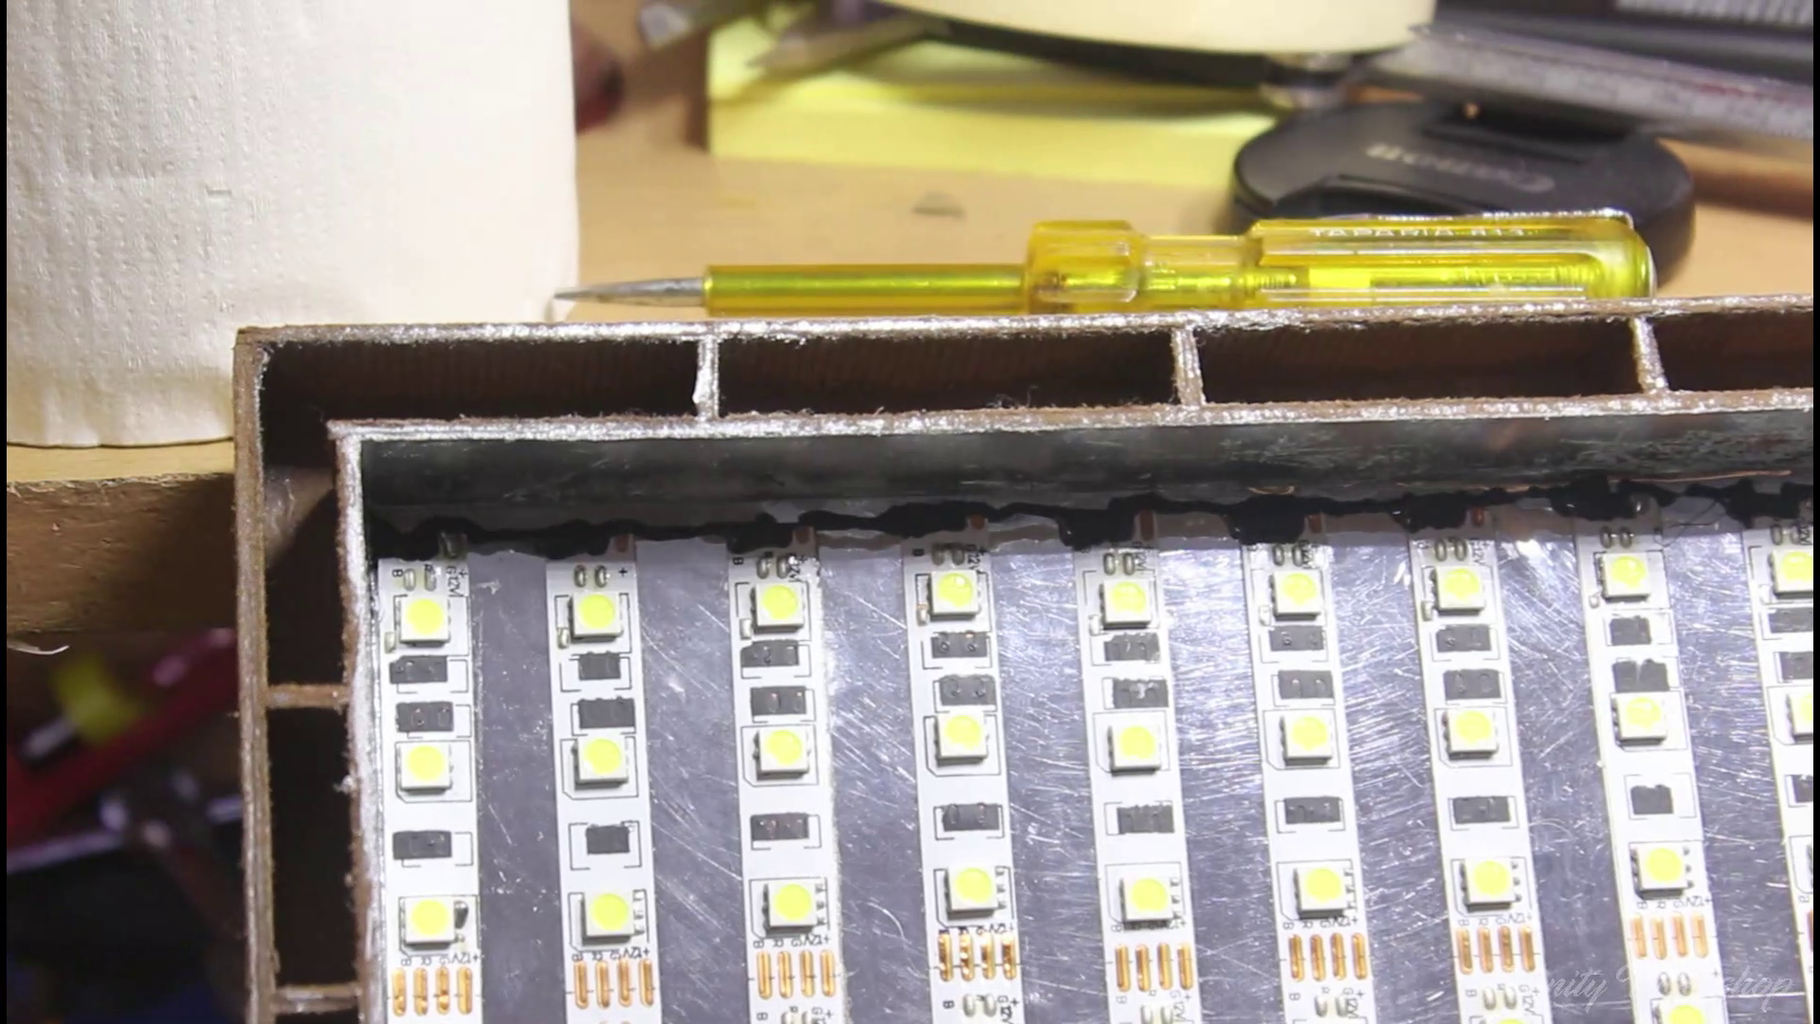
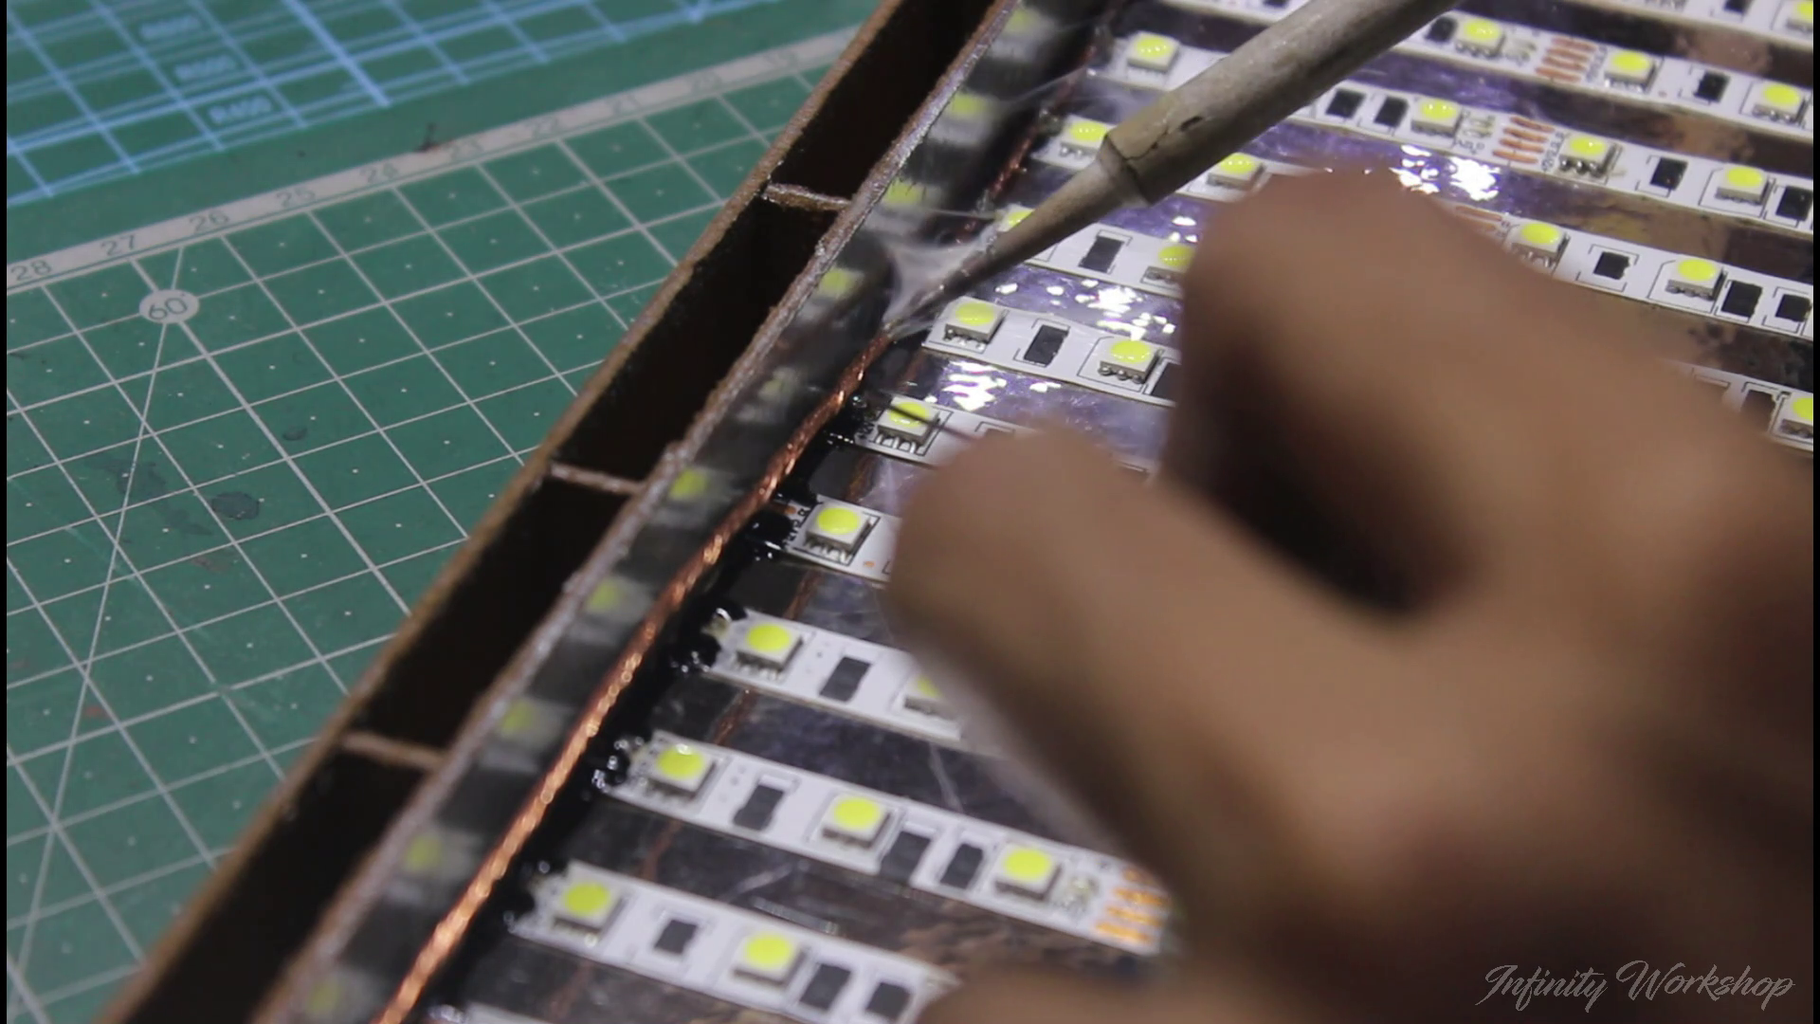
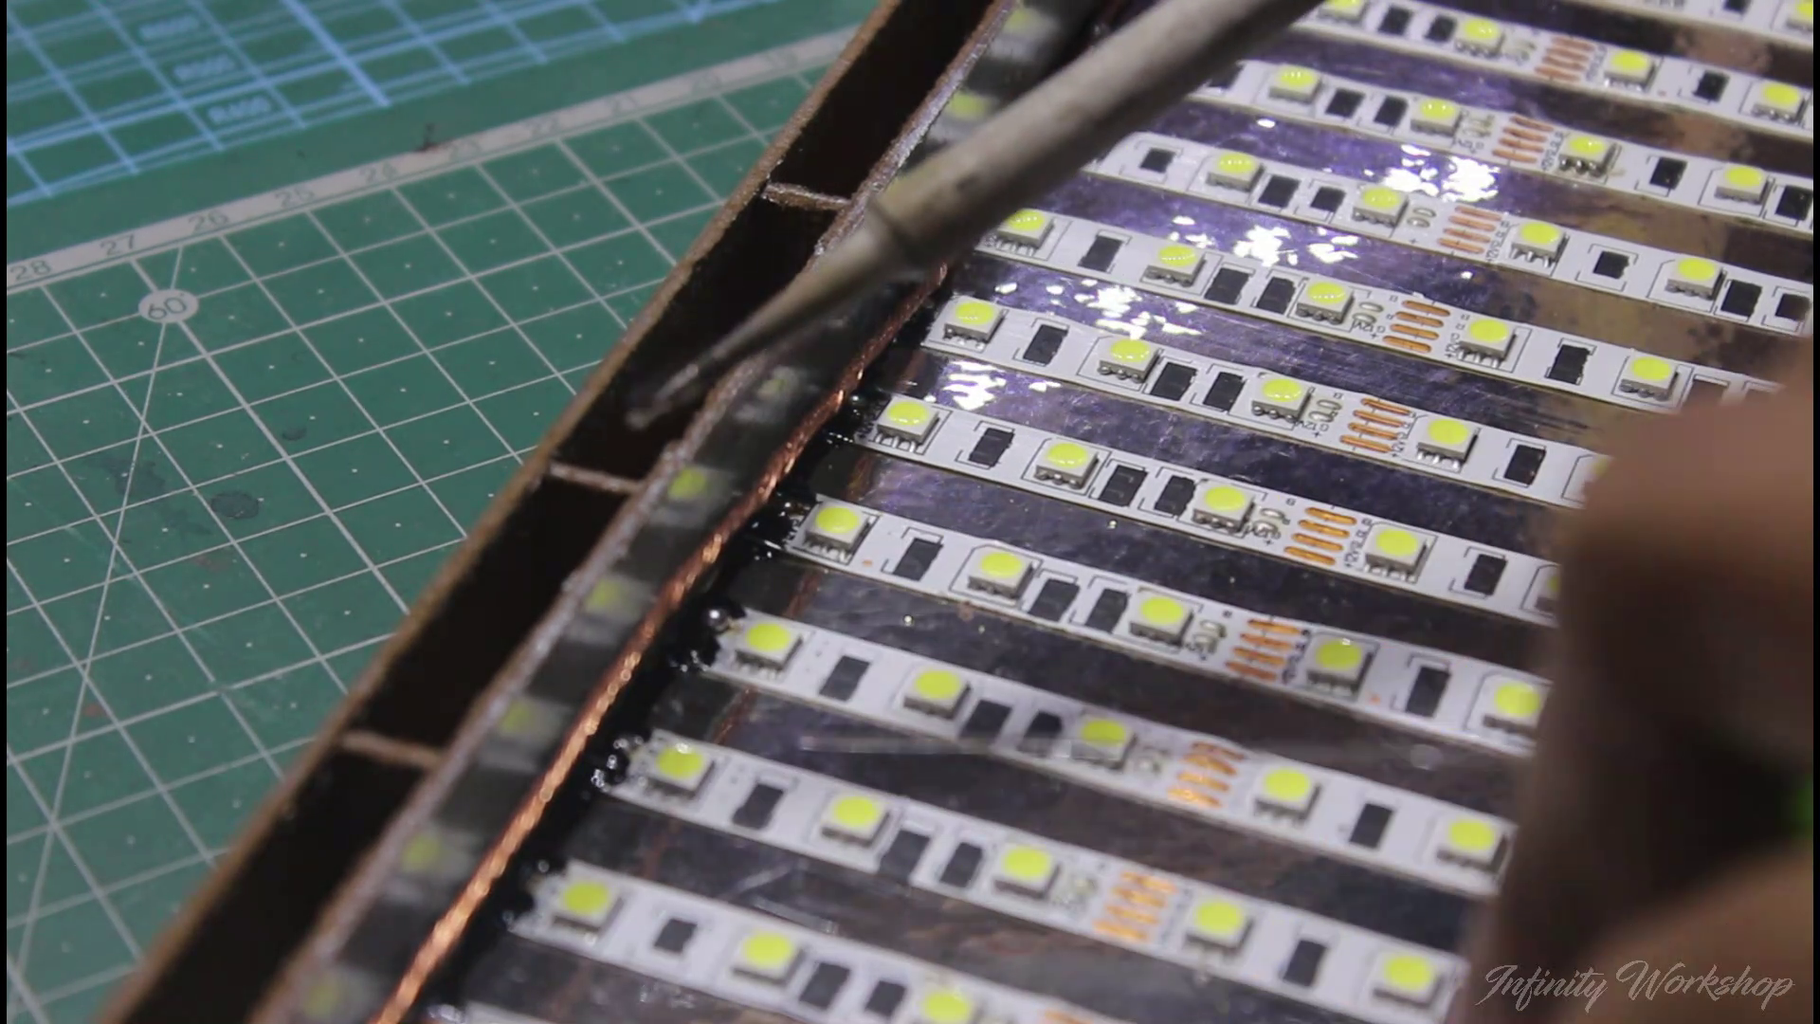
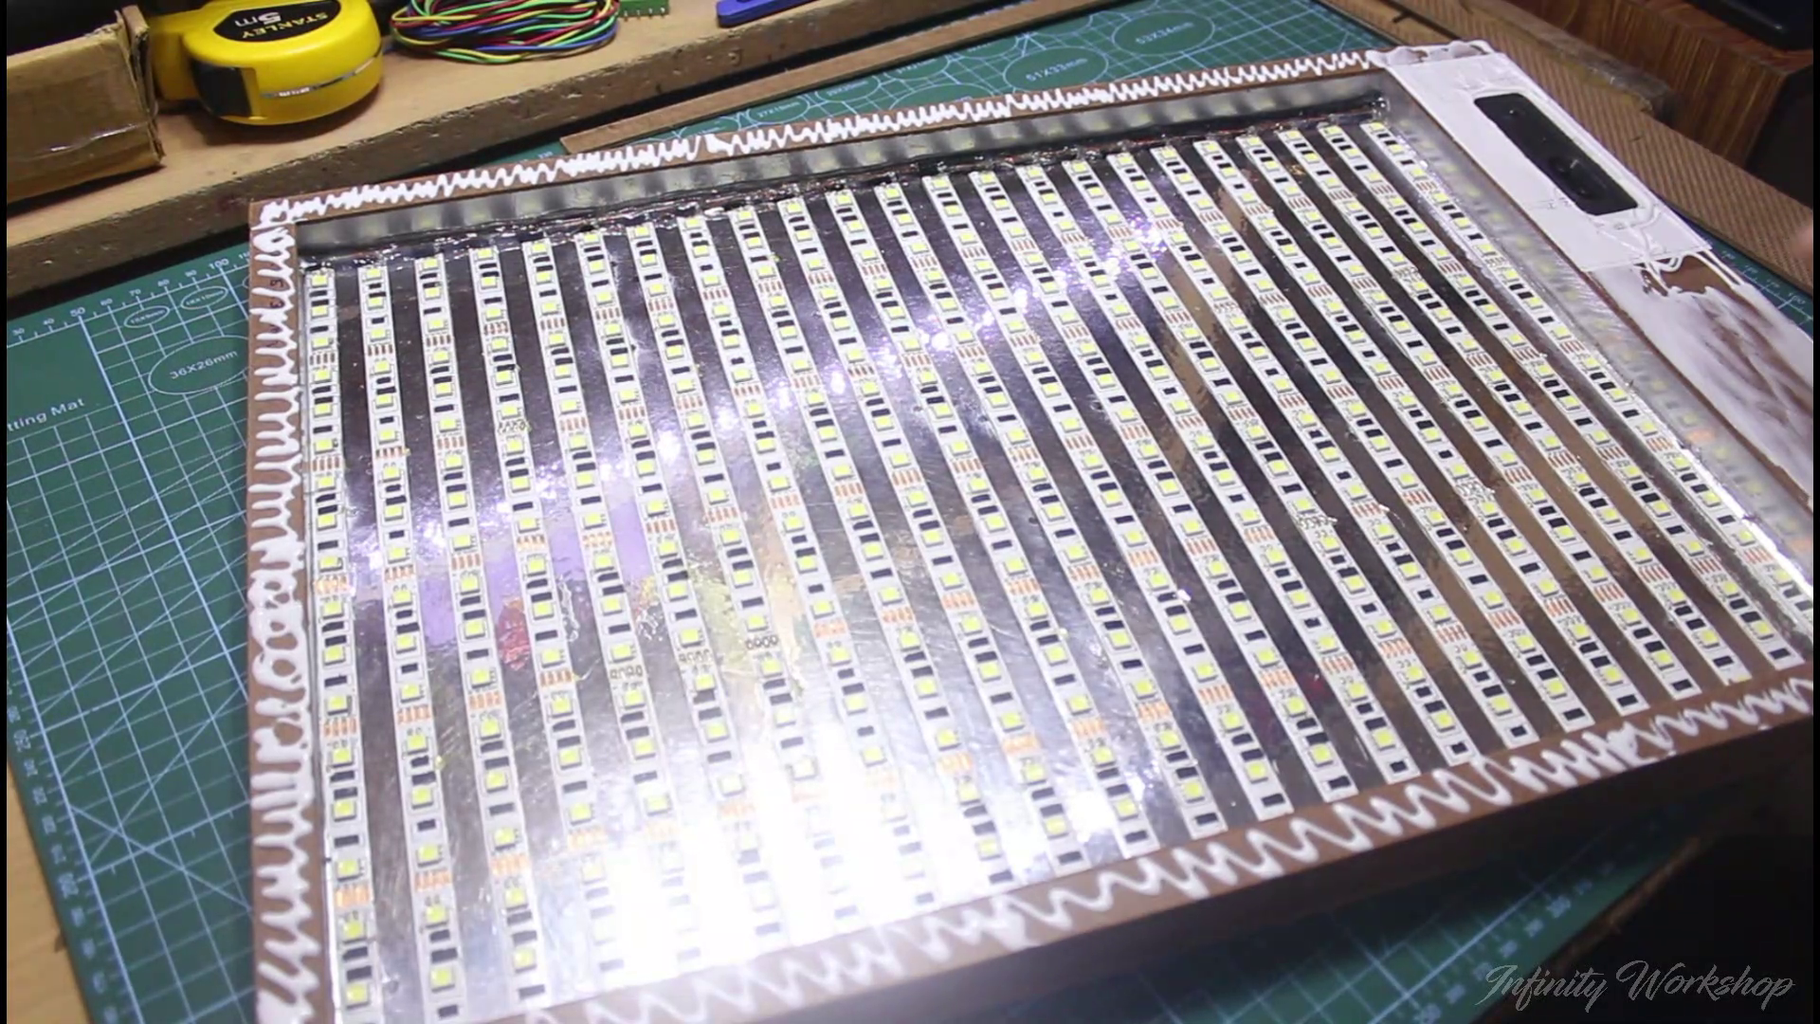
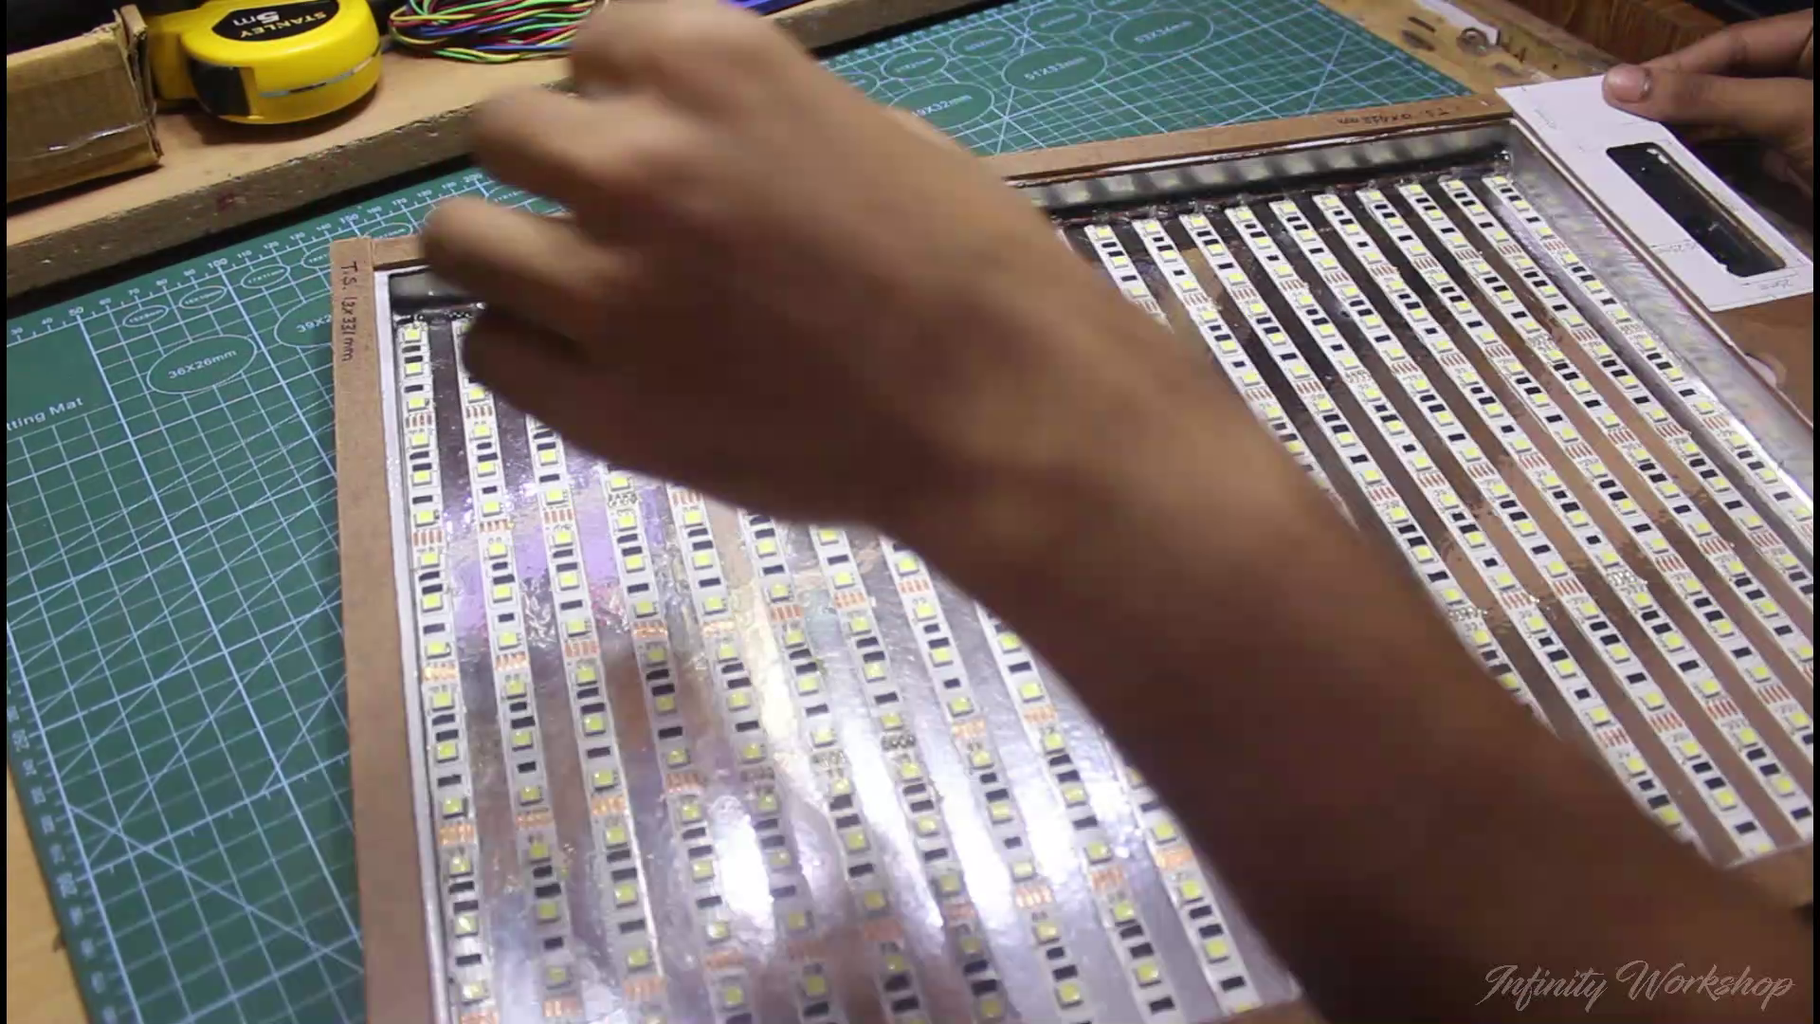
To add the first strip of LED, carefully align it in its designated position, making sure to note the polarities and direction of the LED strips.
Then, use an 8mm thick cardboard piece as a spacer to ensure that the rest of the strips are evenly spaced apart.
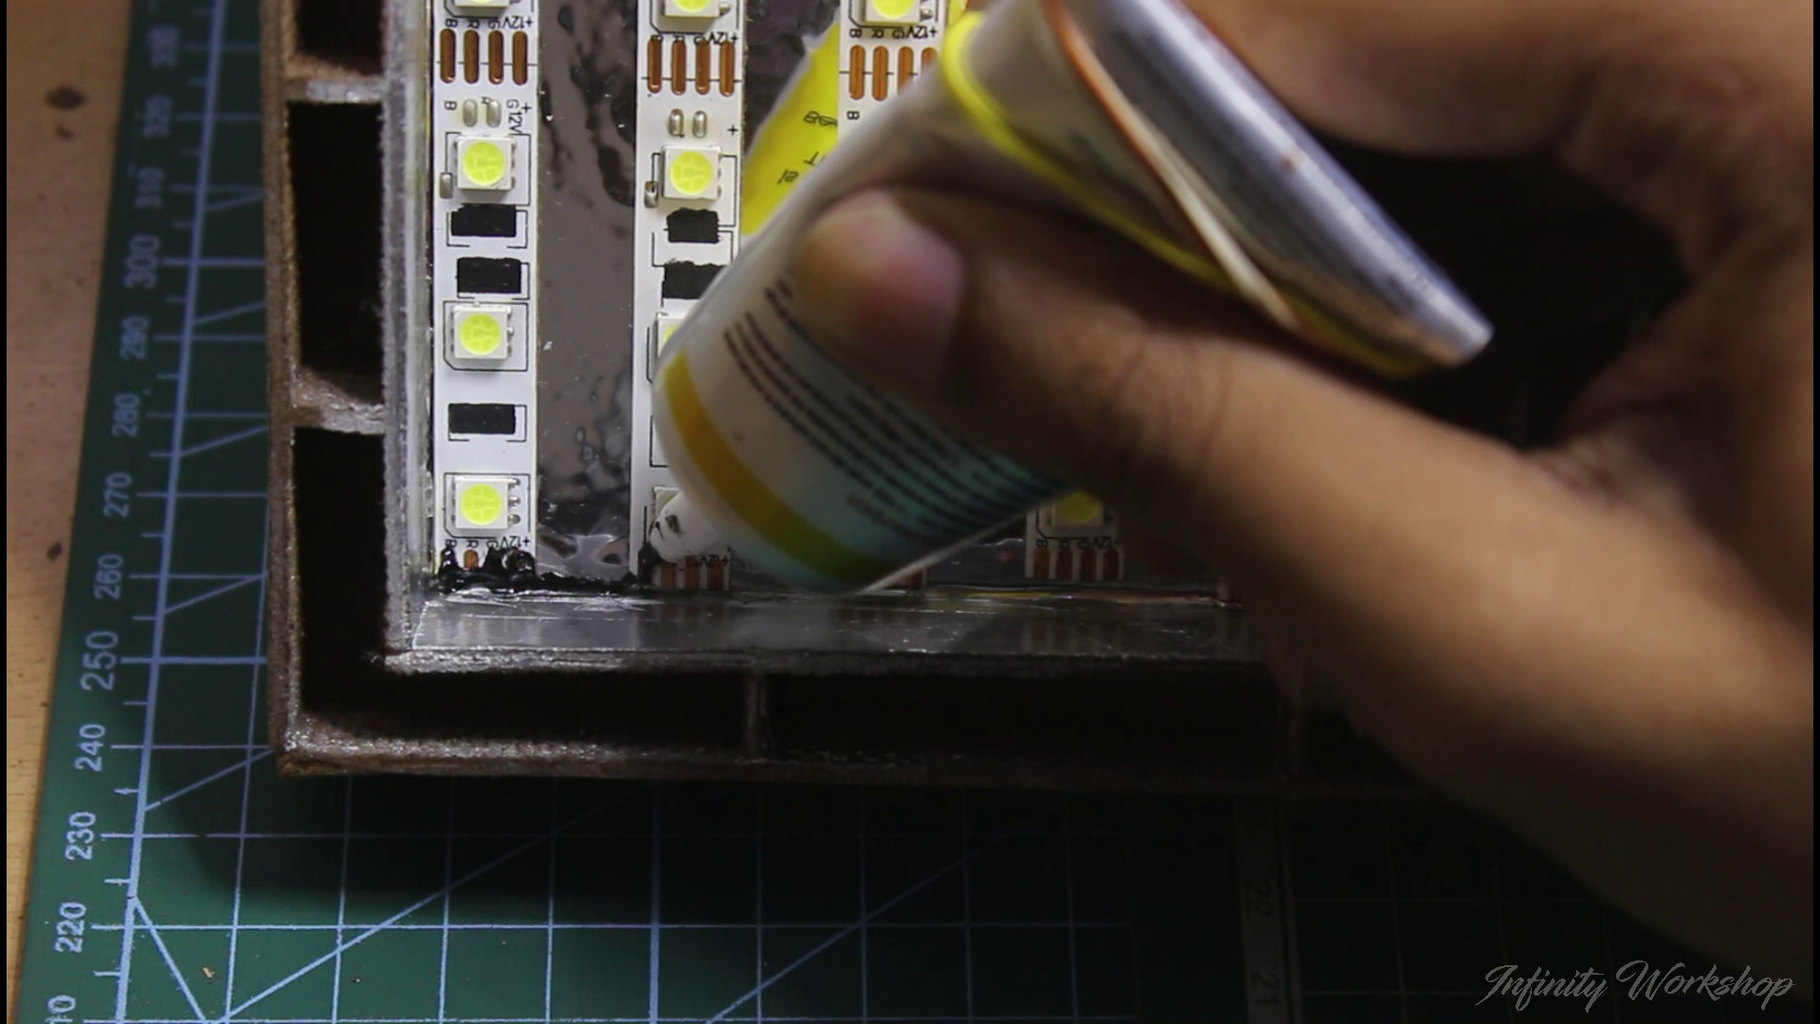
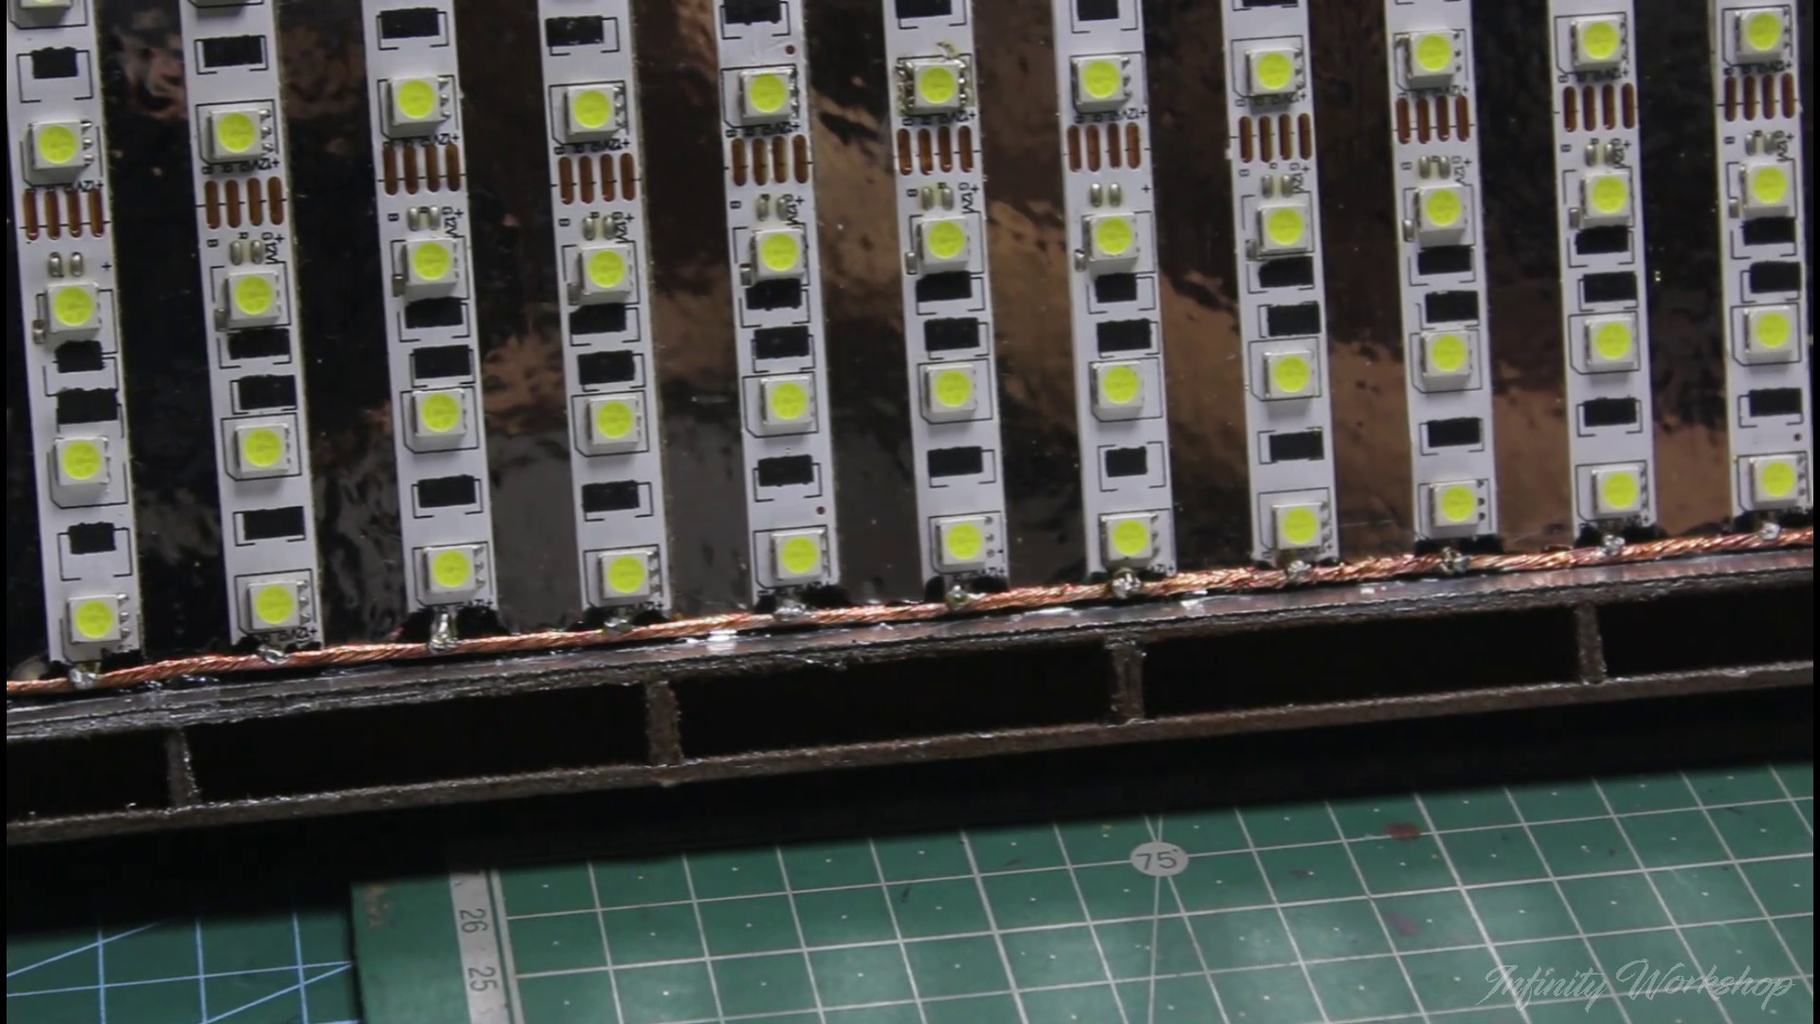
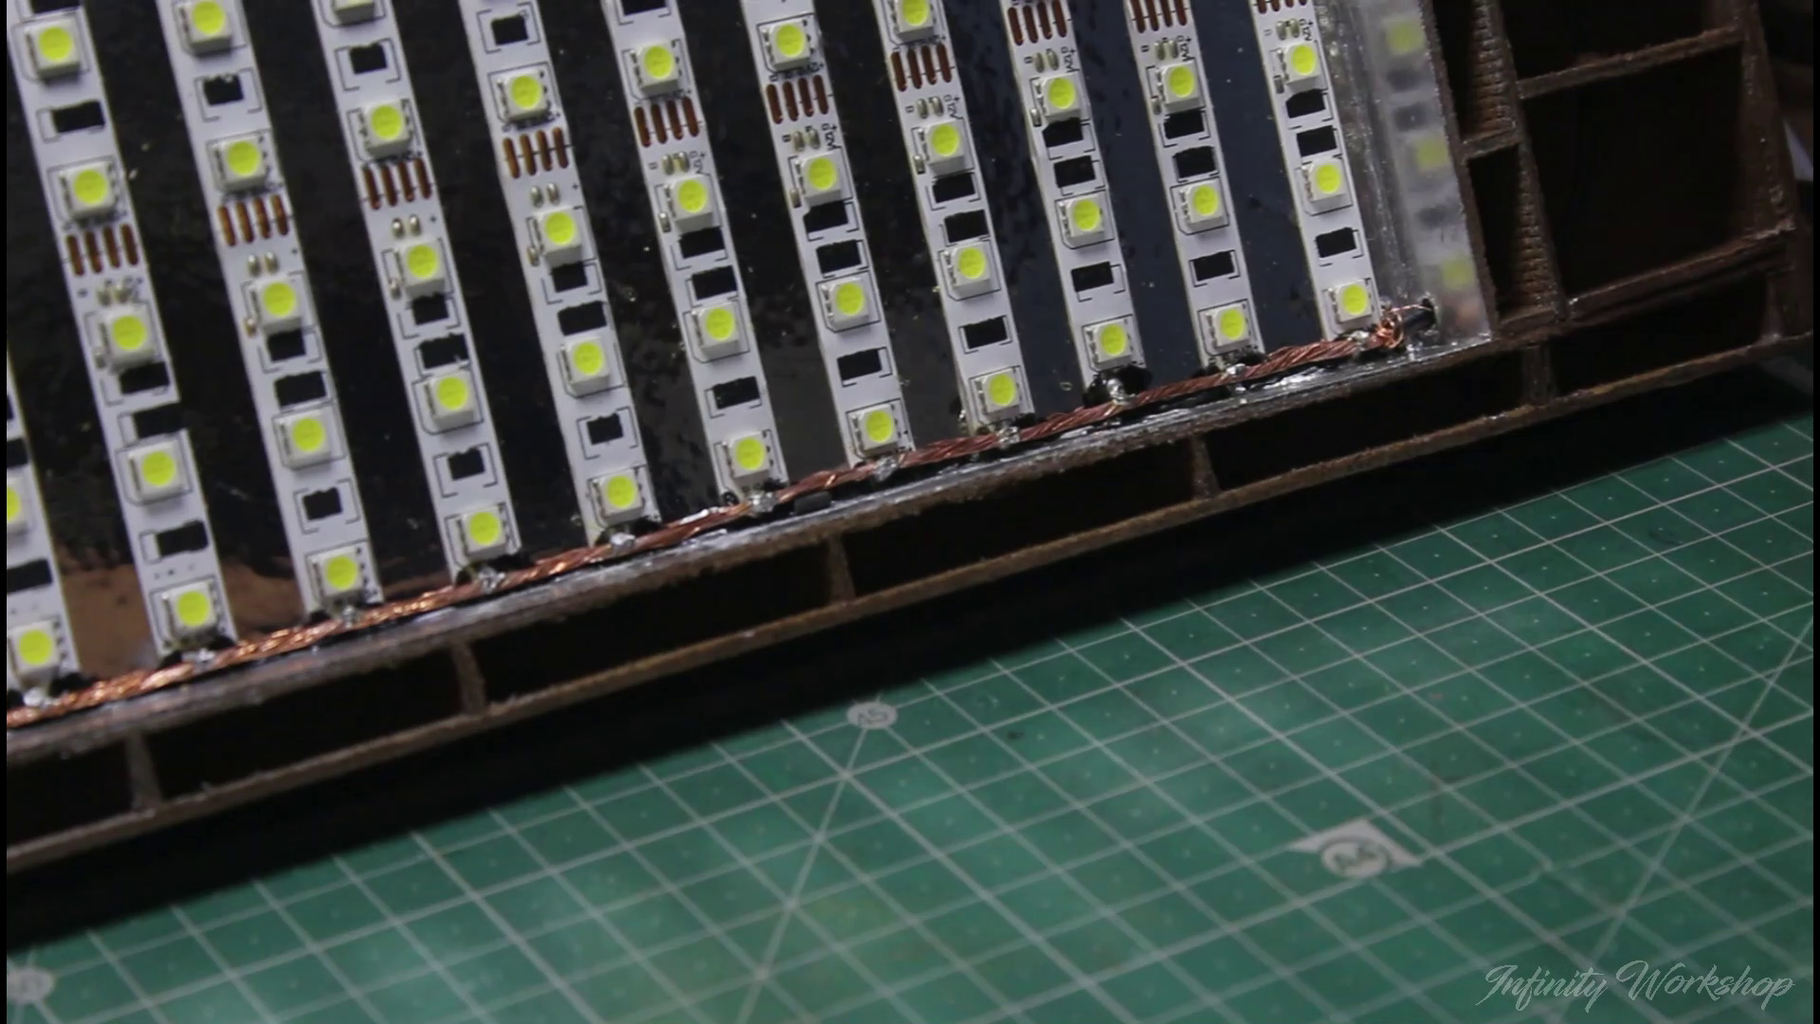
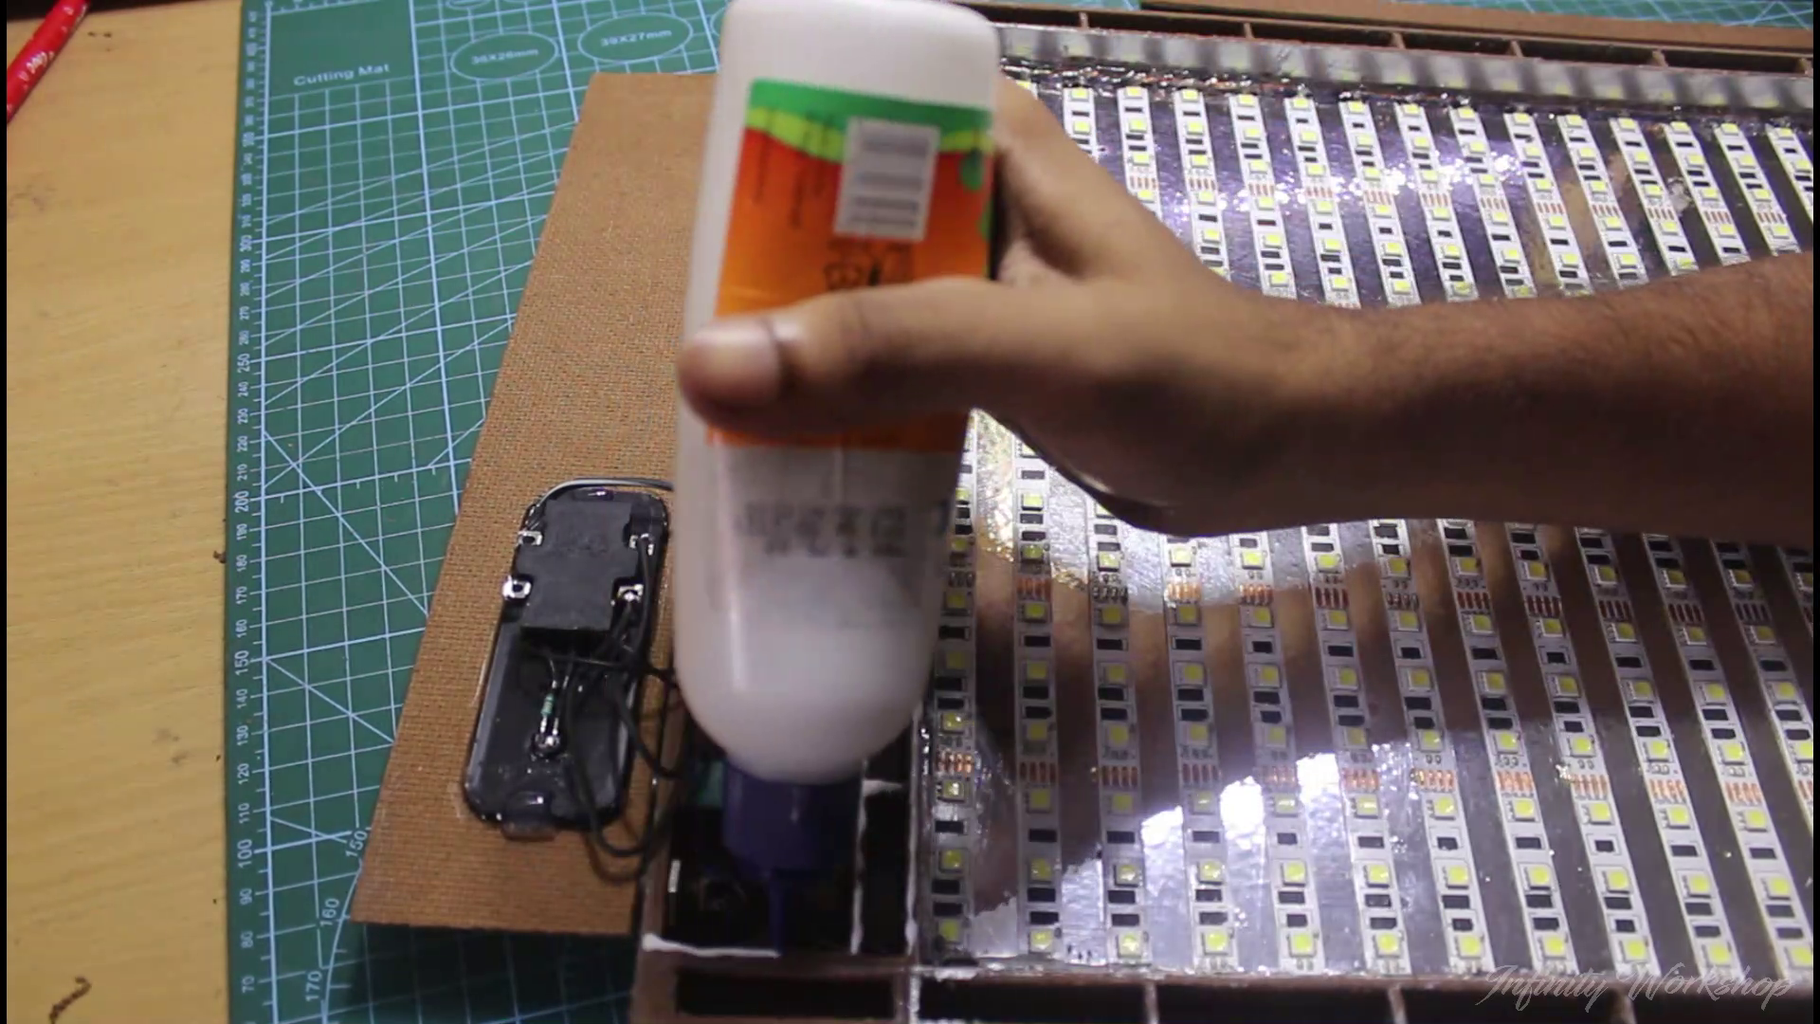
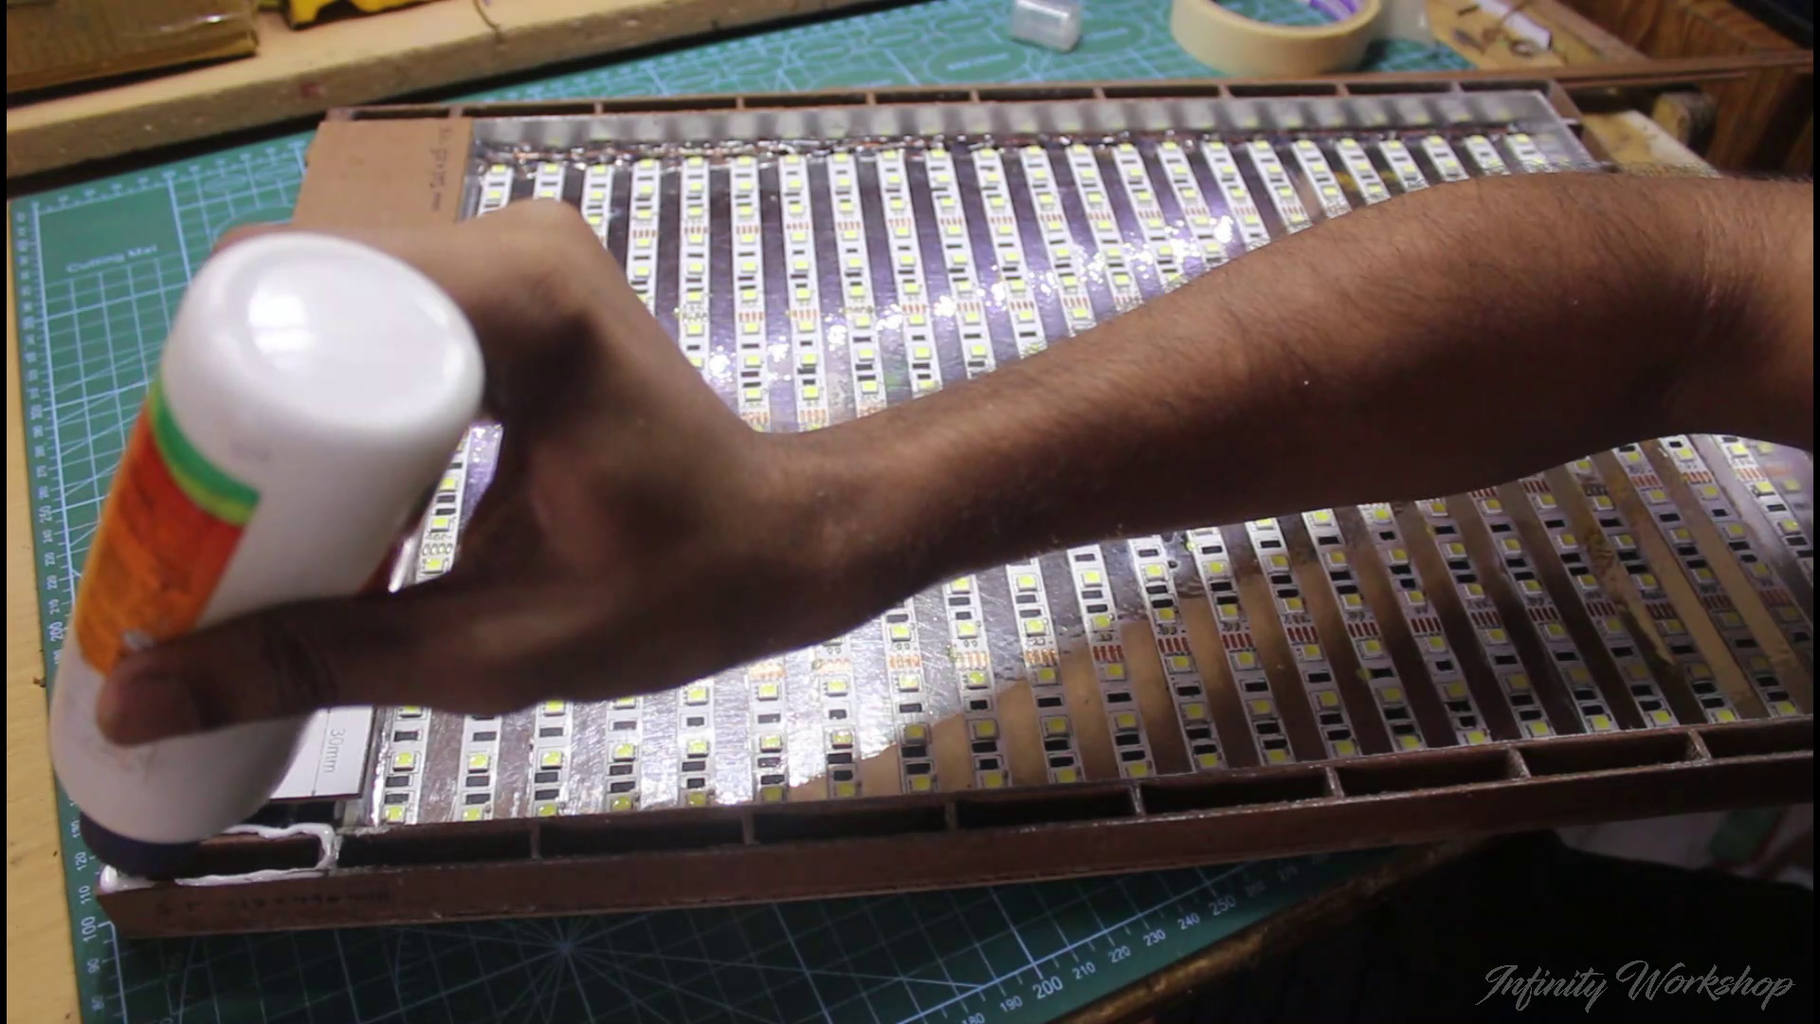
Once all the strips have been positioned, use high-quality glue such as E8000 to seal the ends, ensuring that the negative pads are left open for wiring.
Next, feed the large wire through the hole and solder the terminals with the wire, following the instructions provided in the video. Repeat this process for the positive side, this time connecting half of the LED strips to one wire and the other half to the other wire.
It is crucial to ensure that all the connections are securely soldered and insulated to avoid any electrical hazards. Once everything is in place, double-check all the connections and test the LED lights to ensure they are working correctly.
Step 10: Attach the Top Pieces of the Box


Before attaching the wires, refer to the wiring diagram provided and carefully attach each wire to the corresponding board to ensure that the connections are correct. It is highly recommended to perform a test run to ensure that all LEDs are functioning properly before gluing the box together. This will avoid future complications, as once the box is sealed, it will be difficult to repair.
After confirming that the LEDs are working correctly, you can proceed with attaching the switch holder to the cardboard piece using E8000 glue or any similar adhesive. Make sure to attach the cardboard piece with the rest of the box using craft glue.
Attach the final top pieces to the box along with the side pieces. To do so, apply glue at the edges of the bigger pieces and let them set for some time. Then, repeat the same process with the smaller pieces and let them dry.
Once the box perimeter is well-dried, start gluing the inner wall pieces, using some masking tape to temporarily hold the pieces together while the glue dries up. Repeat the same process for the bigger structure pieces and then add the rest of the cardboard strips. Make sure to follow the plans provided to ensure proper alignment and stability of the box.
Next, you need to attach the wires to the terminals as shown in the wiring diagram. It is important to check and recheck the connections to avoid any faults in the future. Finally, attach the top pieces of the box along with the side pieces using craft glue.
Step 11: Finish the Box

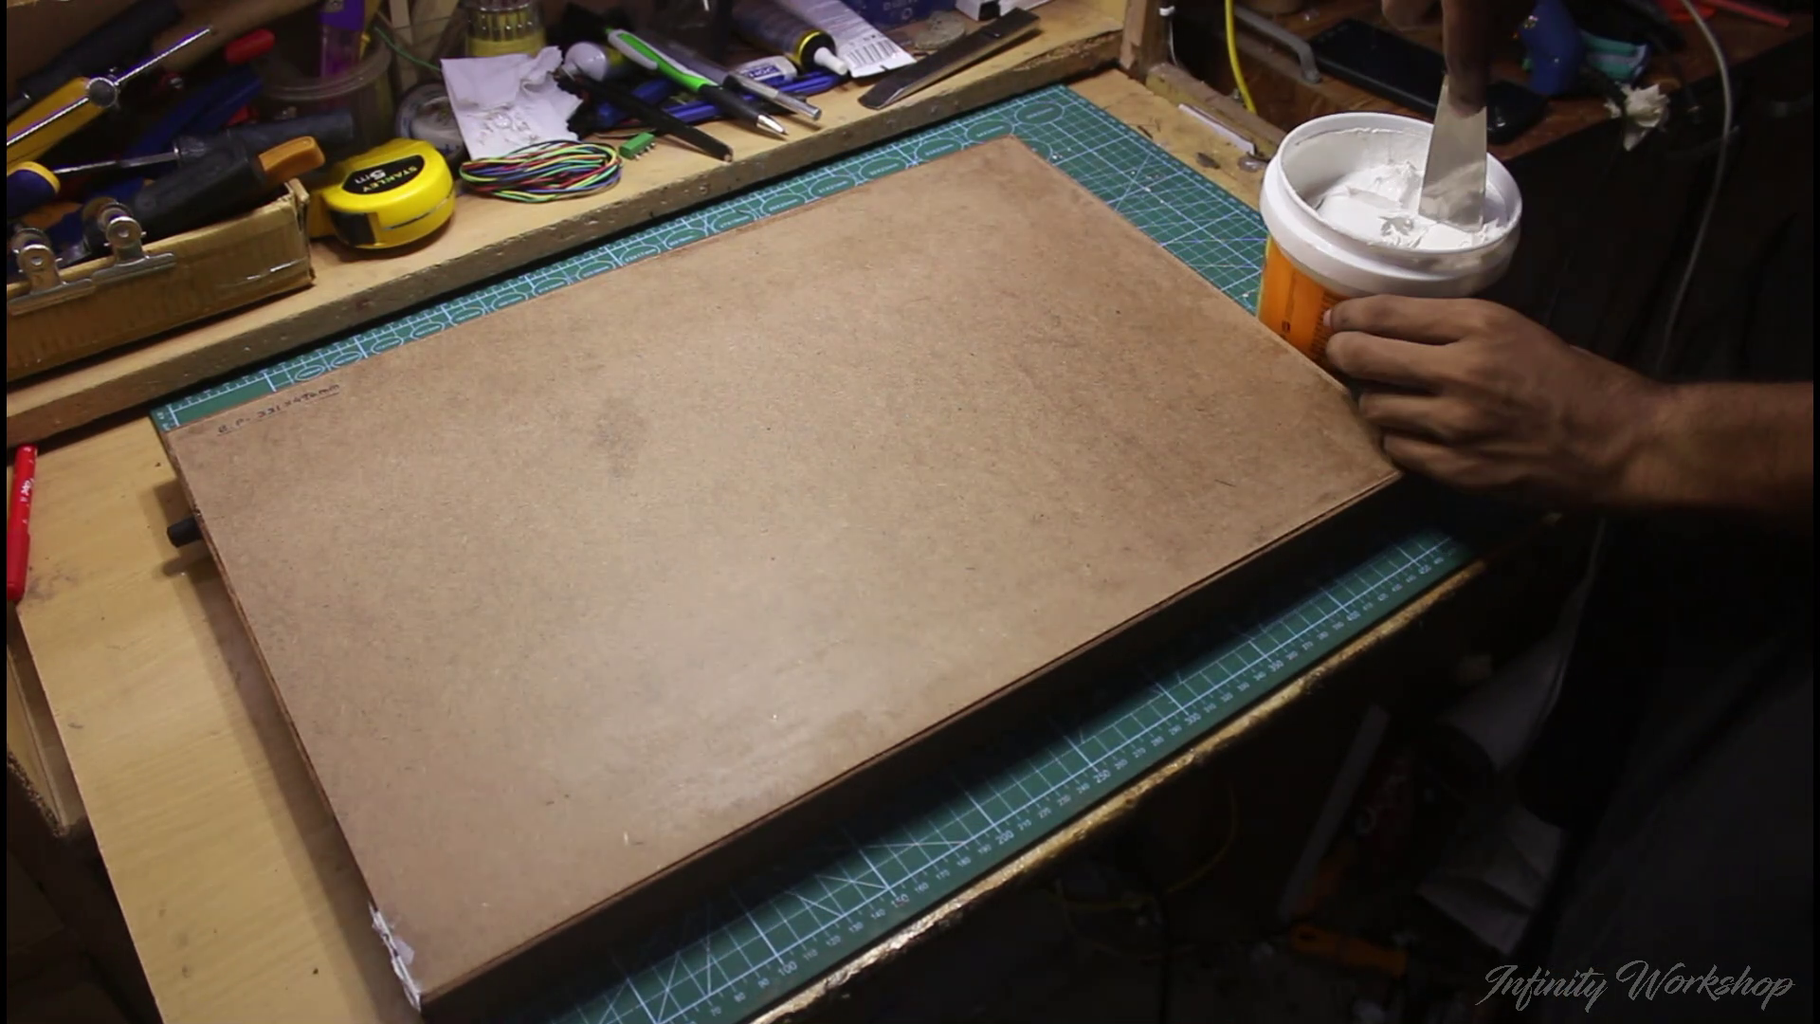

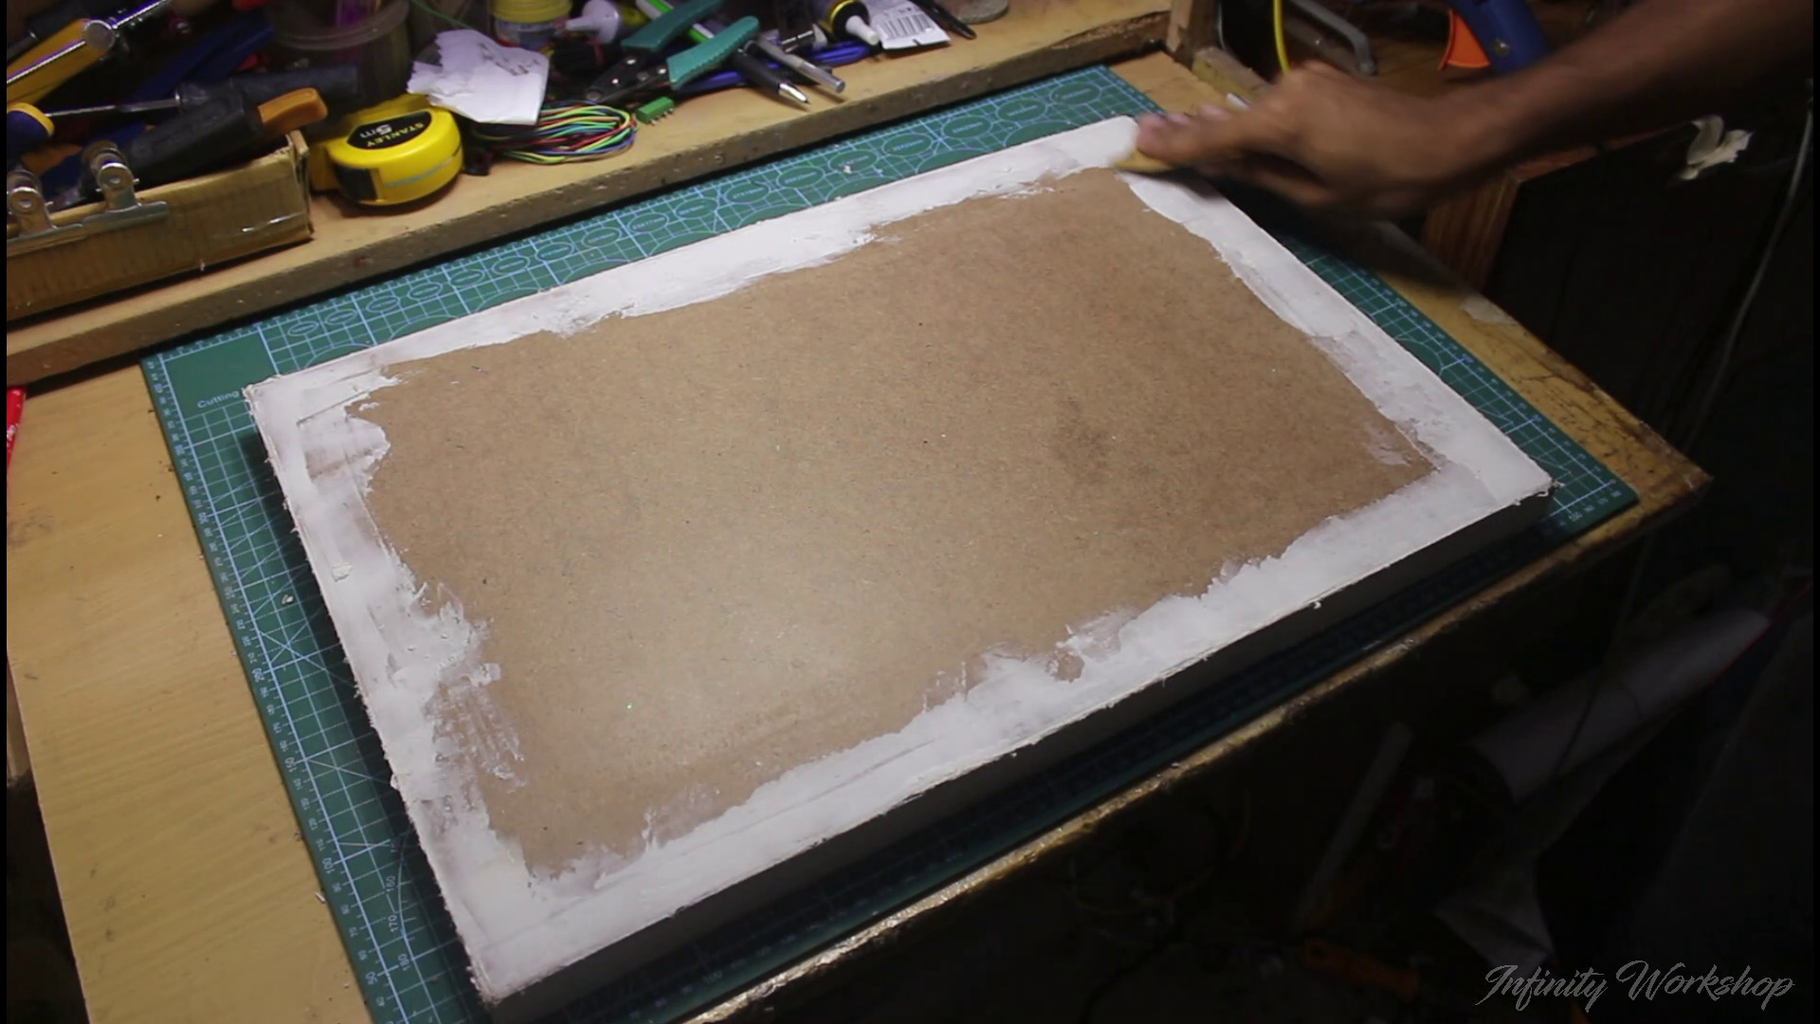
After the glue and paint have fully dried, it's time to give the box a light sanding. This will help to remove any rough or uneven surfaces, as well as create a smooth surface for the next steps.
If there are any cracks or imperfections in the box, use a filler compound to fill them in. Make sure to follow the instructions on the filler, and apply it carefully and evenly.
Once the filler has dried, use sandpaper to smooth out the surface. Start with a coarse grit sandpaper, then move on to a finer grit for a smoother finish. Be sure to sand gently and evenly, so as not to create any new imperfections.
When you're finished sanding, wipe down the box with a clean cloth to remove any dust or debris. At this point, the box should be looking smooth and even, with any cracks or imperfections filled in and sanded down.
Step 12: Prepare the Acrylic Diffusion Sheet

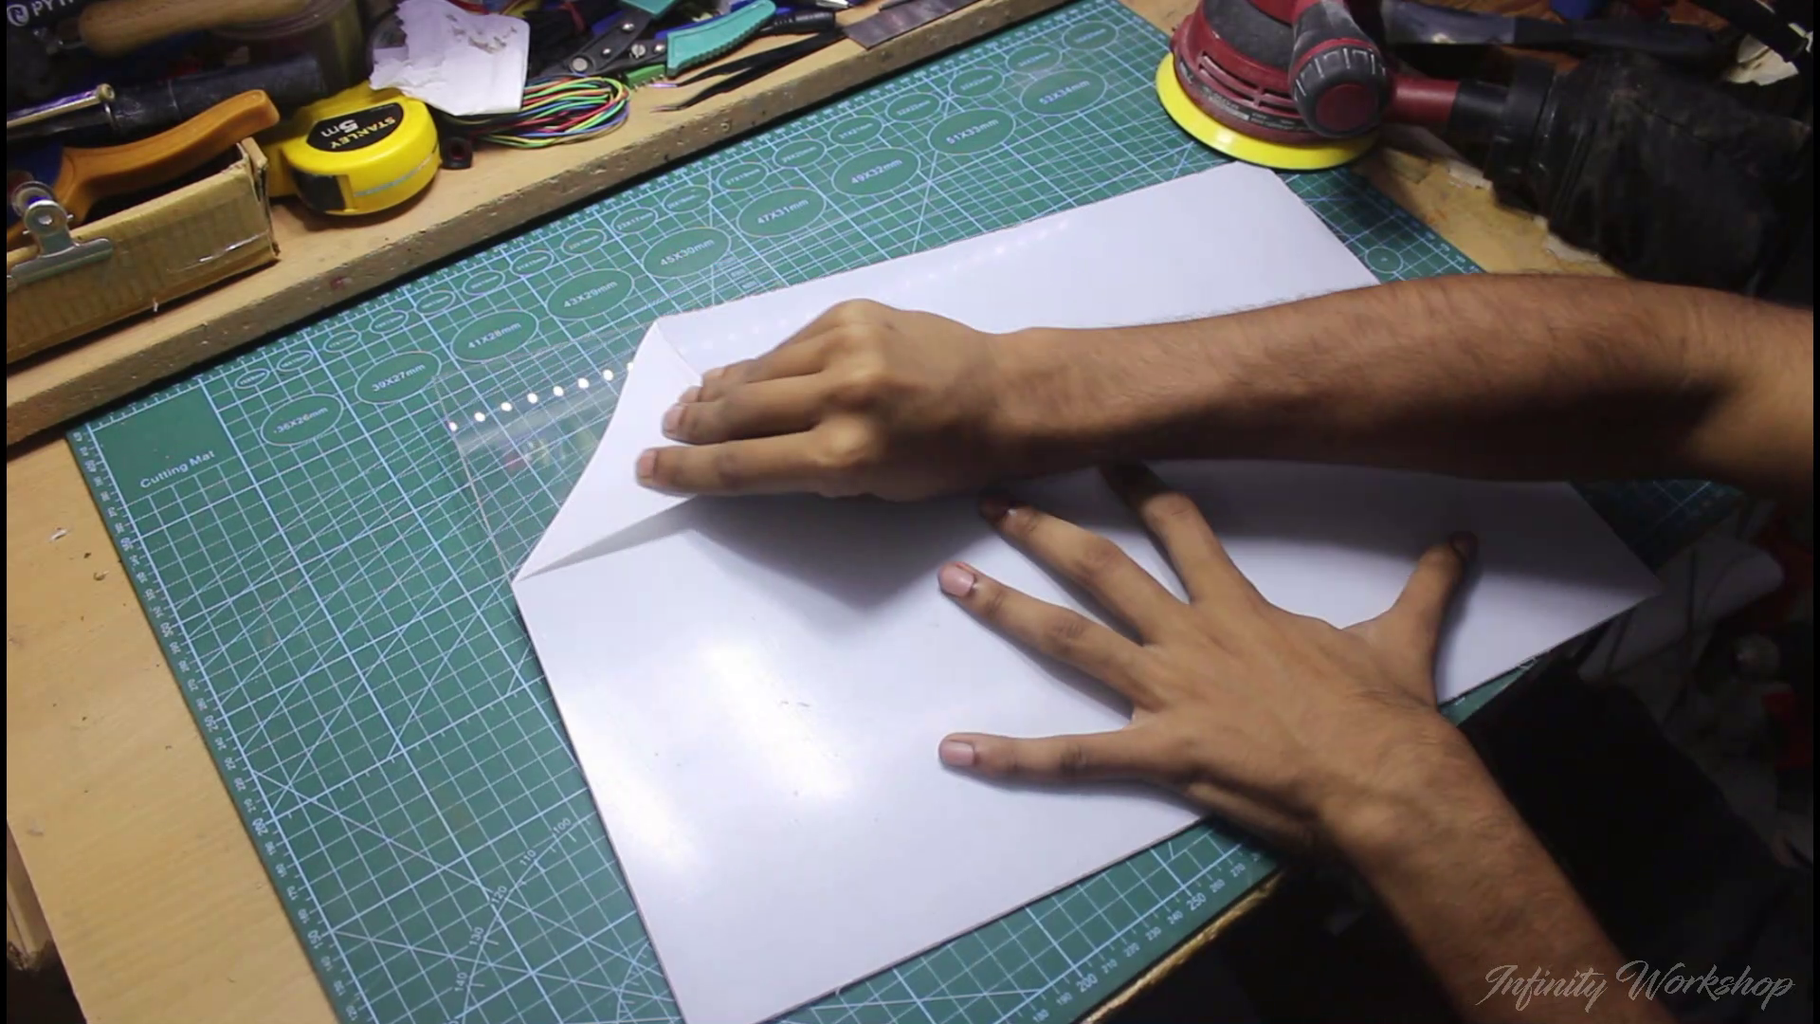
Peeling off the protective layer from the acrylic sheet is the first step in preparing it for use. After the protective layer is removed, the next step is to rough out the whole surface using a 220 grit sandpaper. This roughing out process helps to remove any scratches, scuffs or imperfections on the surface of the acrylic sheet, creating a better surface for the final finish.
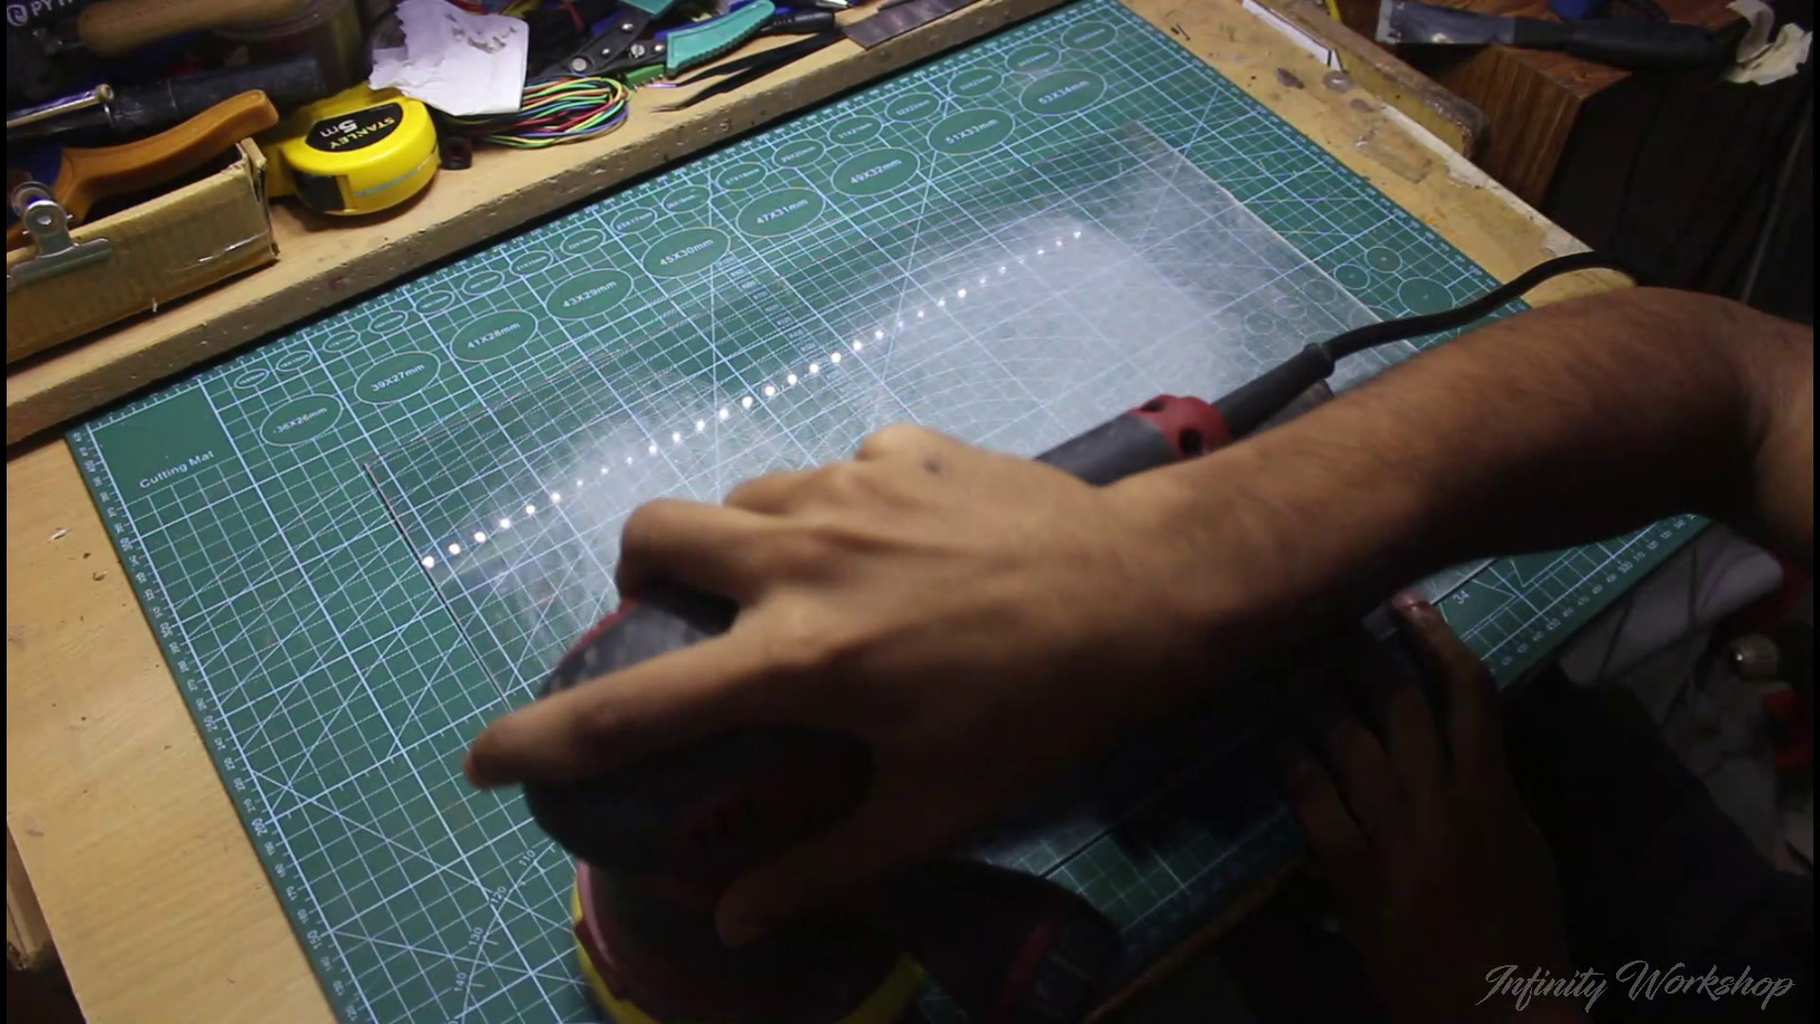
After roughing out, the next step is to wet sand the acrylic sheet using a 400 grit sandpaper. Wet sanding creates a smoother and more uniform finish on the surface of the acrylic sheet. It also helps to reduce the amount of dust created during the sanding process, making it easier to clean up.
It's important to note that while sanding the acrylic sheet, one must be careful not to apply too much pressure as this can cause the sheet to crack or break. It's recommended to use a light touch and let the sandpaper do the work.
Once the sanding is complete, the acrylic sheet can be wiped down with a clean cloth to remove any dust or debris. It's now ready to be installed in the lightbox.
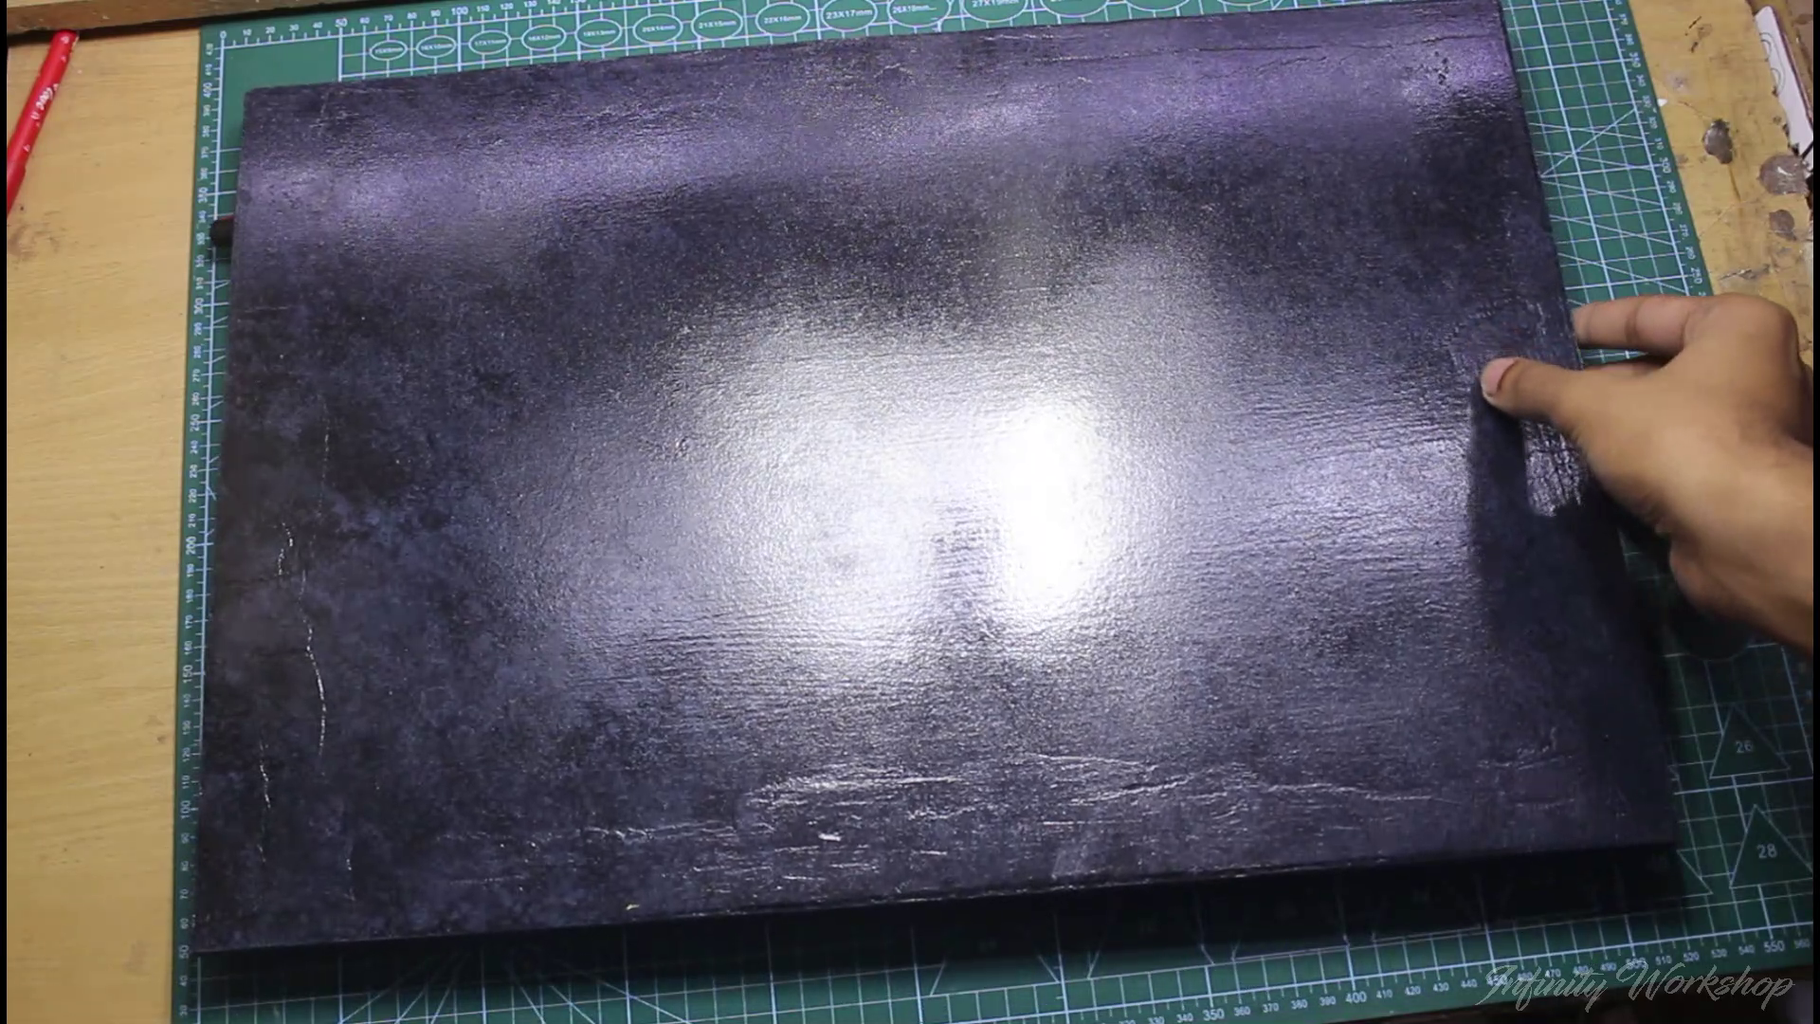
Step 13: Paint the Box
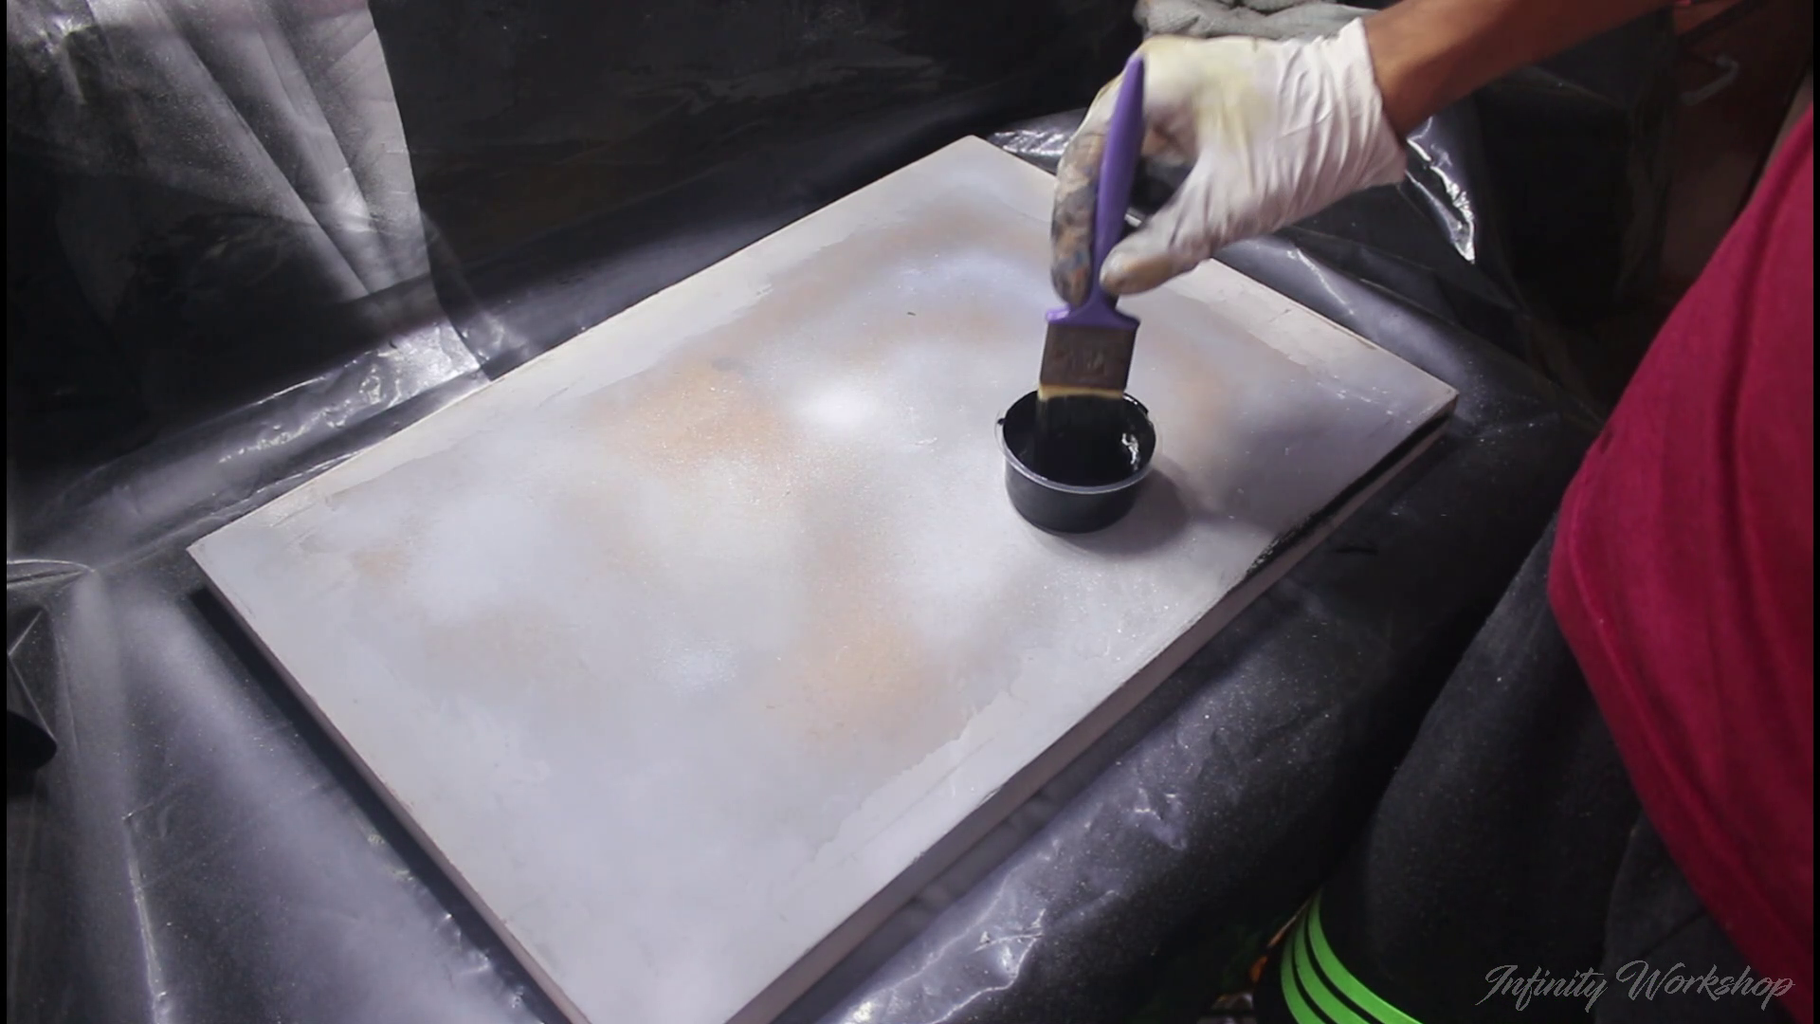

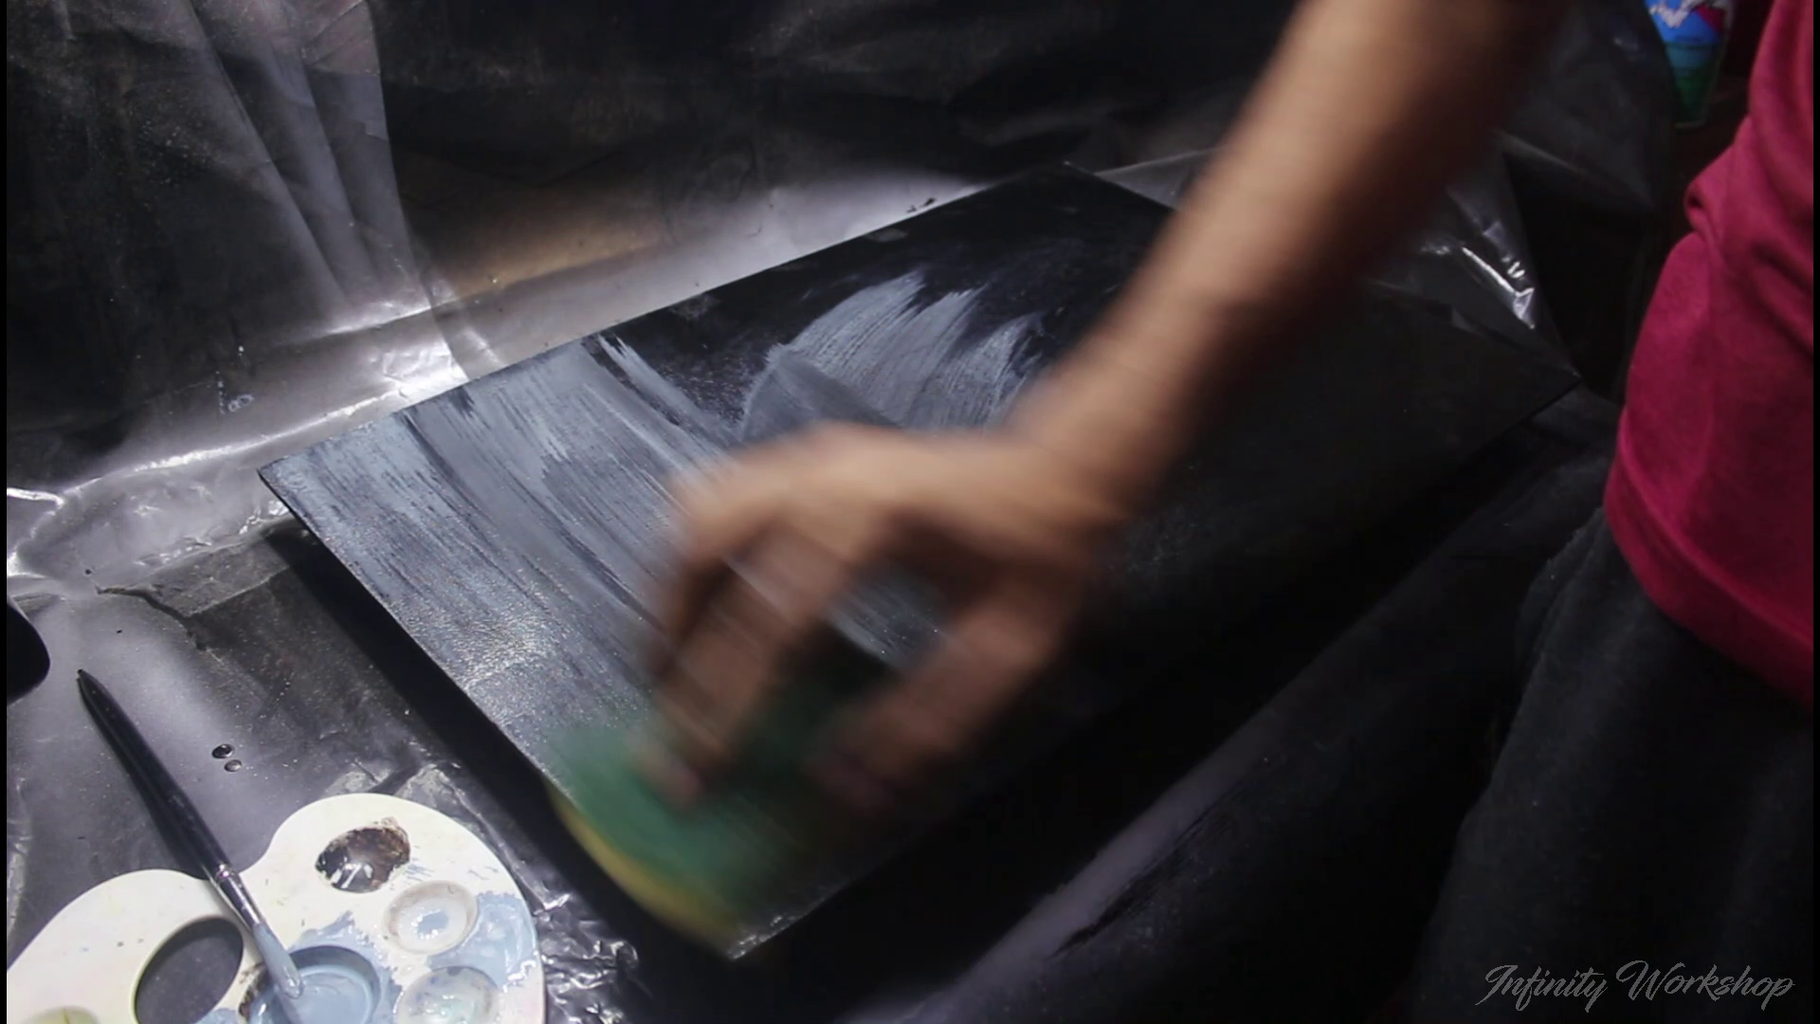
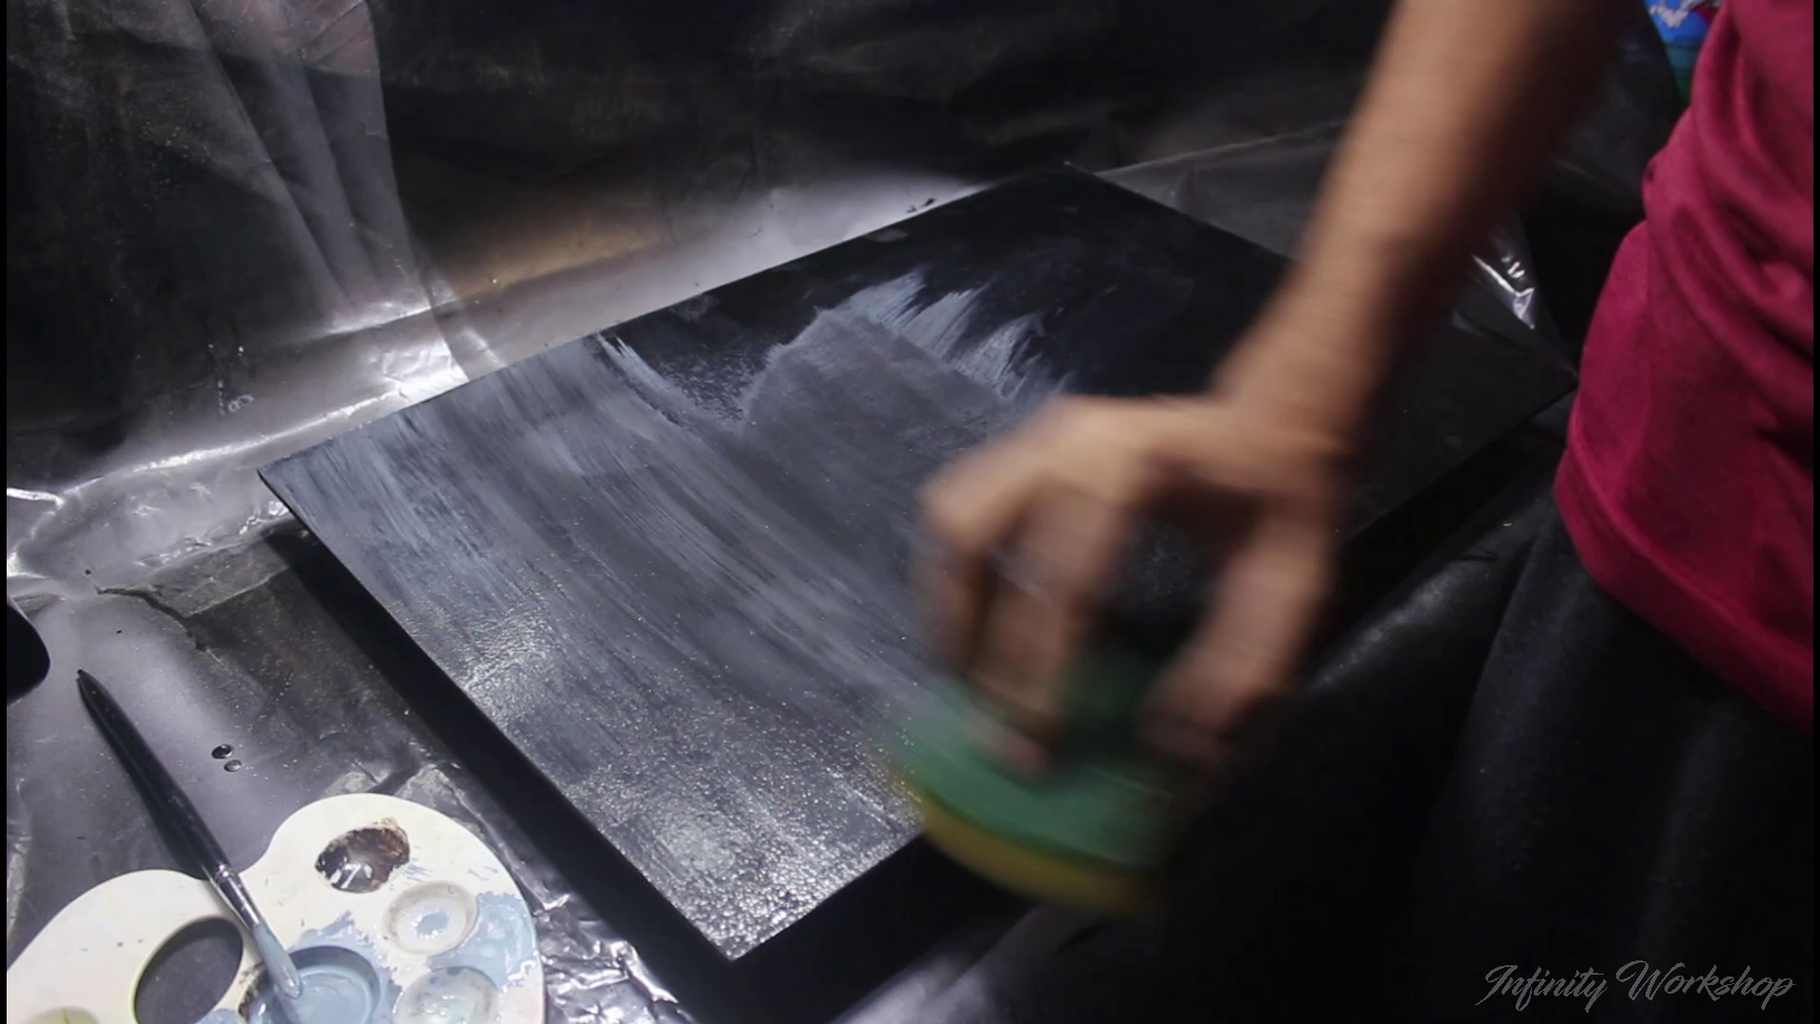
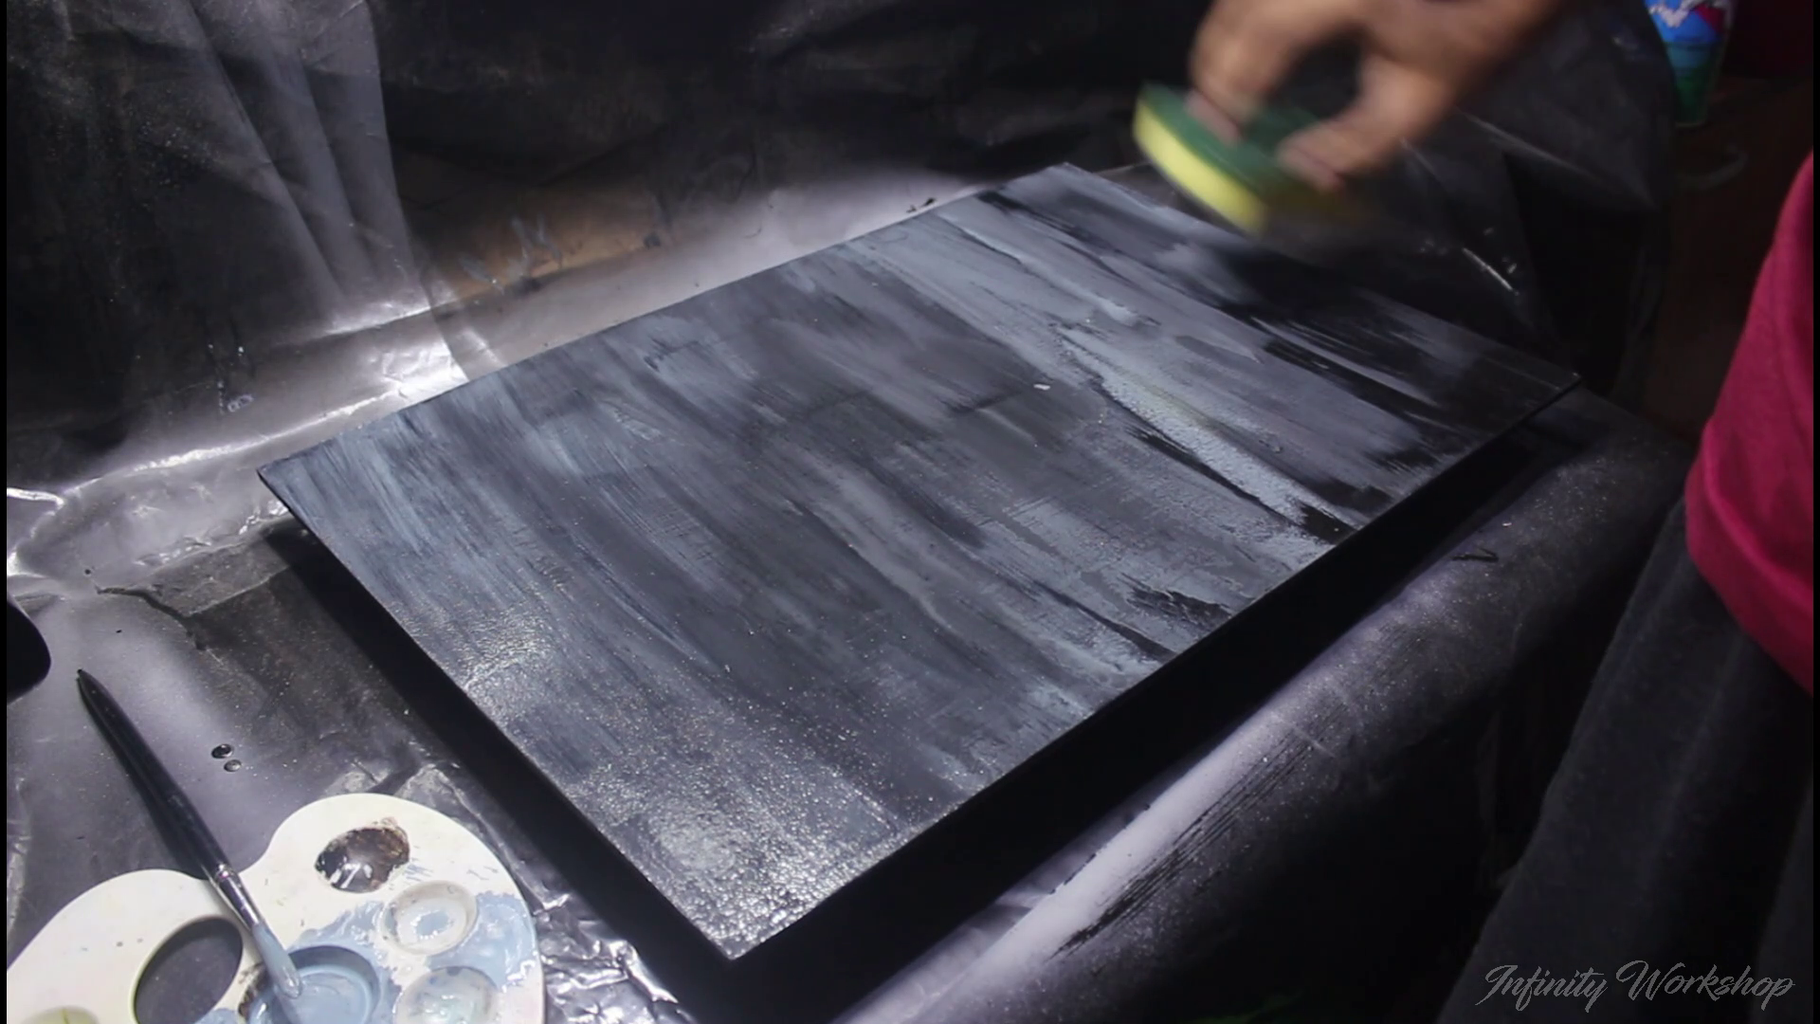
To paint the surfaces, first make sure they are clean and dry. Apply the paint in thin, even coats, using a brush or spray paint. For the top lid, a brushed texture can be achieved by lightly dabbing the wet paint with a sponge.
After the paint has dried completely, apply 2 coats of clear lacquer to protect the surface and give it a glossy finish. Allow the clear coat to dry between coats and after the final coat, let it dry completely. This will help to protect the paint and ensure that it lasts for a long time.
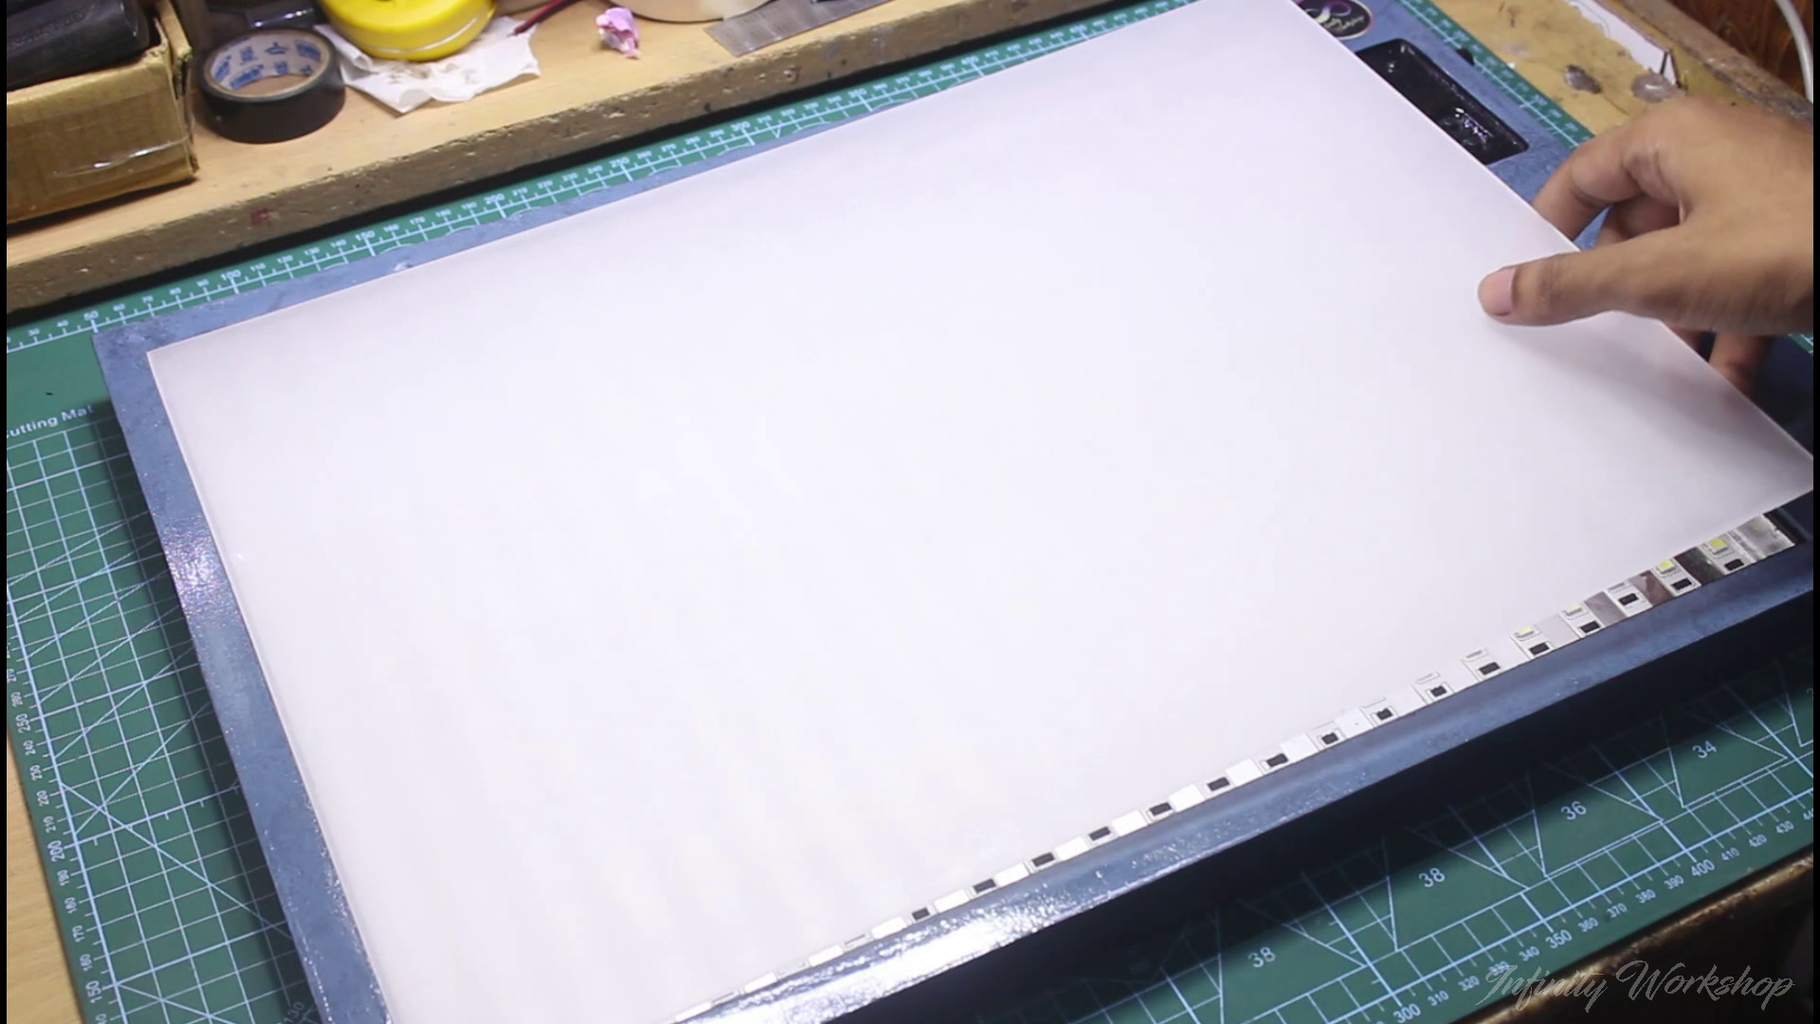
Step 14: Attach the Diffusion Piece

Congratulations! You have successfully completed your lightbox project. Carefully place the acrylic sheet on top of the box and make sure it fits perfectly.
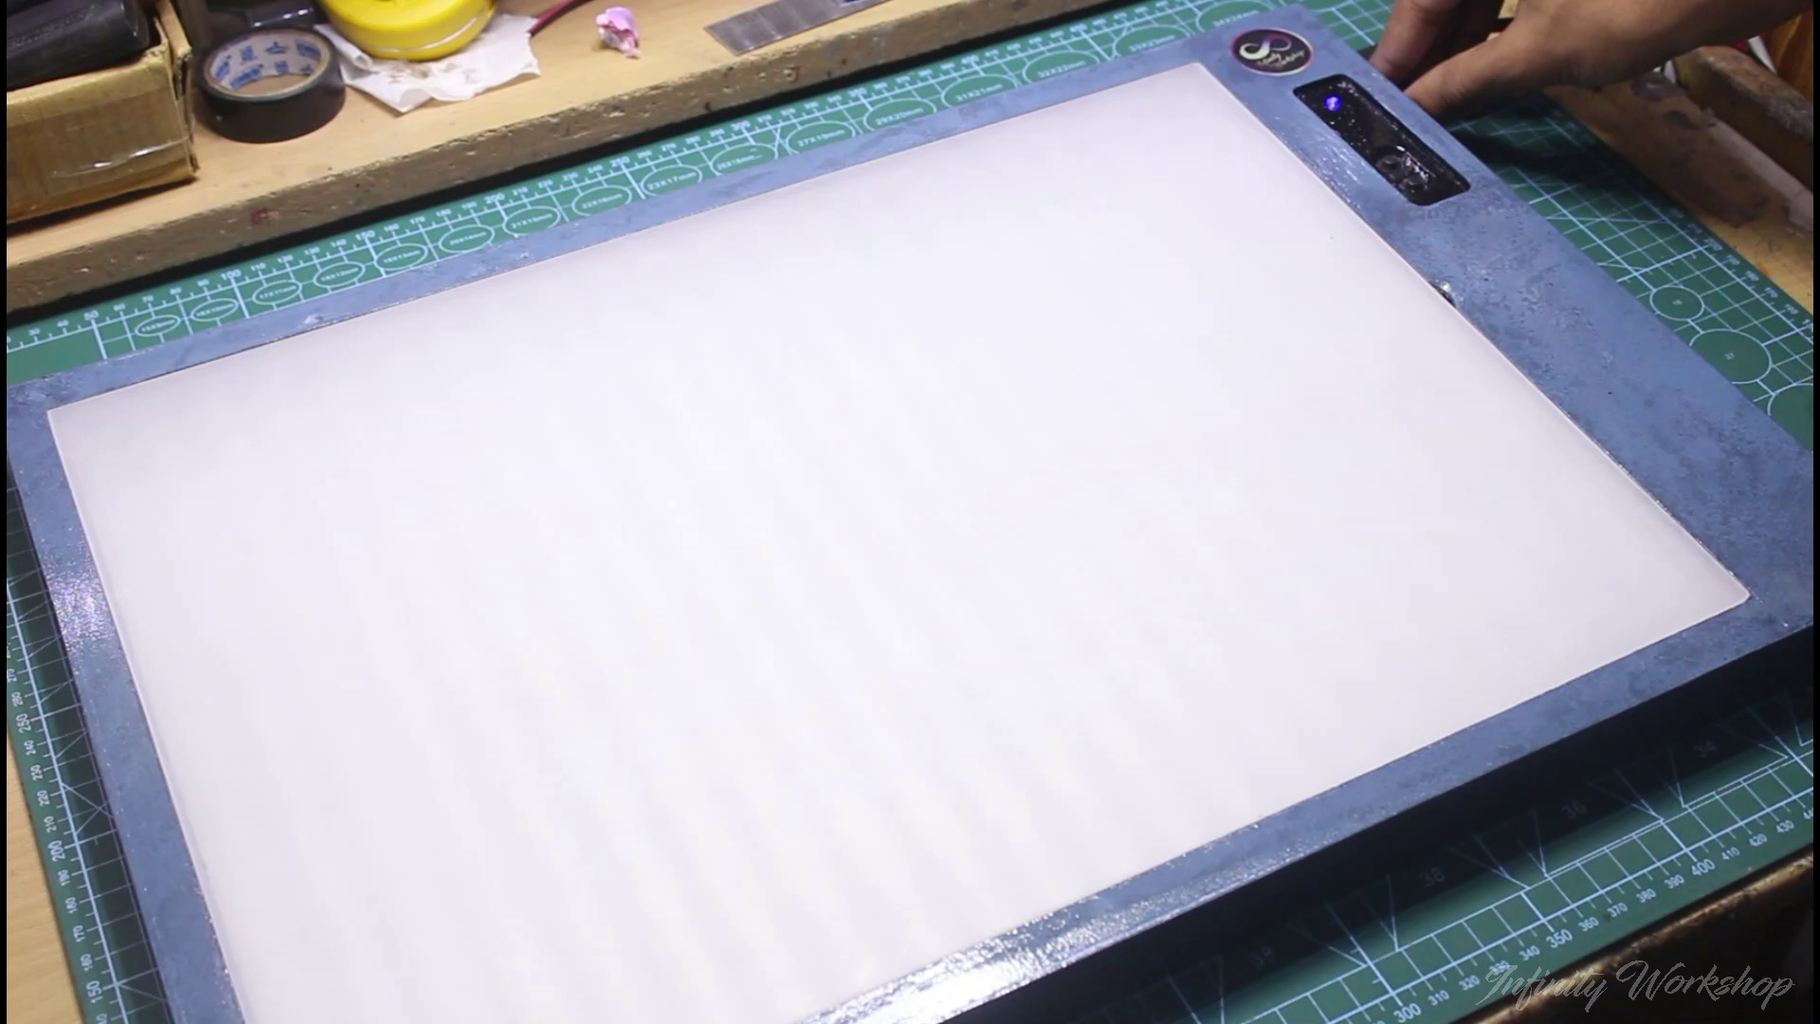
Now it's time to test your lightbox. Plug in the 12-volt DC adapter and switch on the power. If everything is wired correctly, all the LED strips should light up evenly, creating a bright and uniform light source.
If you notice any issues, double-check your connections and make sure everything is in the correct polarity. It's always a good idea to test your project before fully assembling it to avoid any mistakes or faults.
With your project fully assembled and tested, you can now enjoy using your DIY lightbox for photography, artwork, or any other creative projects that require a consistent and bright light source.
Step 15: Its Done


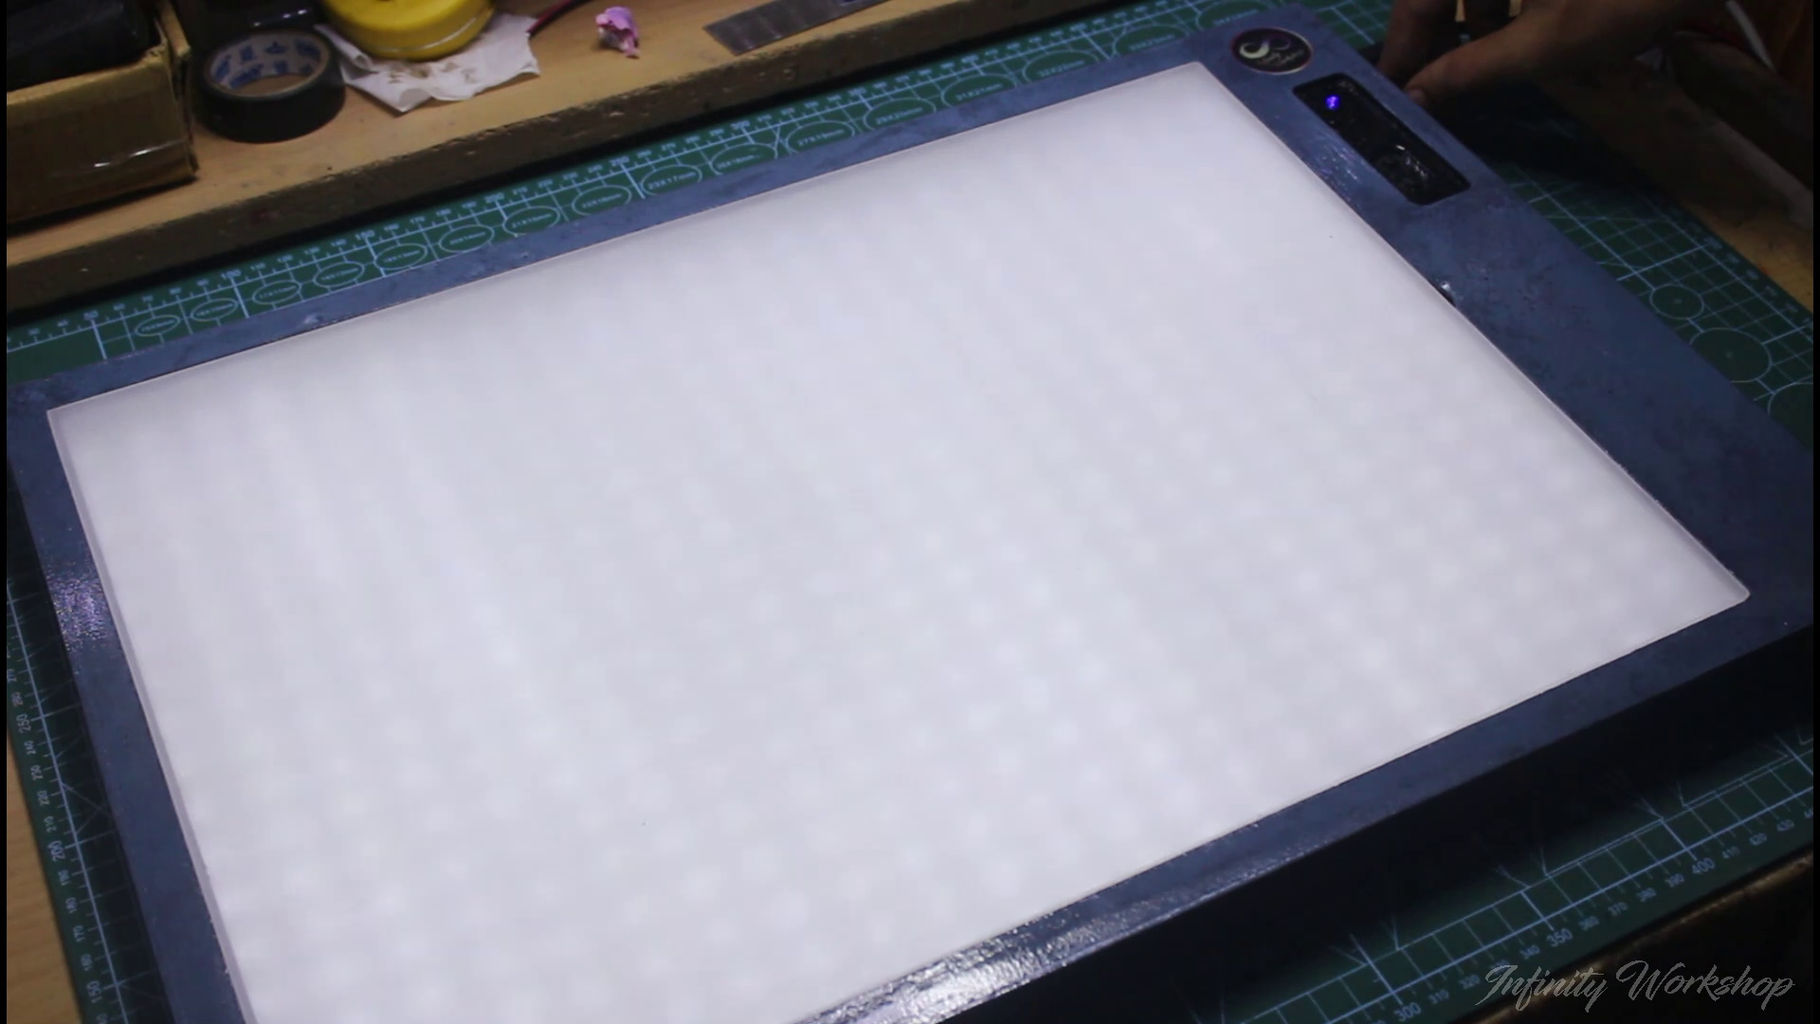
This LED light box project is a perfect addition to any home or workspace. With its customizable LED lighting, you can adjust the brightness to suit your needs, whether it's for a relaxing ambiance or a bright work area. The box's reflective interior and acrylic sheet cover provides maximum light output, making it ideal for photography, artwork, and other creative projects.
Additionally, this project is perfect for those who enjoy DIY projects and working with their hands. The step-by-step guide and included templates make the building process straightforward and enjoyable. The use of affordable materials like cardboard, LED strips, and reflective vinyl paper makes this project accessible to anyone with an interest in electronics and crafting.
Overall, this LED light box project is a versatile and fun project that is both functional and aesthetically pleasing. Whether you are an artist, photographer, or just someone who enjoys a well-lit workspace, this project is perfect for you.
A lightbox is an essential tool for anyone who wants to work on light tracing projects, whether you are an artist, designer, or hobbyist. The primary benefit of a lightbox is that it provides a consistent and even light source, which is essential for tracing and working on fine details. This makes it easier to see the intricate details of a drawing or design and enables you to work with precision and accuracy.
Another advantage of a lightbox is that it allows you to work in any lighting condition. This means you can work during the day or night without worrying about shadows or glare. Additionally, using a lightbox reduces eye strain and fatigue, making it easier to work for extended periods.
A lightbox is also a versatile tool that can be used for a variety of applications, from tracing and drawing to calligraphy and stenciling. It can be used with various materials, including paper, fabric, and plastic, and is ideal for use in animation and cartooning.
Overall, a lightbox is a valuable investment for anyone who works in creative fields, as it can help to streamline your workflow, improve your precision and accuracy, and ultimately enhance the quality of your work. Whether you are a professional artist or a hobbyist, a lightbox is an indispensable tool that can help take your creative projects to the next level.
If you enjoyed this project and want to make one for yourself or someone else, head over to my website where you can find all the necessary plans and files needed for this project. Don't forget to give this project guide a like and share your thoughts in the comment section. Share this guide with your DIY enthusiast friends as well!
Thank you for visiting my project and I hope you found it helpful. I will be back soon with another project. Until then, keep being creative and stay inspired!
Remember to take safety precautions when working with tools and electrical components. Always wear safety glasses, gloves, and other protective gear as necessary. Be sure to work in a well-ventilated area and keep your workspace clean and organized.
Don't be afraid to experiment with different designs and modifications to make this project your own. You can customize the size, color, and even the features to suit your needs and preferences.
With some patience, creativity, and the right tools and materials, you can create a beautiful and functional LED light box that will impress everyone who sees it. So go ahead and give it a try, and let your DIY skills shine!

This is an entry in the
For the Home Contest


4 Comments
1 day ago
Good project, good work, good tuto, congrats.
Question 2 days ago on Step 3
How much did it cost you in total to make?
6 days ago
Nice project.
6 days ago
Very nice project. Keep it up ❤️❤️