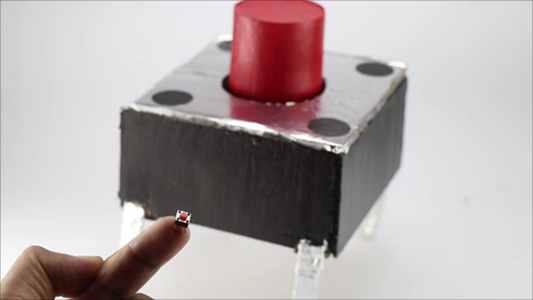
Introduction: How to Make Big Push Button That Works

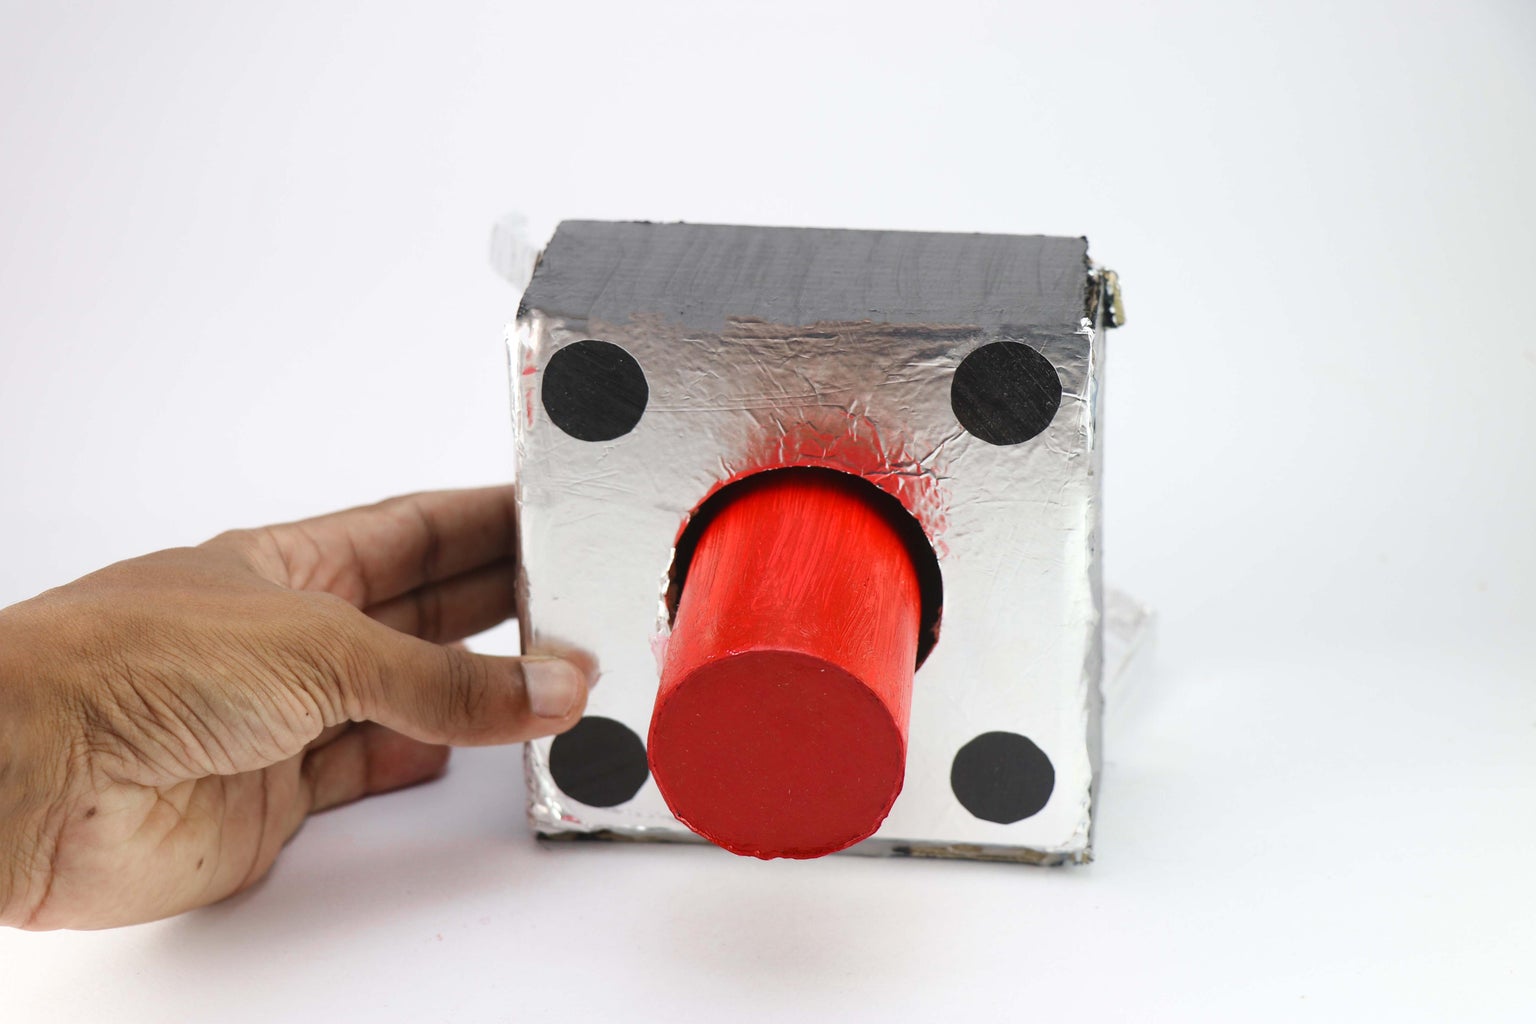


Hey readers in this instructable I will show you how I made this Big push button switch that works, This was made by taking the actual measurements from a push button switch that is used in most electronics.
Note: By building this project you are not only making this push button but you will also learn how the switching system actually works as we are using the basic mechanism of switching.
This big push button switch is 20 times larger than the actual switch and made from basic materials found in and around the house.
This project can also be made using a 3d printer but since most of my readers don’t have access to a 3d printer(from the comments I received earlier on my 3d printing-related projects) I decided to make this project using cardboard so that anybody can build this at their home.
Although there are some losses that occur when we are using this switch because of its size and the type of materials used still it works fine, I have added a video tutorial and a working video of this project at the end of this instructable.
Before getting on to building this project let us know some basic information about push buttons.
Push button switches are commonly used in electronic circuits to perform a variety of functions such as turning on and off power, selecting a particular mode, or initiating an action. They consist of a button that when pressed completes an electrical circuit allowing current to flow through the circuit.
Push button switches can come in many different shapes and sizes, with various types of actuation, such as momentary or latching.
These switches can be designed to be either mechanical or electronic, and they can be used in a wide range of applications, from simple household appliances to complex industrial machinery.
Well you might now have an idea about switches, let's begin to build this project by collecting the supplies
Supplies

Here is the list of materials that are used in this project
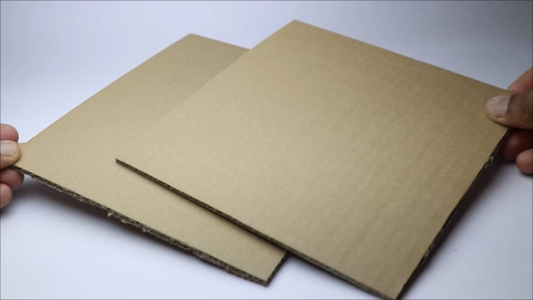
- Cardboard
- A4 sheet papers
- Paper glue and super glue
- Scissors
- Water on a small plate
- Paper cutter
- Aluminum foil
- Elastic bands
- Popsicle sticks
- Red and black fabric paints
- Small plastic bottle(recycled from juice bottle)
Step 1: Template
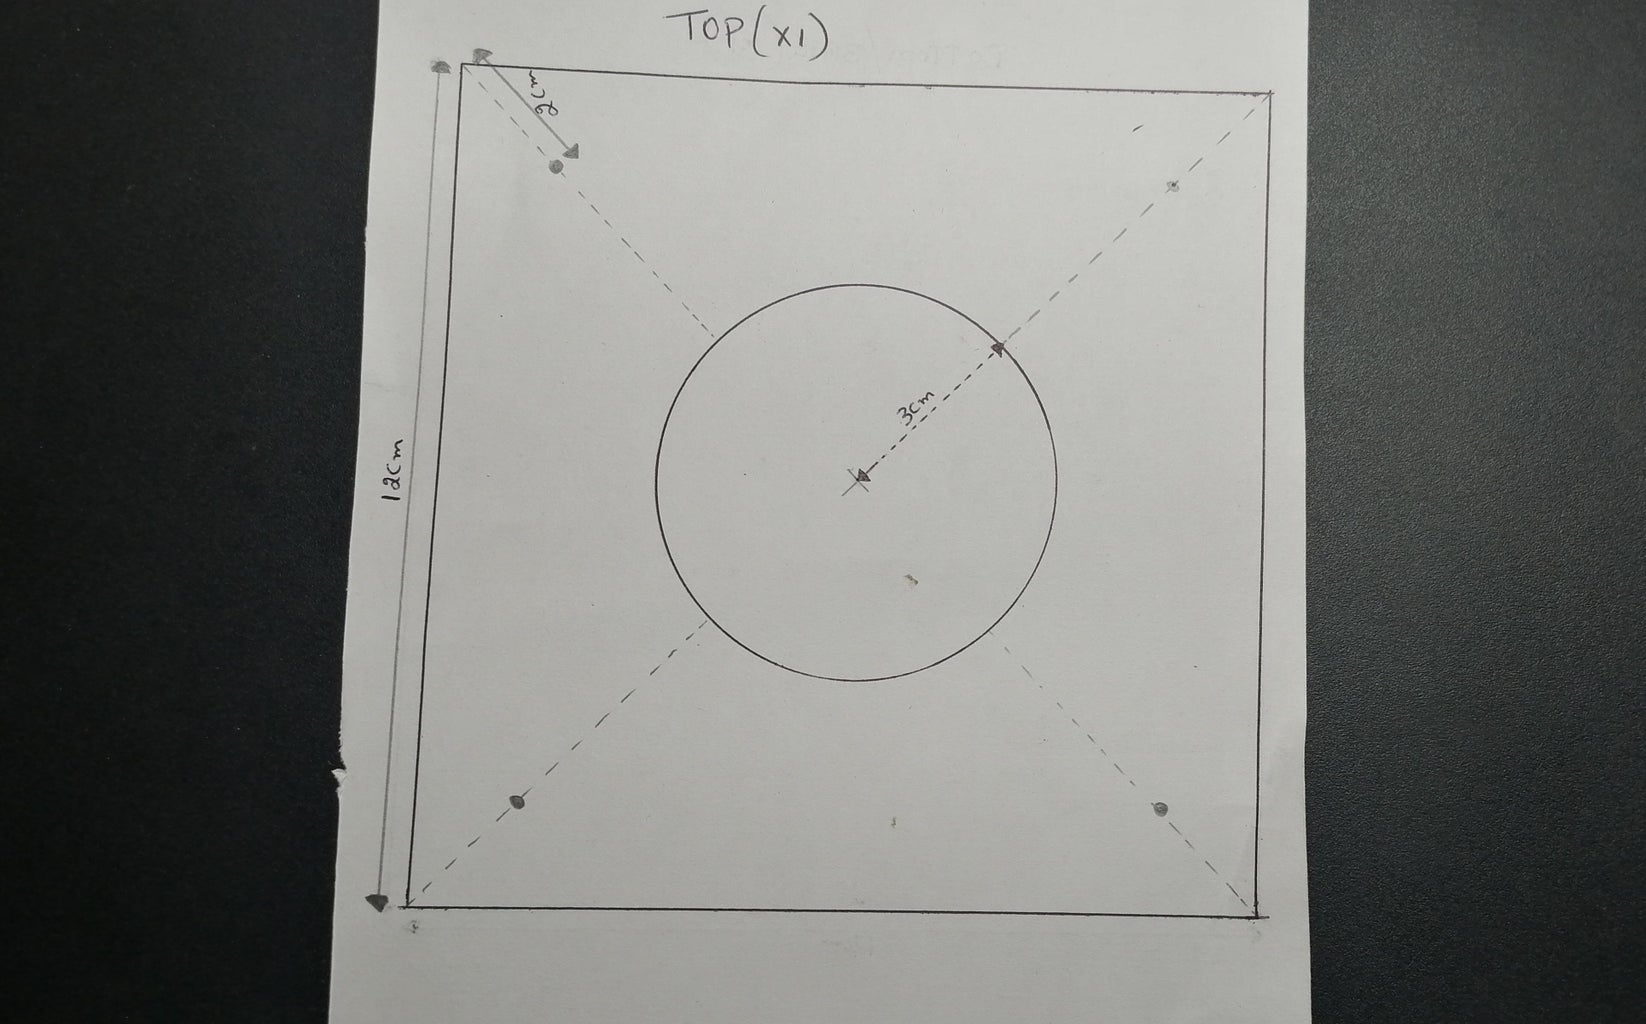
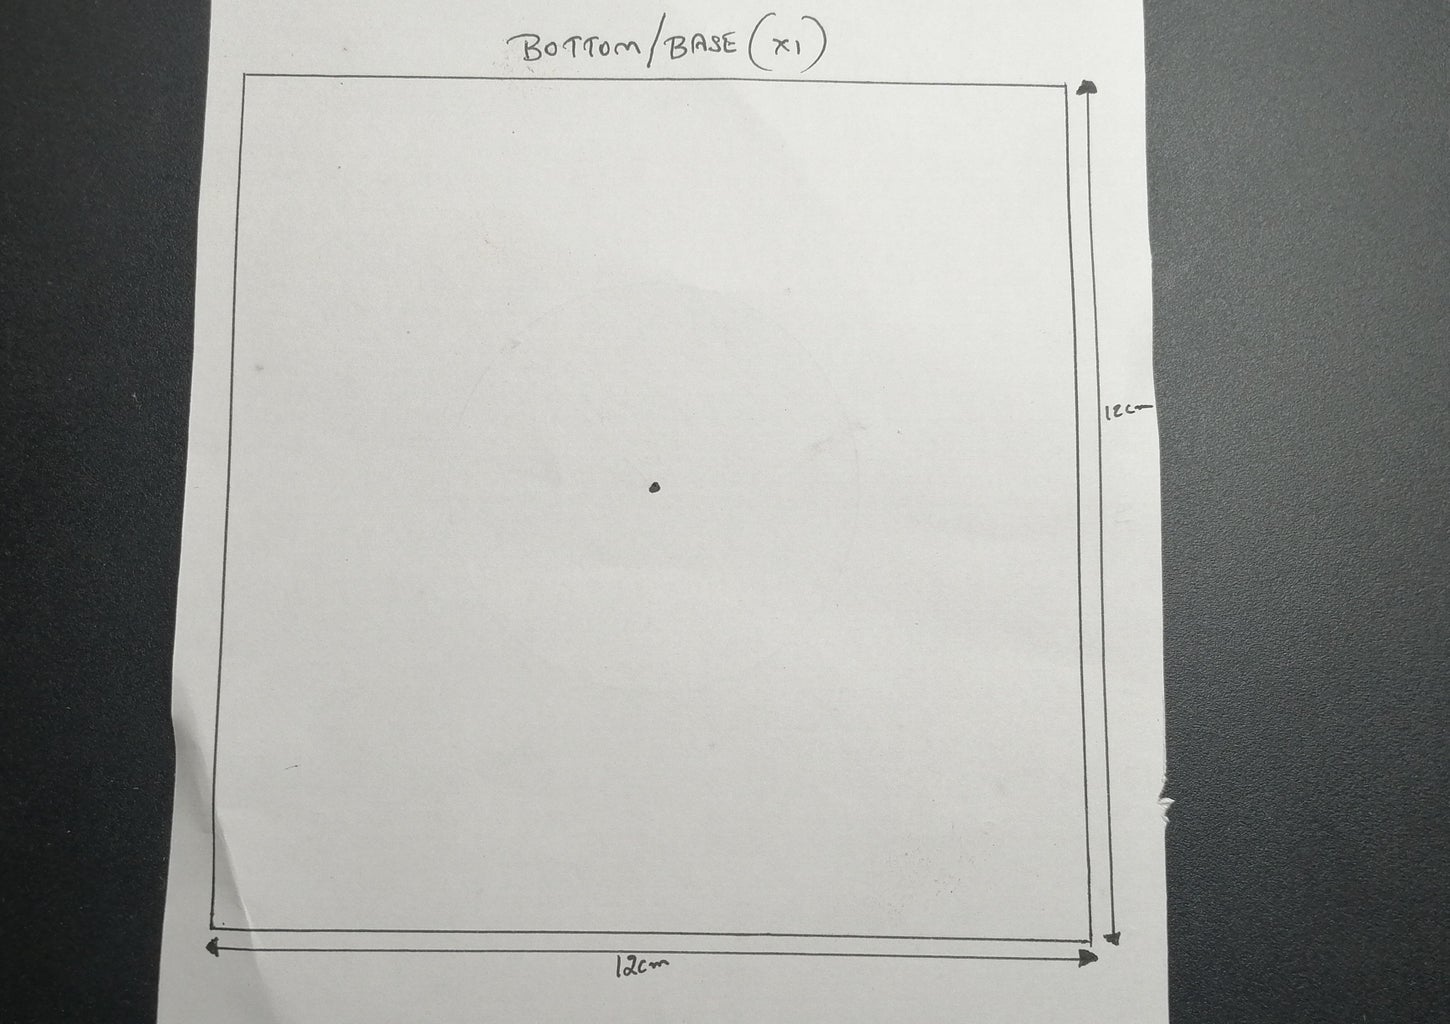

As I said earlier I made this project by taking into account the real switch measurements.
I measured the sides, legs, and height of the buttons and multiplied it by 20 so that I can get 20 times bigger buttons.
If you are building this project I have provided you with the templates.
In some cases, the sizes of push buttons may change depending on the country in which you live.
My button measured 0.6cm in sides and 0.3cm in height whereas the center button was 0.3cm and the legs 0.5cm.
I multiplied all these values by 20 so that I can get proper shapes like the small one, For the legs I made use of popsicle sticks that by default measured 11.5 cm.
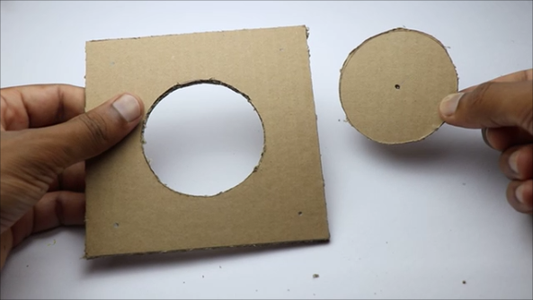
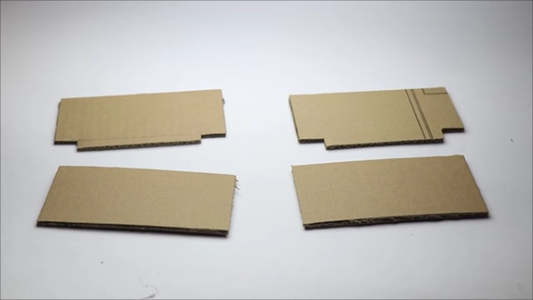
Draw/paste this template on a piece of cardboard and later cut them using the cutter, make sure to take care of the circular part as they seem tricky to work with.
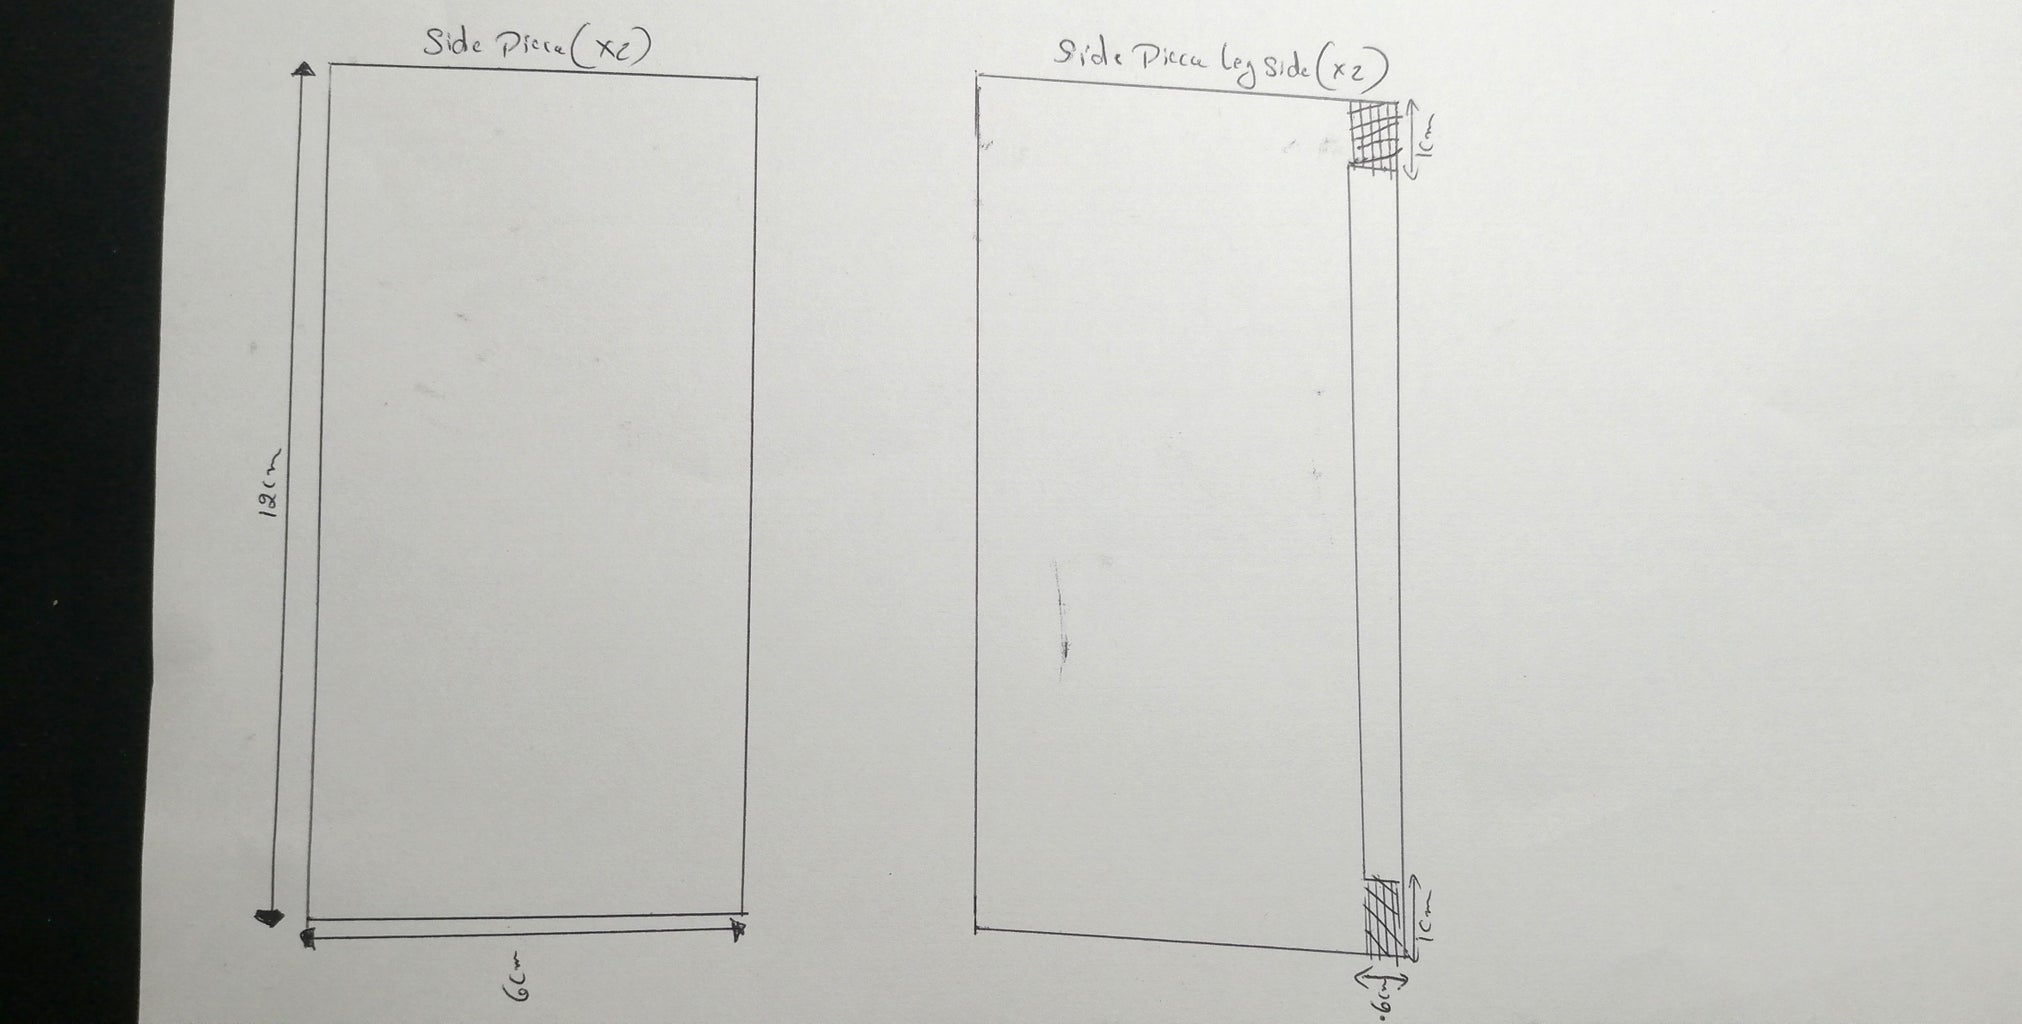
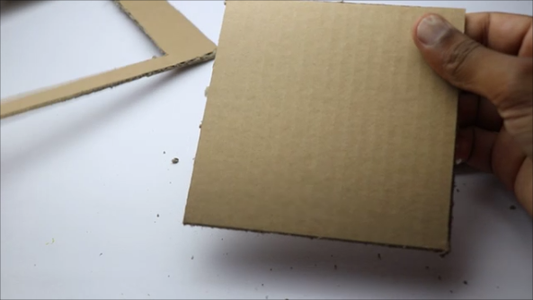
Also you can use the template for sides of this button(image 7) trace/paste them on cardboard and cut them like earlier
Step 2: Making Switch Legs


A push button switch typically has four legs, which are metal pins that extend out from the bottom of the switch. Two of the legs are used for the electrical connection, while the other two legs are used for mechanical support.
In this project, I made these legs using popsicle sticks and aluminum foil.
Follow these steps to build legs
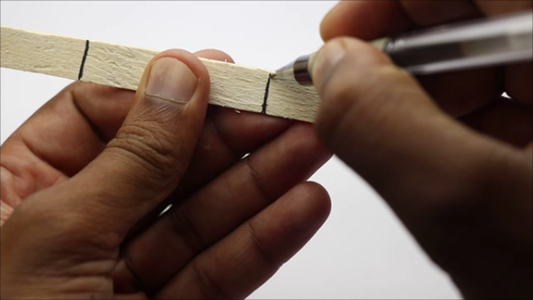
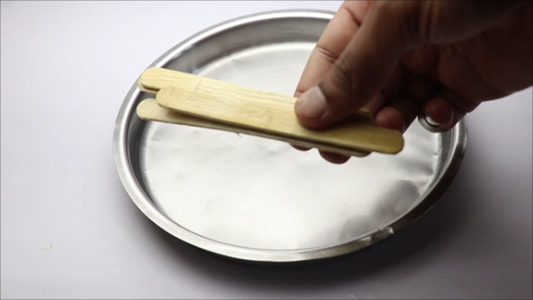
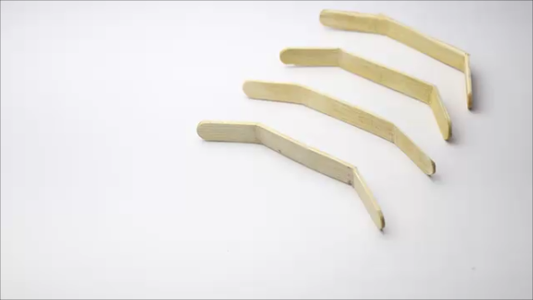
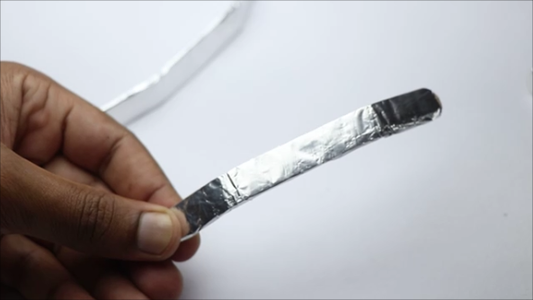
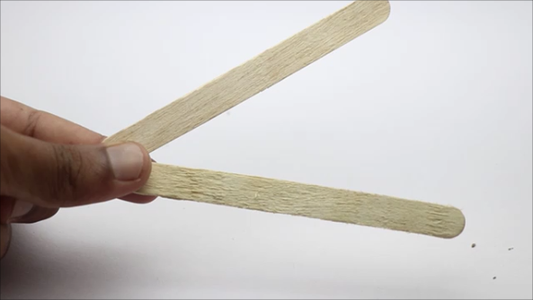
I marked 3 cm lines from either end of a popsicle stick (images 1 and 2 of this step), After i marked these lines i used the same methods on the other 3 sticks too.
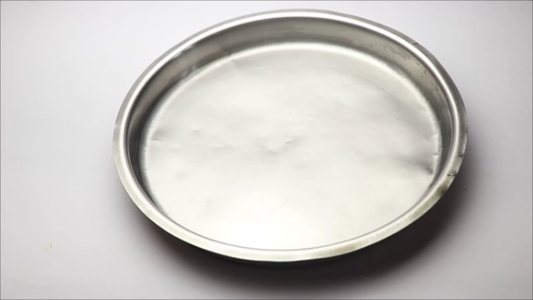
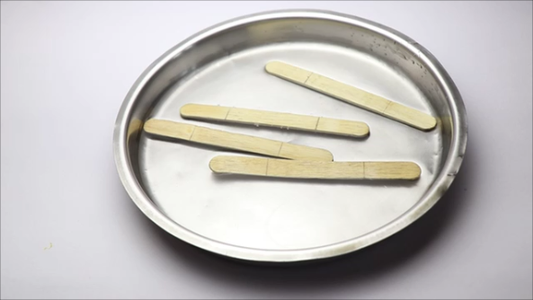
Popsicle sticks break when it is bent directly, so you can make them flexible(to some extent) by dipping the sticks in water for 5mins
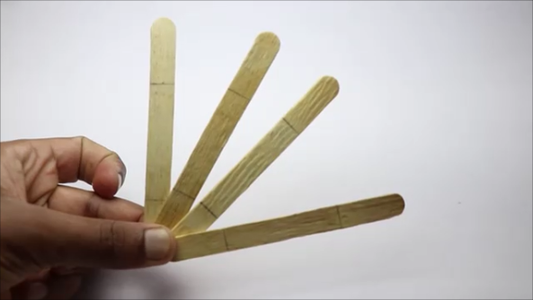
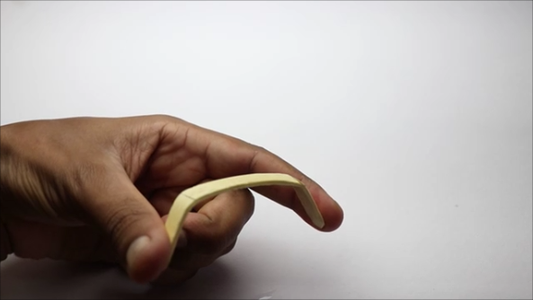
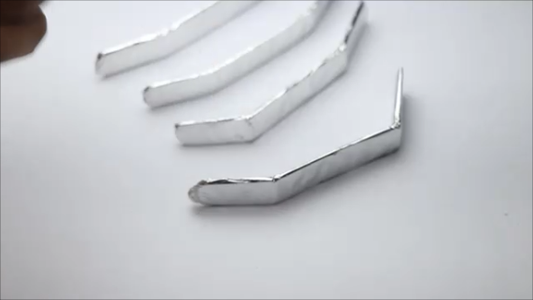
After 5mins take out the sticks and start bending the marked areas, repeat the same steps for other popsicle sticks
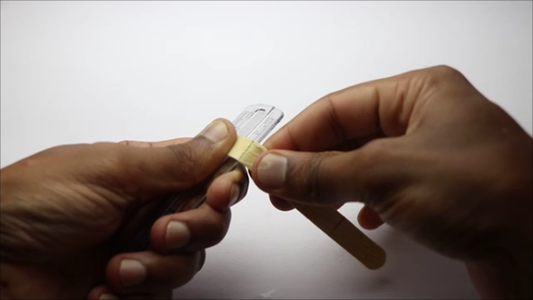
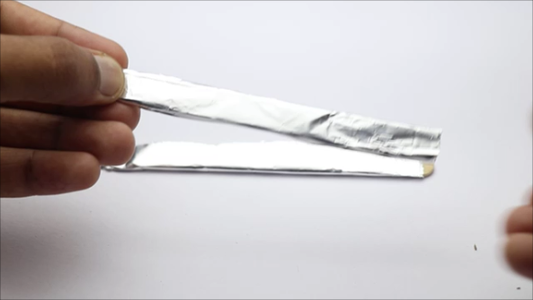
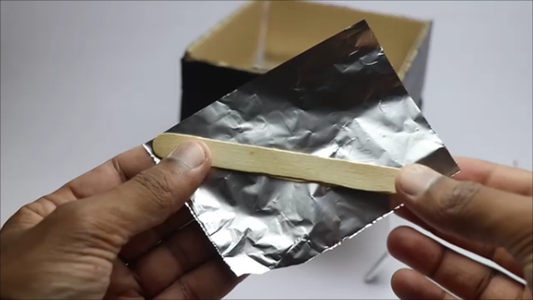
You can use the hair dryer to quickly remove the moisture from sticks so that they can retain their shape, now you can cover these sticks with aluminum foil
To make the foil stick to these sticks use a drop of hot glue at the last edges, end of this step we will have 4 legs.
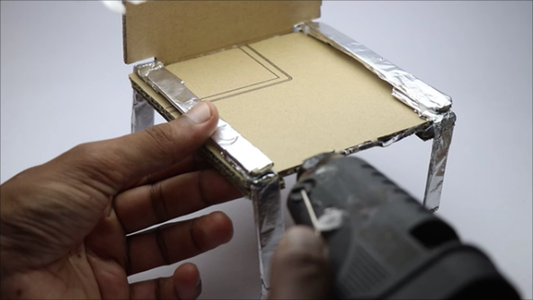
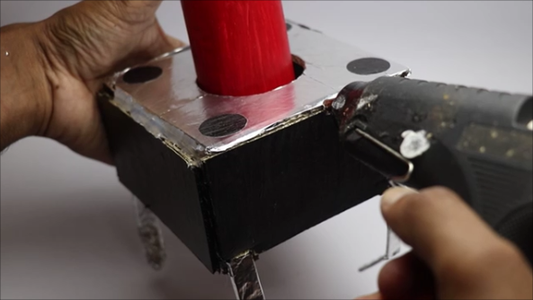
Step 3: Installing Switch Legs
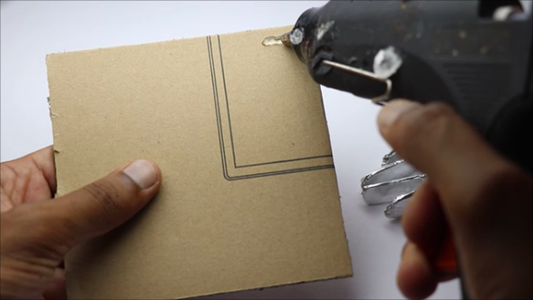
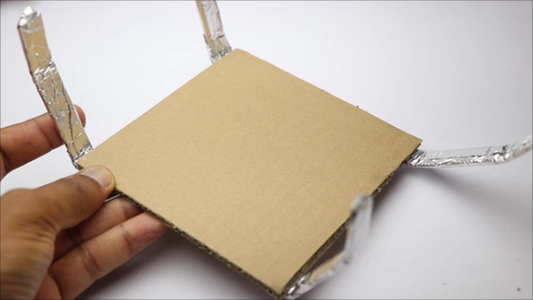
I used hot glue to stick the legs to the base part of the button, i strongly recommend using hot glue and not any super glue because superglue sometimes makes the surface of aluminum brittle and nonconducting, which may cause the aluminum legs not to function
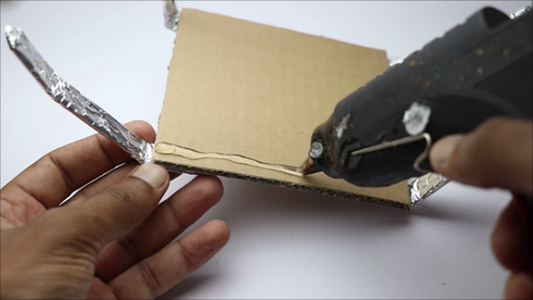
Add a sufficient amount of hot glue to the sides as in image 1 and start sticking the legs one after the other
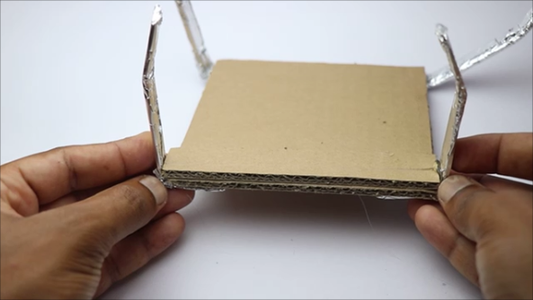
Now as soon you finish gluing all four legs you can notice that the legs are not so strong enough, to enhance the strength we will be using the pieces of cardboard, glued to the leg connection points.
Note: Apart from strength this cardboard serves as an identifier for the leg connections, the cardboard is aligned parallel where we will be creating a line(joining 2 legs together by connecting via foil)
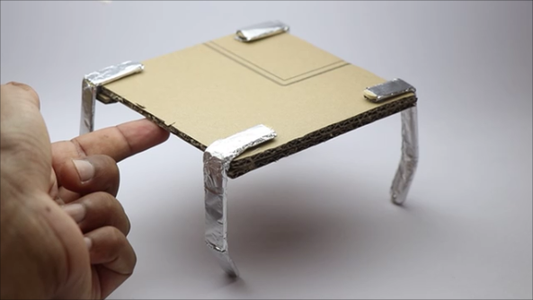
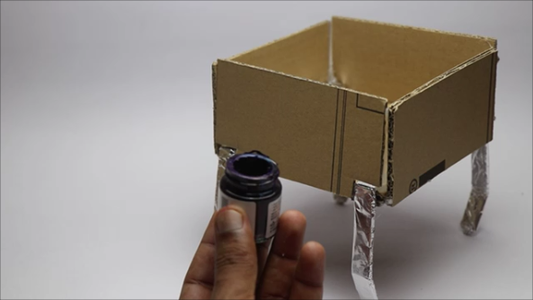
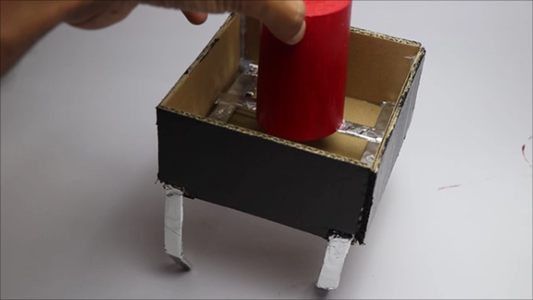
End of this step we will have the base part stood up with the help of legs.
Step 4: Connecting 2 Legs


As we have 4 legs altogether we need to make it as 2.
To do this I took a popsicle stick, covered it with aluminum foil, and using a tiny amount of hot glue sticked these sticks, By doing this we are connecting the legs,
Note: Stick these sticks parallel to the cardboard strips(That were glued earlier for strength)
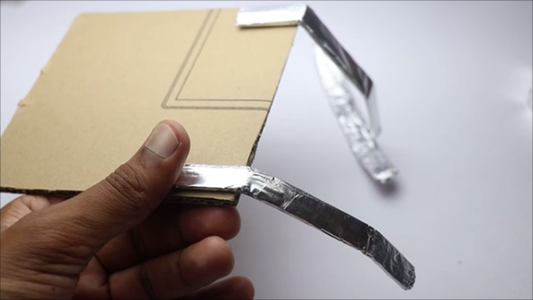
From the cardboard pieces cut earlier to cover the sides, i used black paint to finish the body.
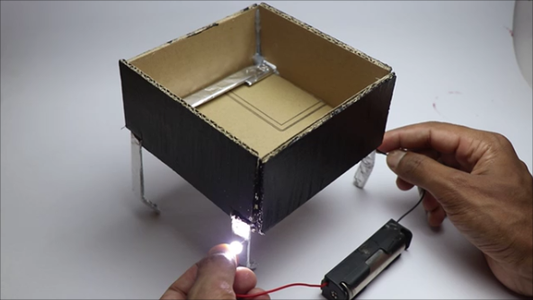
Just check if everything works fine by using connected legs as a bridge(LED shows a glow when one end of the battery is connected to the LED and the other ends connection will be completed by this leg)
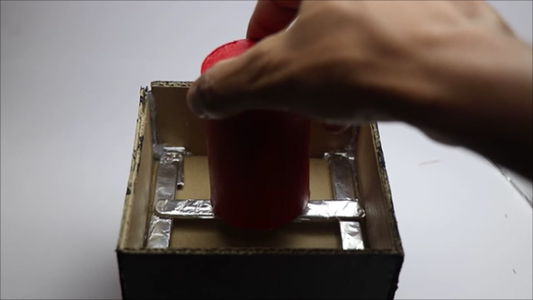
Step 5: Making the Button


The button part is the one that is responsible for working this entire switching system.
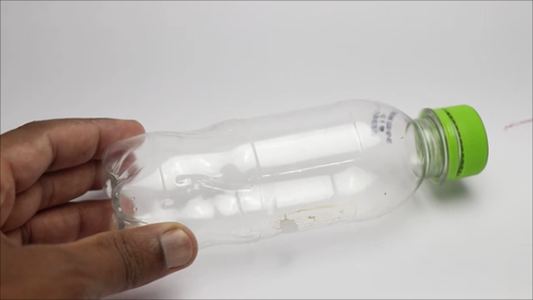
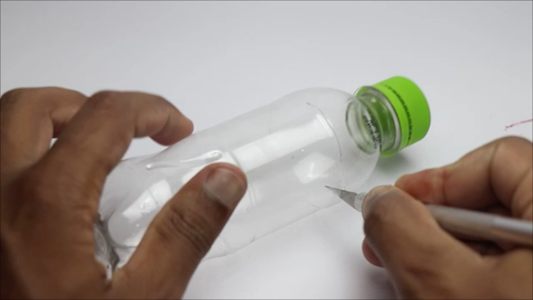
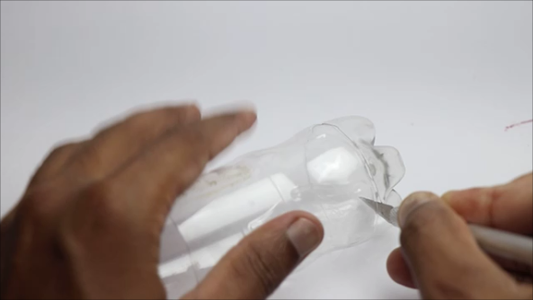
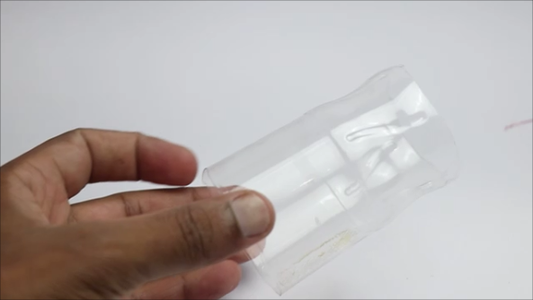
I made the buttons by making use of the tube shape from a used juice bottle, if you don have this you can make this using cardboard too.
My tube length was 8.5cms and after cutting the tube, i rolled it with a sheet of a4 paper that was rolled and glued
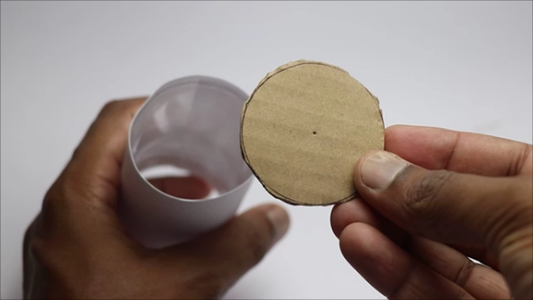
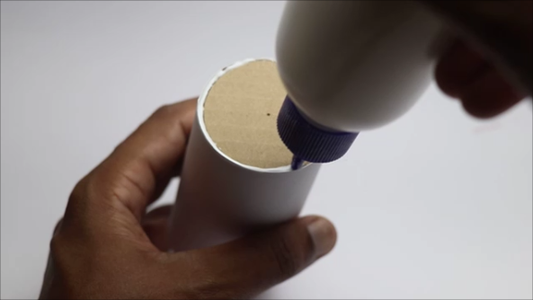
As this cylinder is hollow at the top, to make it look like a button I cut a round shaped cardboard and sticked it to the top
I finished this button with the red paint and kept it to dry completely
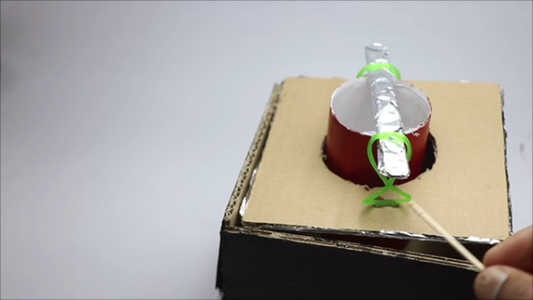
Step 6: Push Button Top

The top part is the one that gives it the look of a push button and as we have seen in most of the cases it will be silver in color.
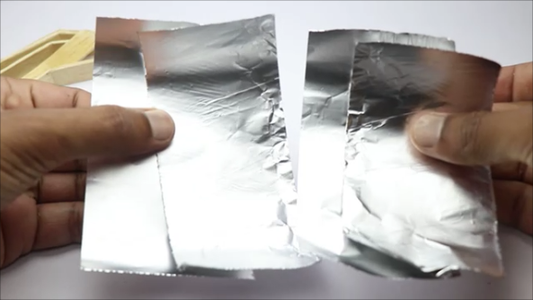
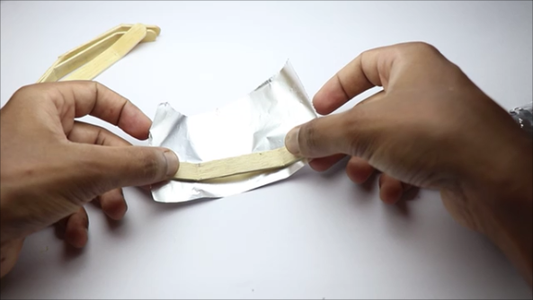
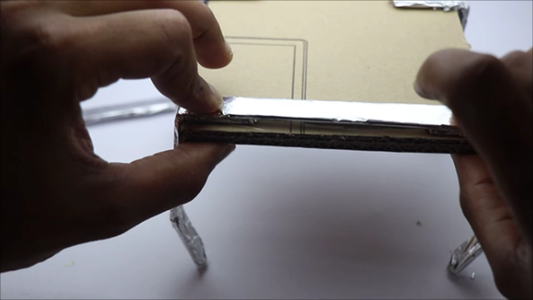
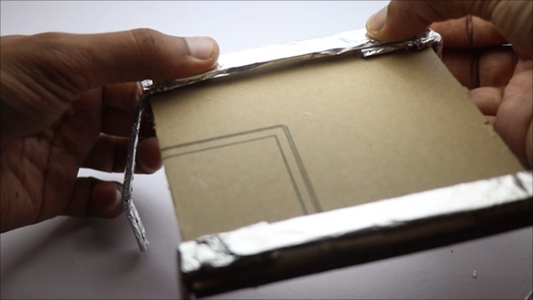
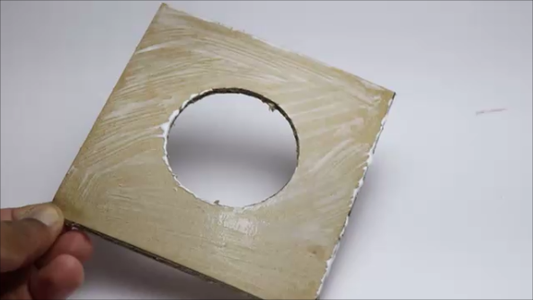
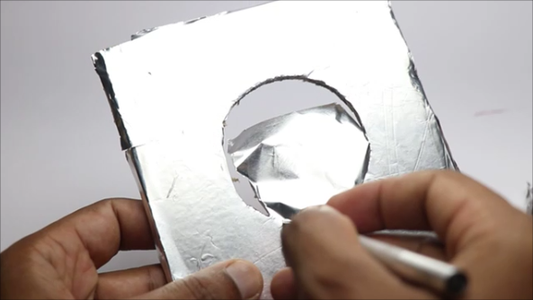
I applied a thin coat of paper glue and pasted the sheet of aluminum foil, leaving some time for dry.
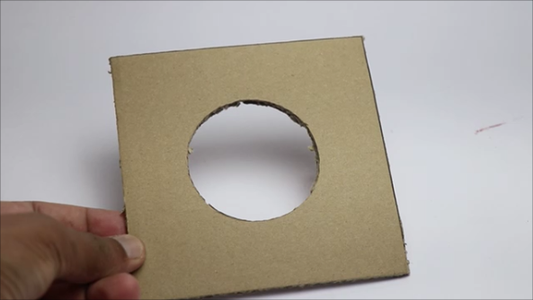
Now cut the additional foil from the edges and from the center.
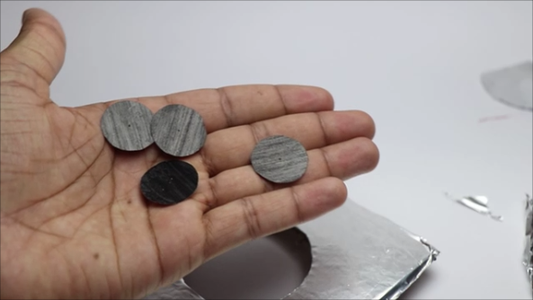
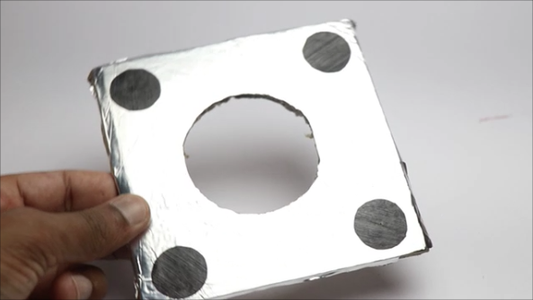
Cut 1cm radius circles on black color paper and stick it to the four corners as shown in the last image of this step
Step 7: Button Contacts

The button when pressed should make contacts and activate the switch and when the button is left free there should be no contact and hence disable the switch.
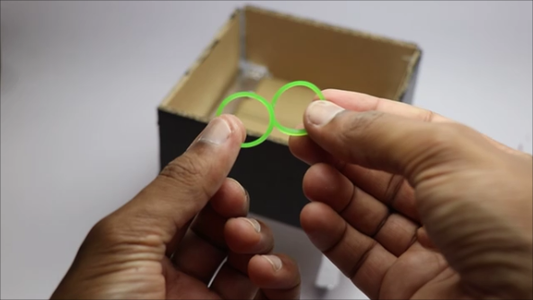
To build this mechanism I tried making use of springs but for me, those came with a lot of complications.
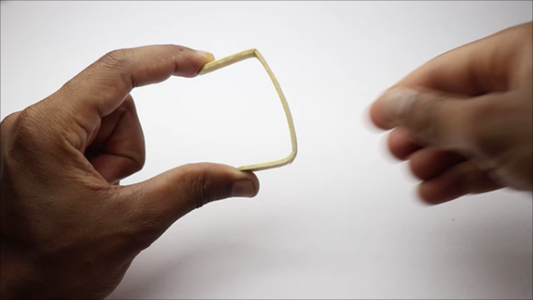
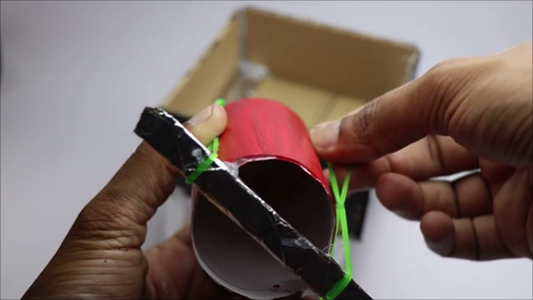
Finally, I made use of elastic bands to build this mechanism
How does this mechanism work?
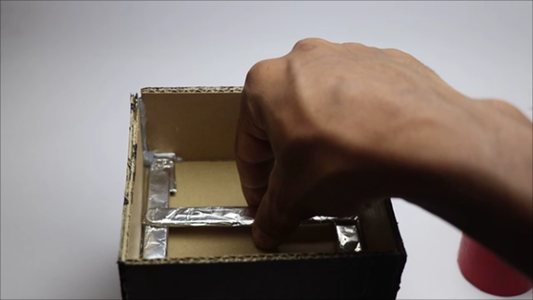
As You can see in the 2nd image of this step, there is already a parallel connection of foils visible inside the base part.
When a horizontal foil touches these parallel connections the switch is activated(all 4 legs activate). To deactivate the horizontal foil should stop touching.
To make this possible I combined 2 elastic bands one was glued to the base(horizontal foil/popsicle stick) and the other end was glued to the top part of the switch
make use of super glue to connect these elastic bands to the respective areas.
From the 8th image of this step, you can see the testing of this button, you can also watch the video that shows how it is done in case you missed something here
Stick the top case using hot glue and our push button is ready to use
Step 8: Testing


Finally it is the time to test our project.
You can test this in many ways like by using a multimeter or by using a LED
I chose LED, connect one side of LED to the battery say you are connecting the negative side of the battery with negative Pin of LED whereas the positive side of the battery and +ve pin of LED will be connected to the legs(use a binder clip)
Now press the button and your LED will glow.
How did this happen?
The button base has contacts that touch the legs completing the circuit and resulting in the glow of LED.
Hope you found this project useful, Watch the video below to see its working
Step 9: Working Video and Tutorial of BIG PUSH BUTTON SWITCH
If your browser is unable to play this video directly paste this link on your URL search tab https://youtu.be/FCp8yZwVhvk
You can refer to this video tutorial if you have any questions on any steps, if this still didn't help there is always a comments section to ask me :)
Thank you for showing interest and try to build this amazing project on your spare time :)

Finalist in the
Big and Small Contest


7 Comments
Tip 4 days ago on Step 2
After wetting Use an iron fór collatches for steam heating thé Wood sticks got into more plastical state, dril small hole Lines in axes od bending
Reply 1 day ago
Thank youi for the idea :)
2 days ago
Very catchy concept esp for those of us who have struggled with these tiny switches...Needs better choice of materials, design and workmanship. Someone? :)
17 days ago
cool
Reply 17 days ago
Thanks :)
19 days ago
Incredible Job! It looks super cool! Keep up the good work!!!!
Reply 19 days ago
Thank you :)